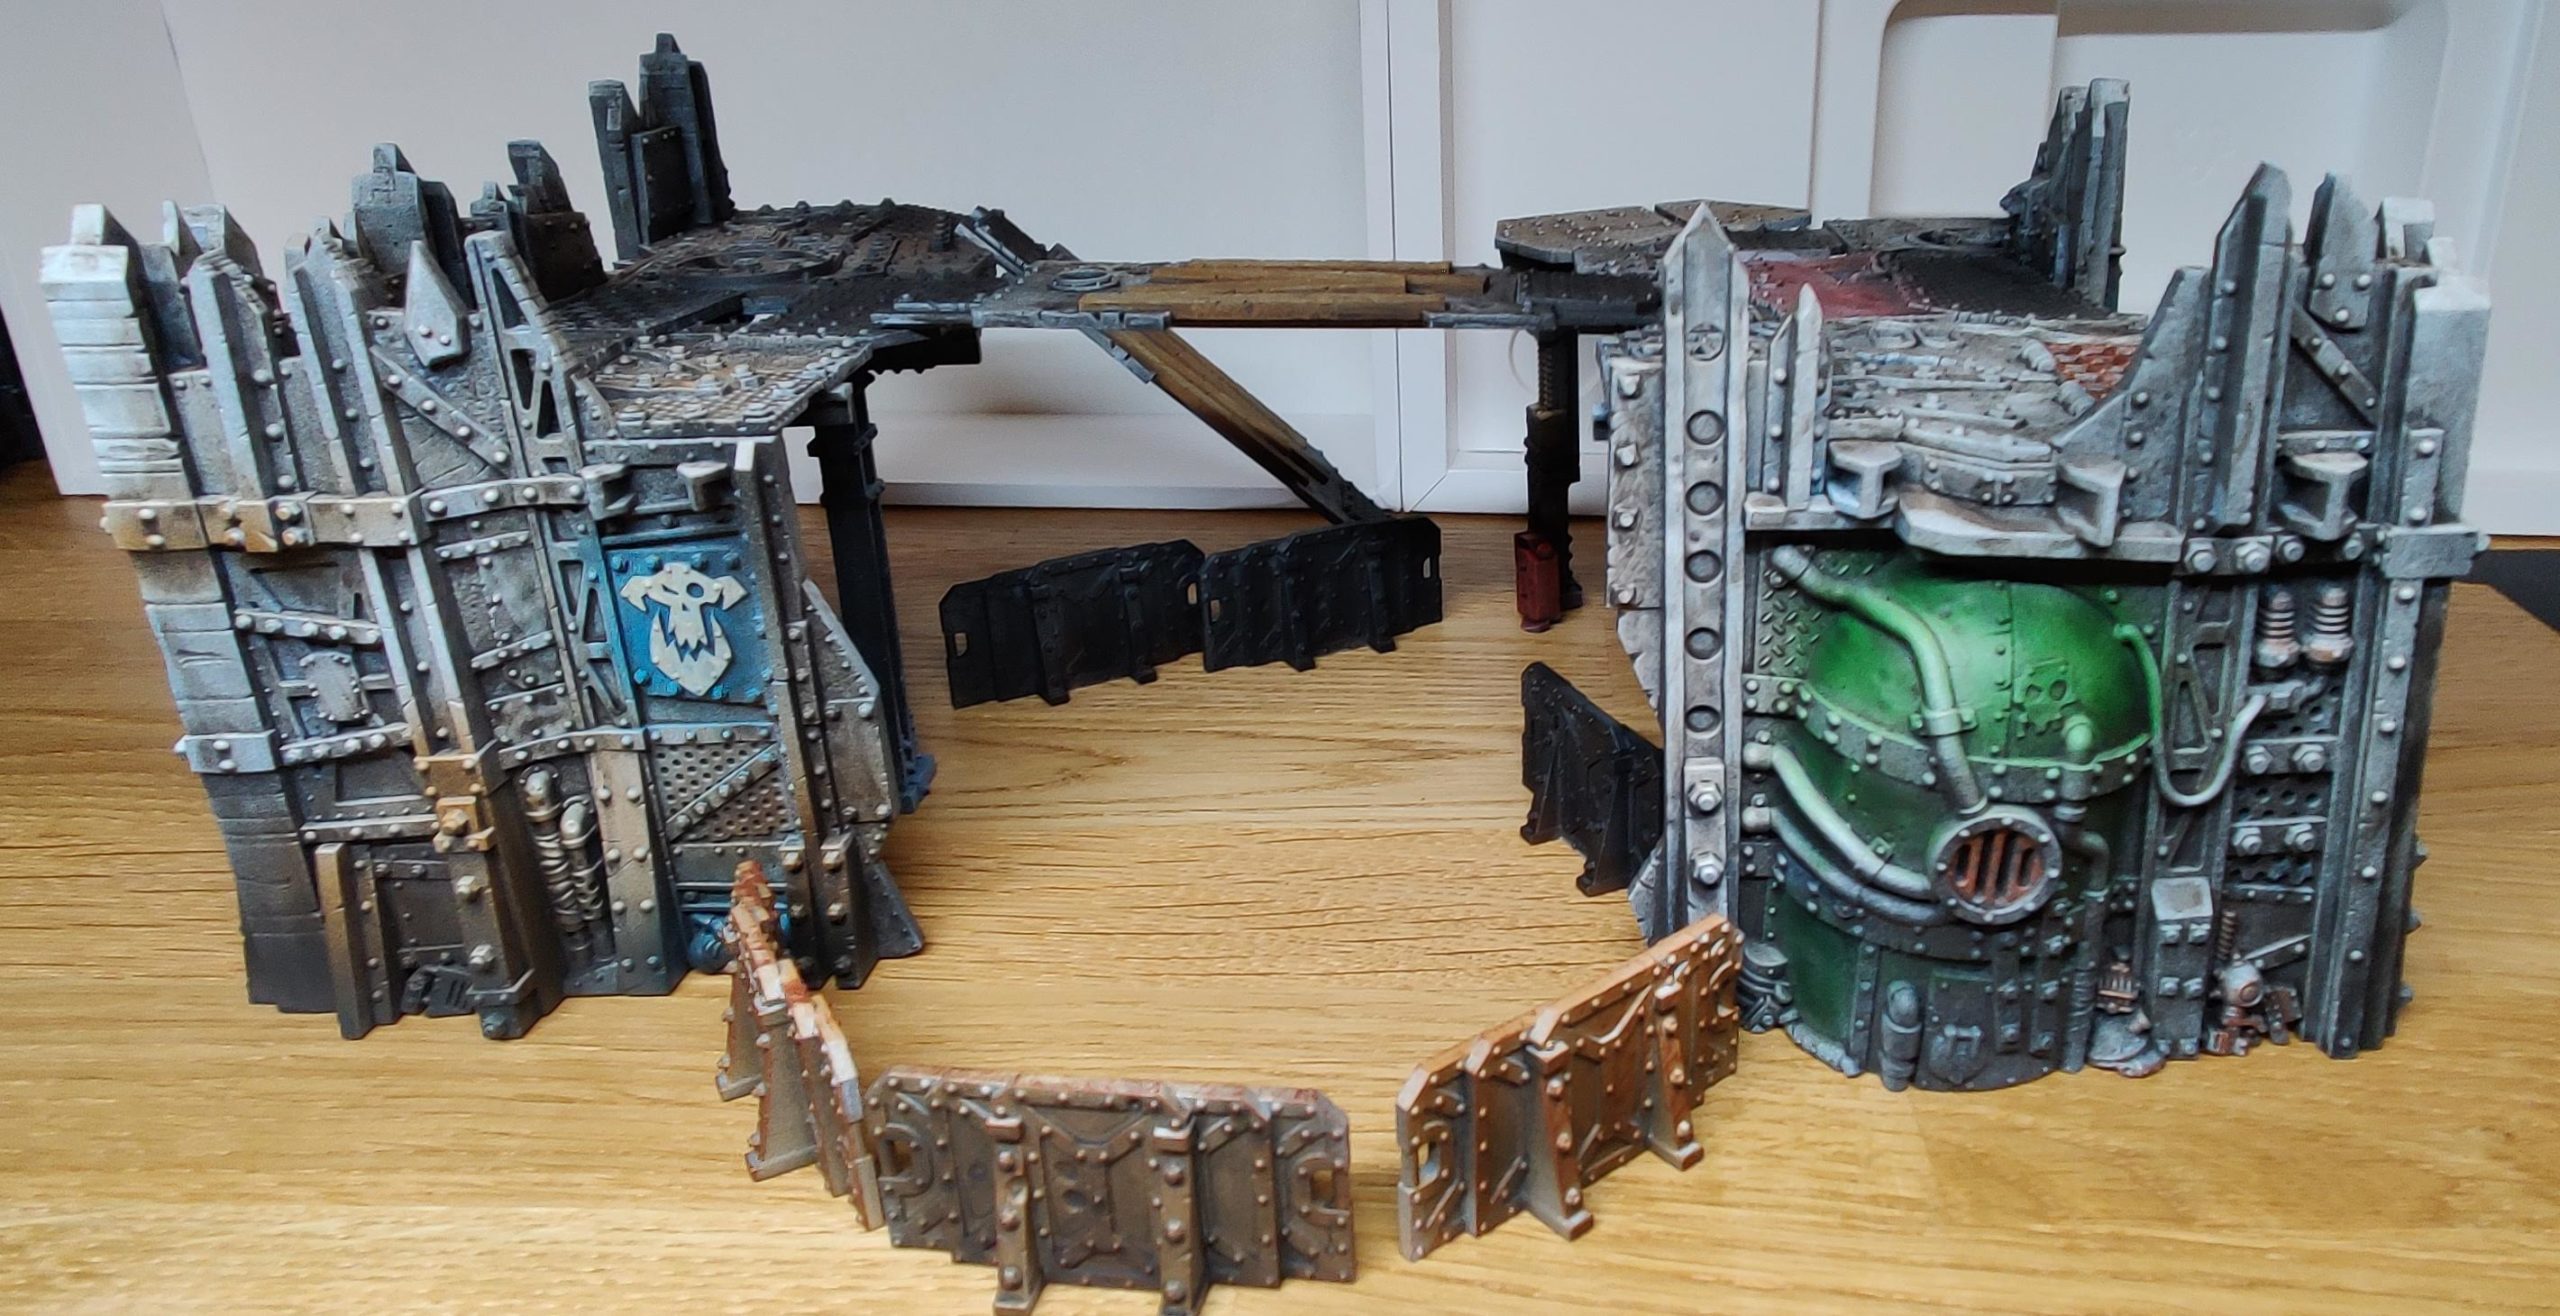
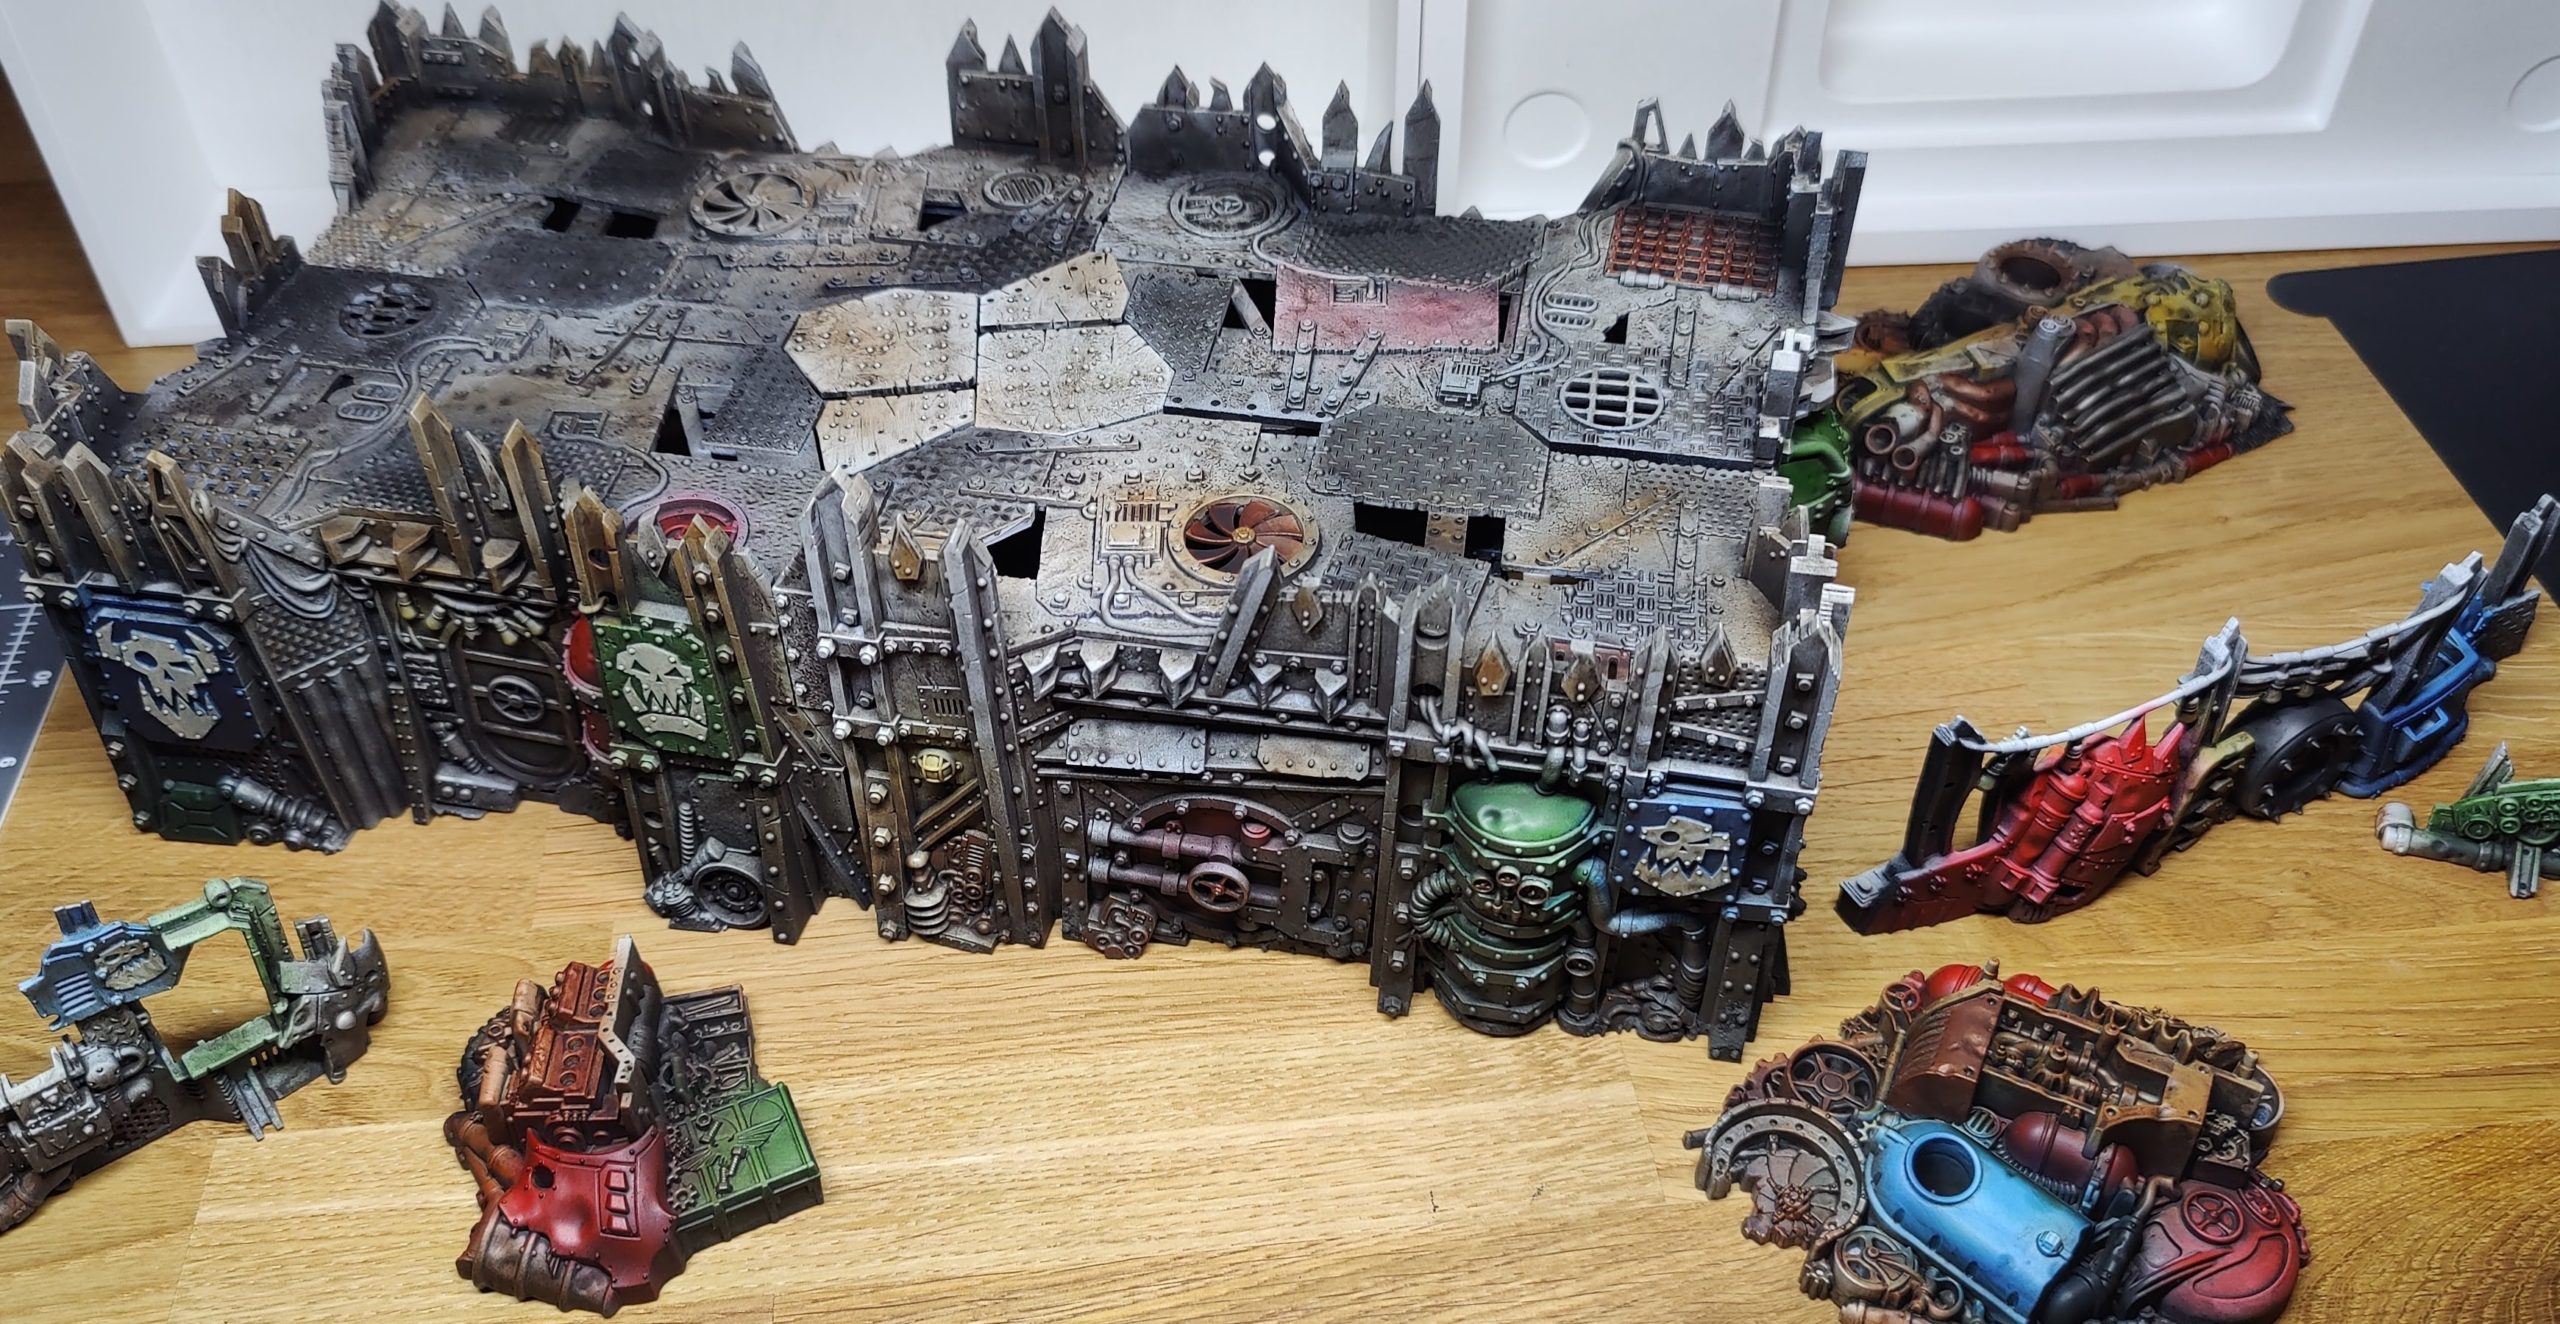
Back in October I finished painting the terrain from the recent Kill Team: Octarius box set. And hey, it’s Orky terrain – so I officially did something for Orktober! Huwwaaagh!
One thing I knew going into this project was that I would be making as much use of my airbrush as possible. Octarius includes quite a lot of terrain – necessary for the terrain-dense small game area of Kill Team – and I wanted to take a ‘speed paint’ approach rather than getting bogged down in brush work. In practice there was nothing speedy about my approach at all – I finished building the models in September and only finished painting them in late October – but, well… it could have taken longer?
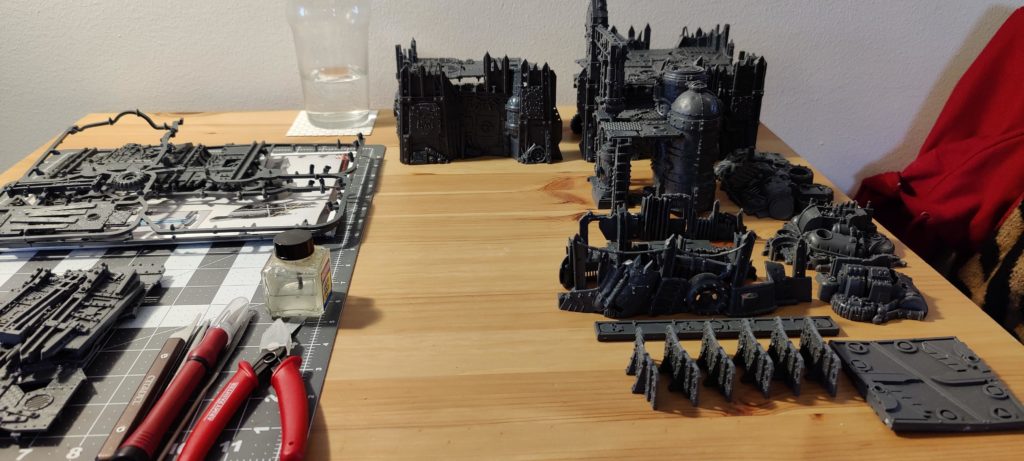
The first step was, of course, to prime everything black with an aerosol spray. Although the airbrush is fast, nothing will put down layers of primer like a rattle can. The weather was turning cold, but keeping the cans warm before heading outside to spray was absolutely fine. I also did a zenithal highlight with a white spray, although my Army Painter white primer comes out so anaemically I may have to buy a replacement. Overall, though, the priming was fast, and although parts of the underside of the models got very thin layers, I honestly don’t really care – these areas will almost always be in shadow and out of line of sight, so it doesn’t matter.
You hear me, miniature painters? If I can’t see it, it doesn’t matter! Chant with me!
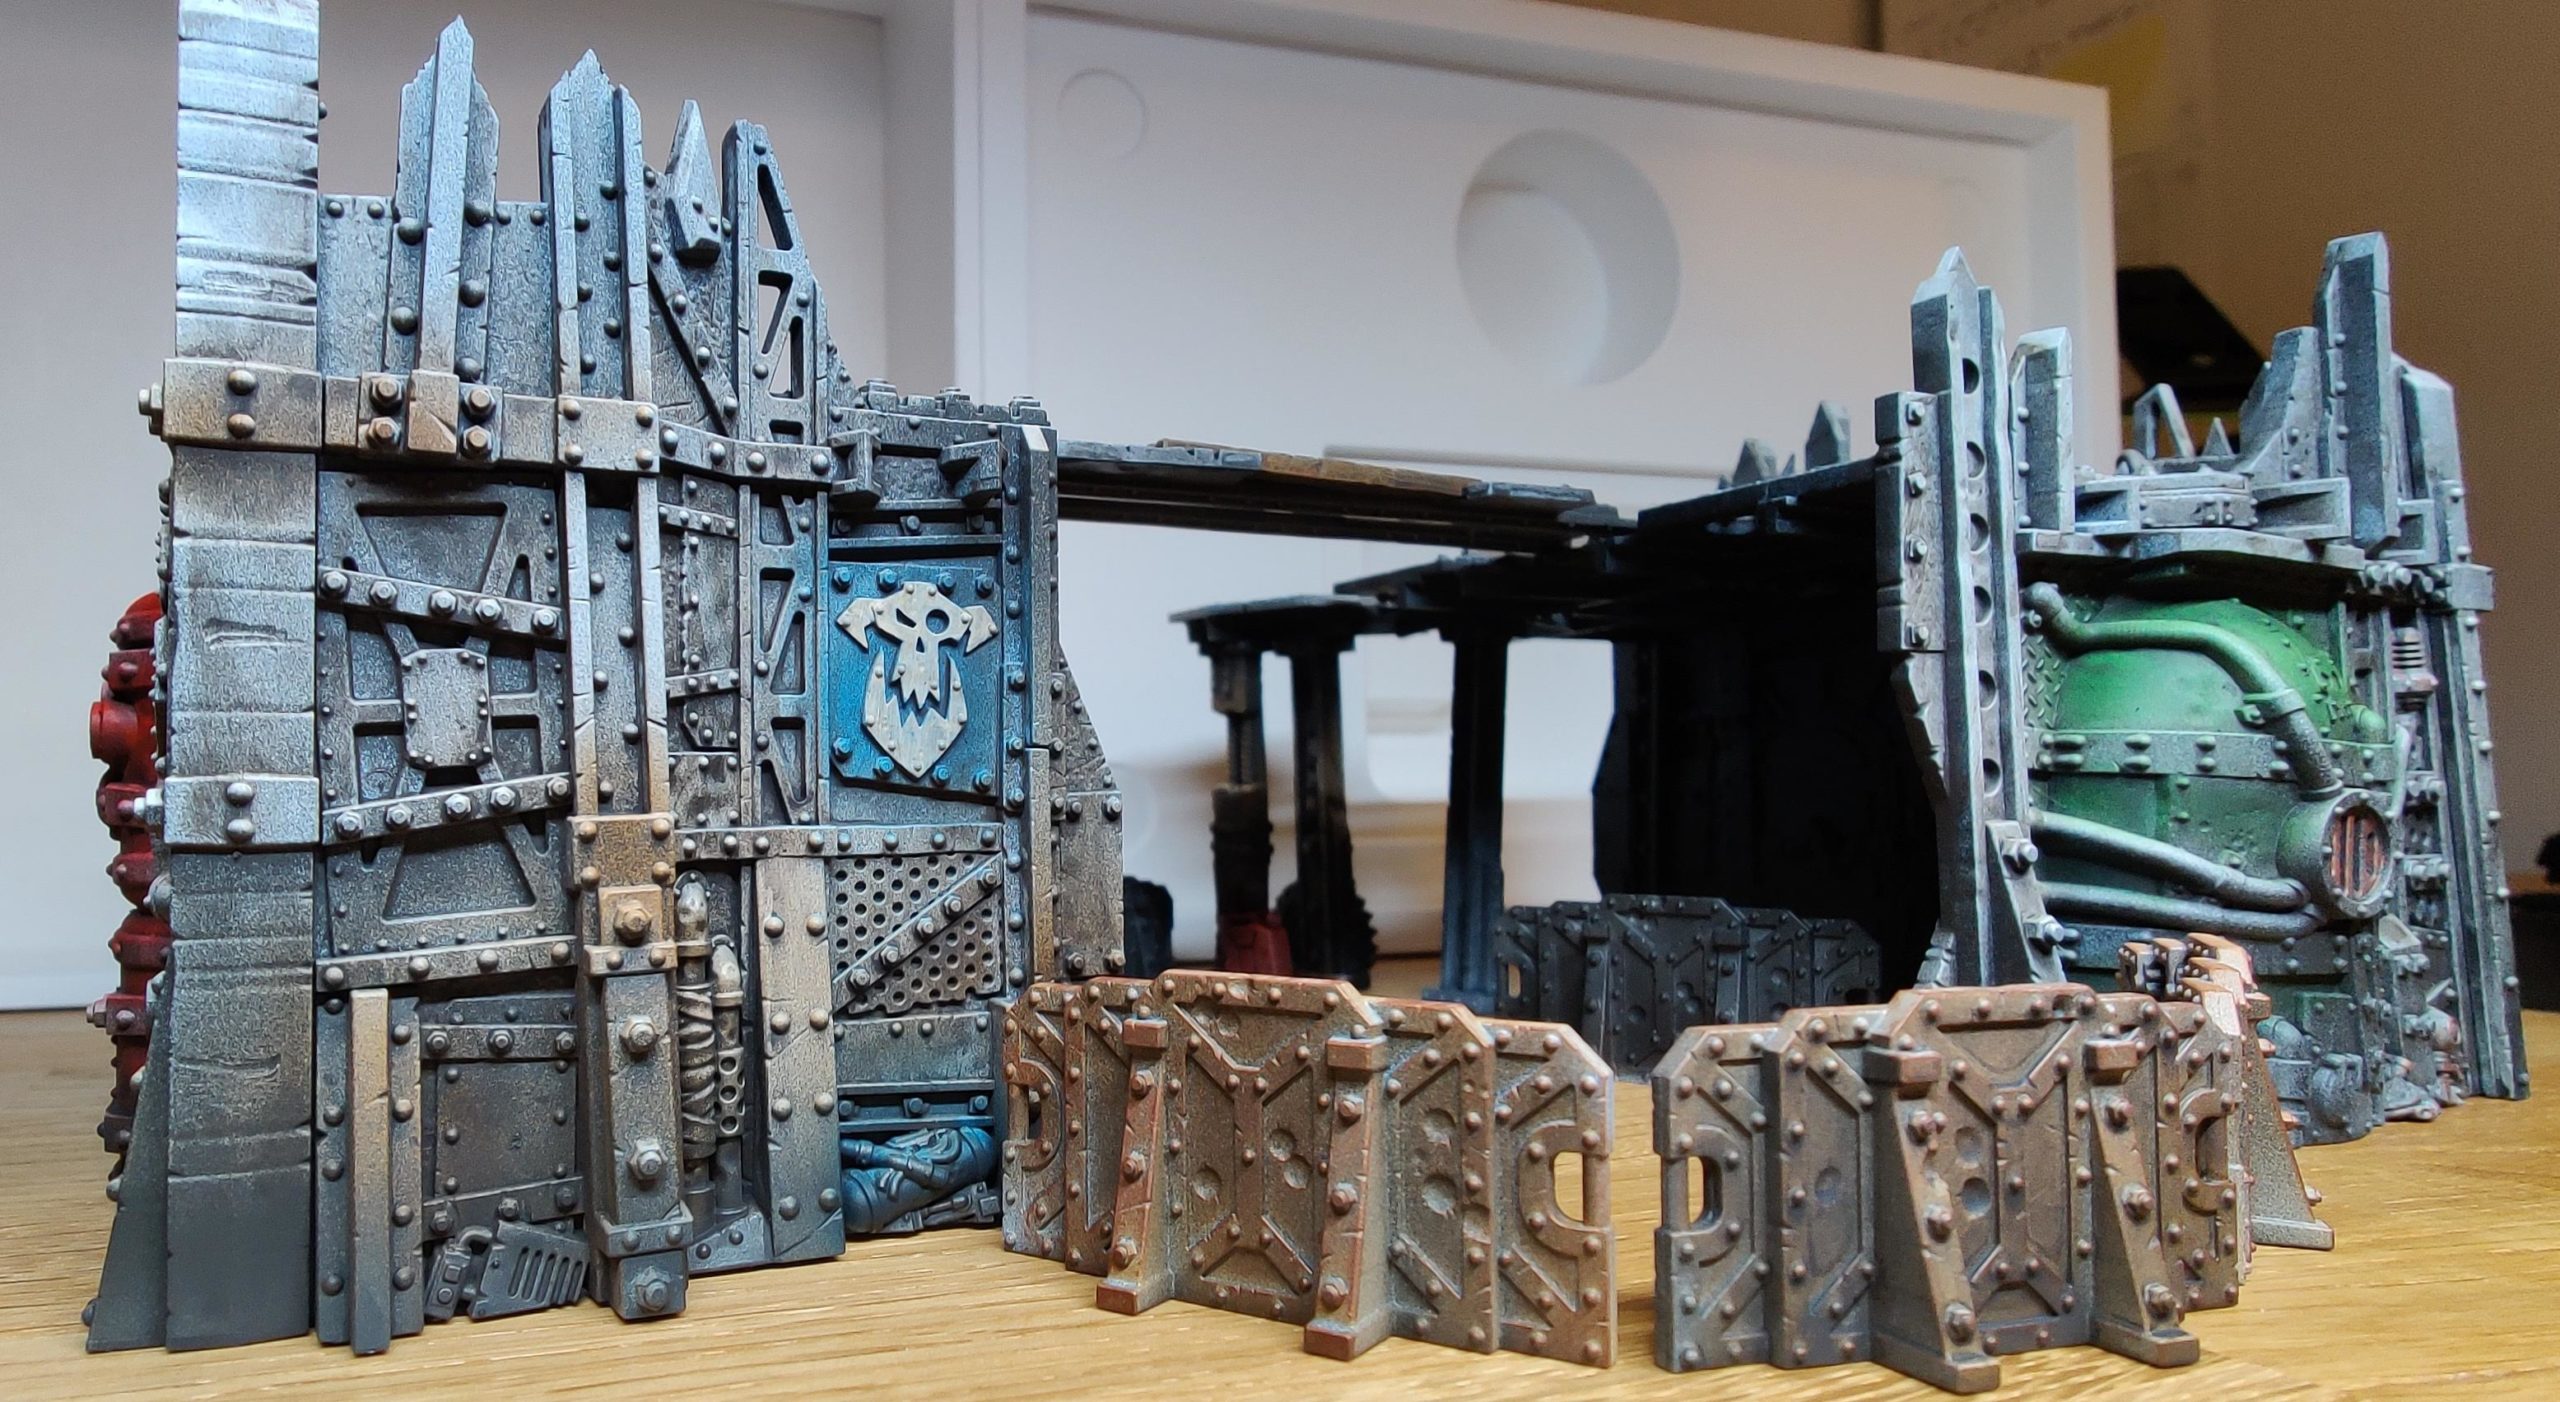
After that I moved on to working with the airbrush. Now, I already knew that I wanted to get a lot of contrast and a lot of colour onto this terrain for relatively little effort. With the black prime and the zenithal white layer I already had some nice contrast, but I was uncertain how best to bring colour into the mix. I found an old Midwinter Minis video that gave me some ideas (and also showed me that half the terrain in Octarius is a reissue from another release). So, grabbing a variety of bright primary and secondary colours – red, blue, yellow and green – I started blocking out areas with colour. I tried to keep the layers somewhat thin so as to not lose all the contrast I’d established, though with acrylic paints and my level of skill with an airbrush this effort didn’t amount to much.
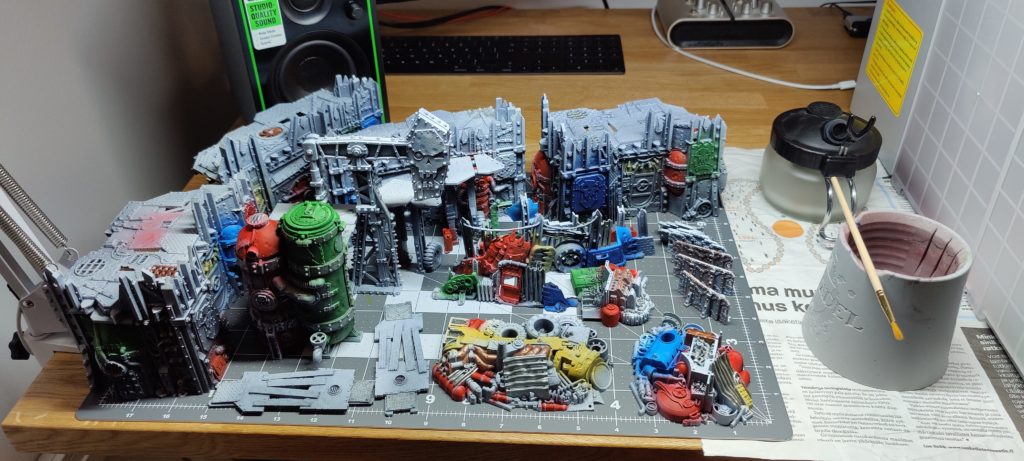
At the end of this process I had a bunch of terrain that was mostly white with darker recesses and occasional bursts of very saturated colour. My plan was to build contrast back up at the same time as adding some grime and filth by using all-over oil washes. Before I moved on to that, however, I felt I needed more going on with the base layer. I still didn’t want to brush paint a lot of detail, and I didn’t want to add more of the same colours I’d already used, but I also didn’t want to start painting a lot of neutral greys and browns everywhere… what to do?
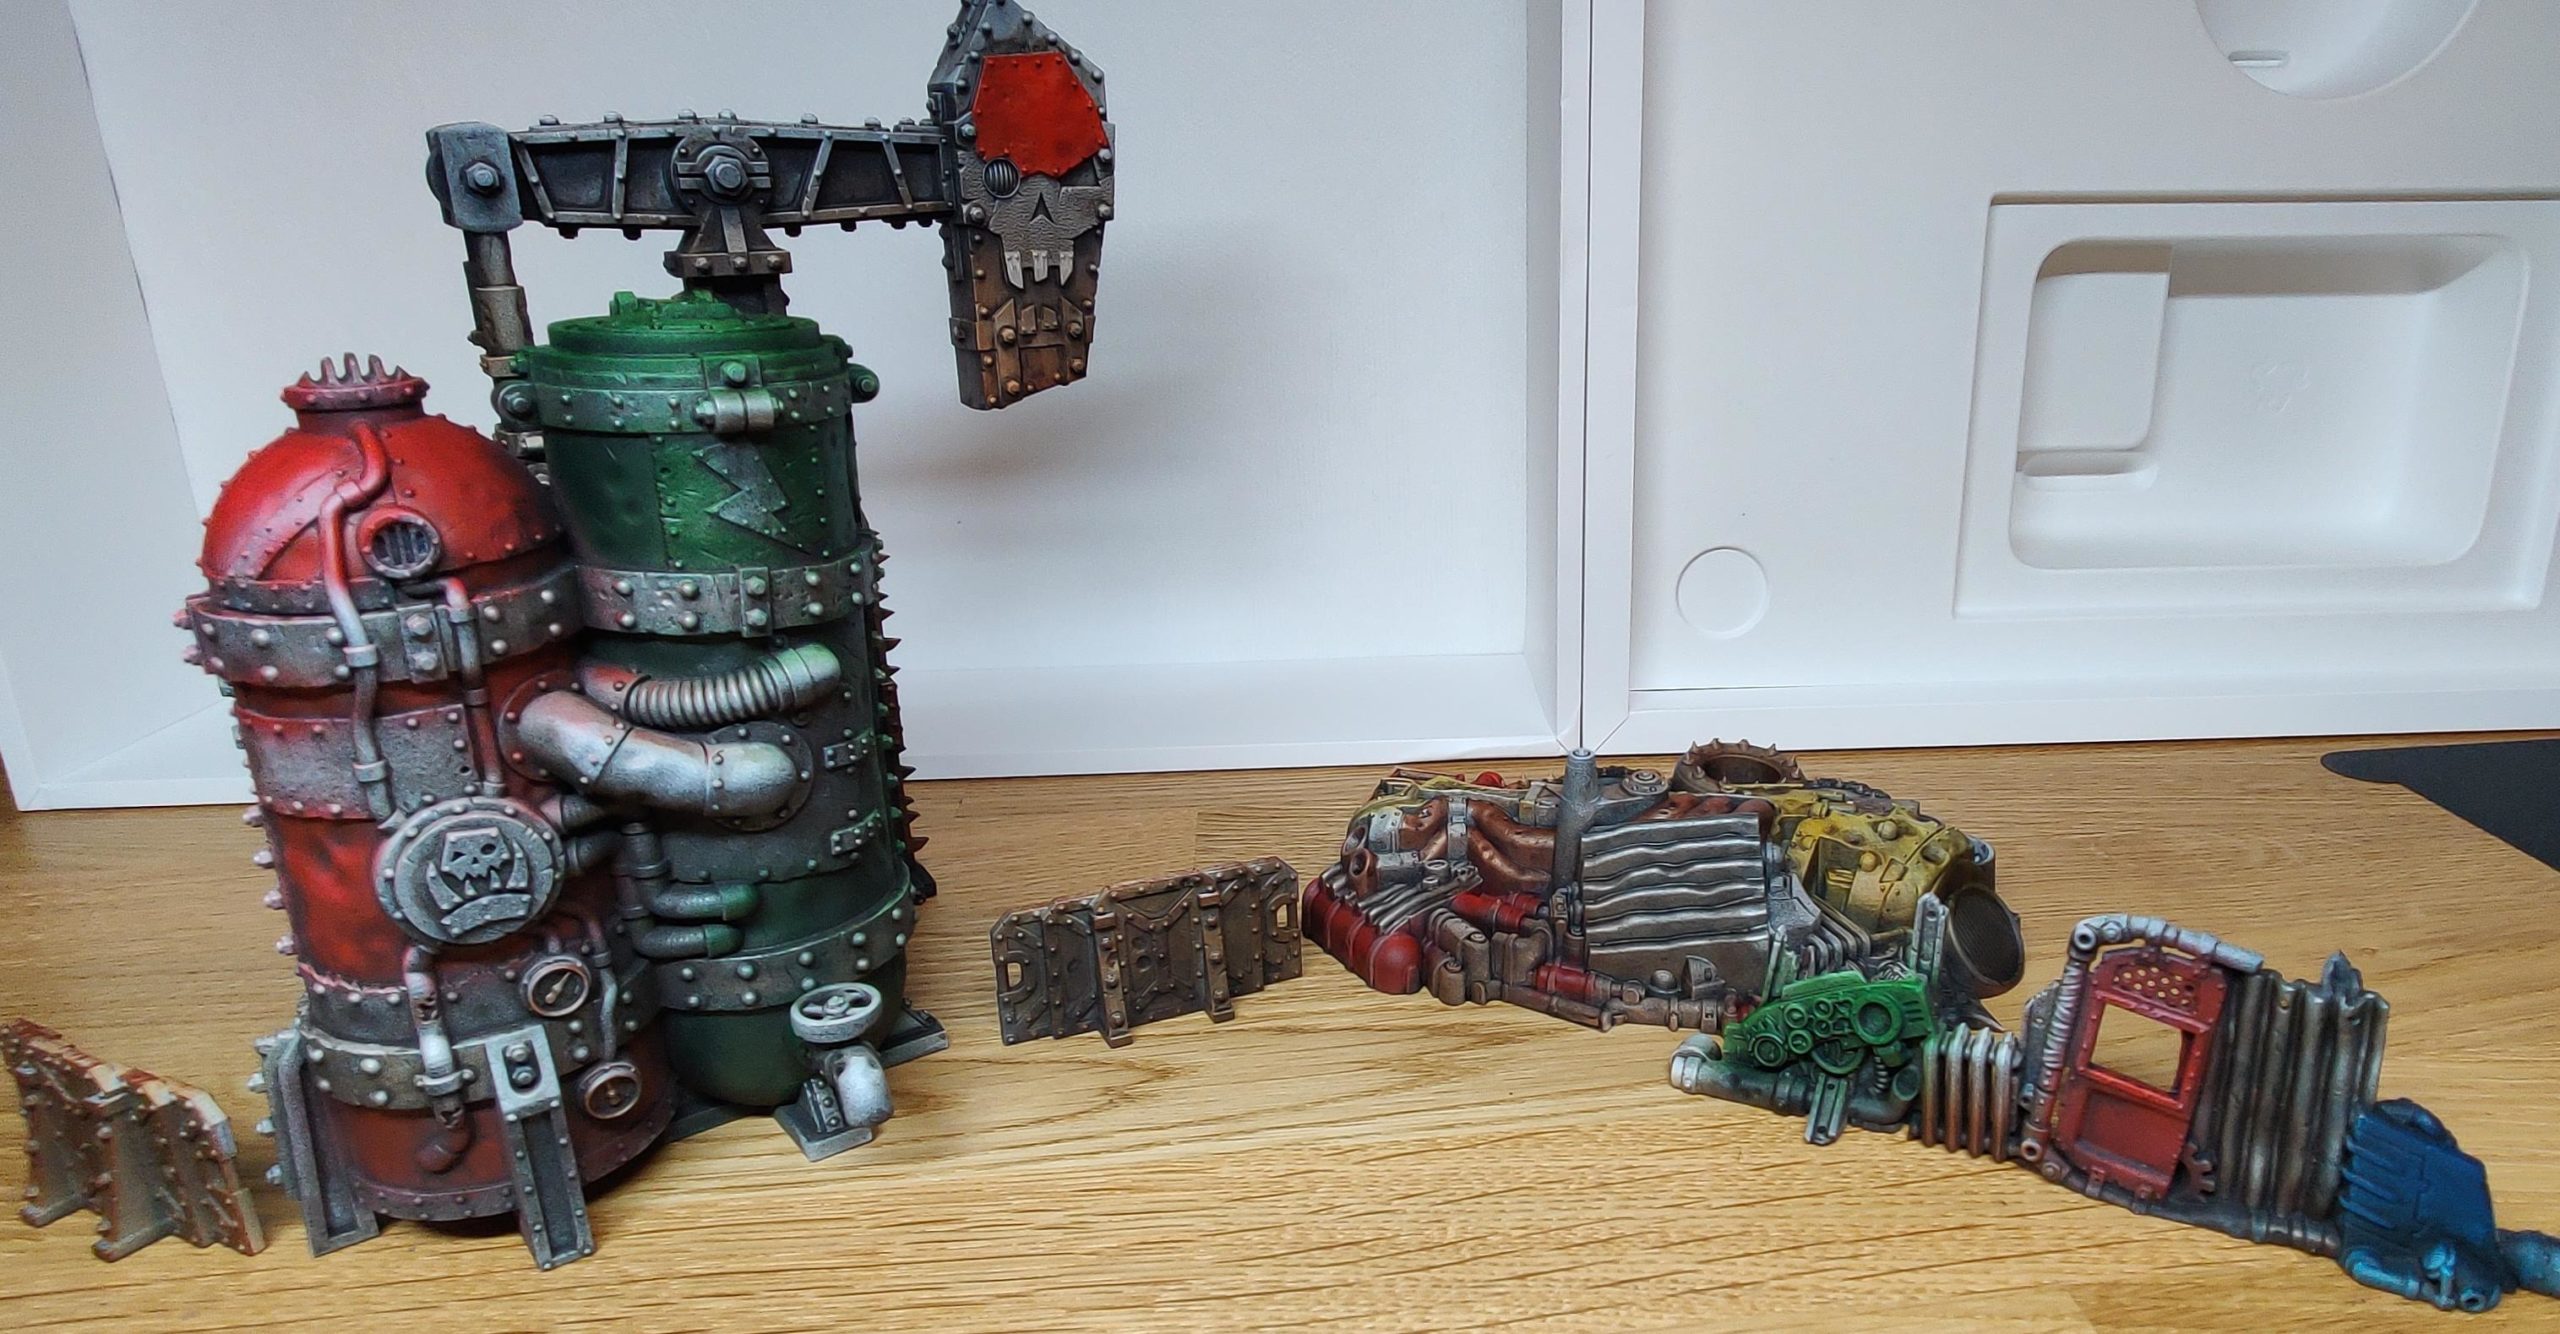
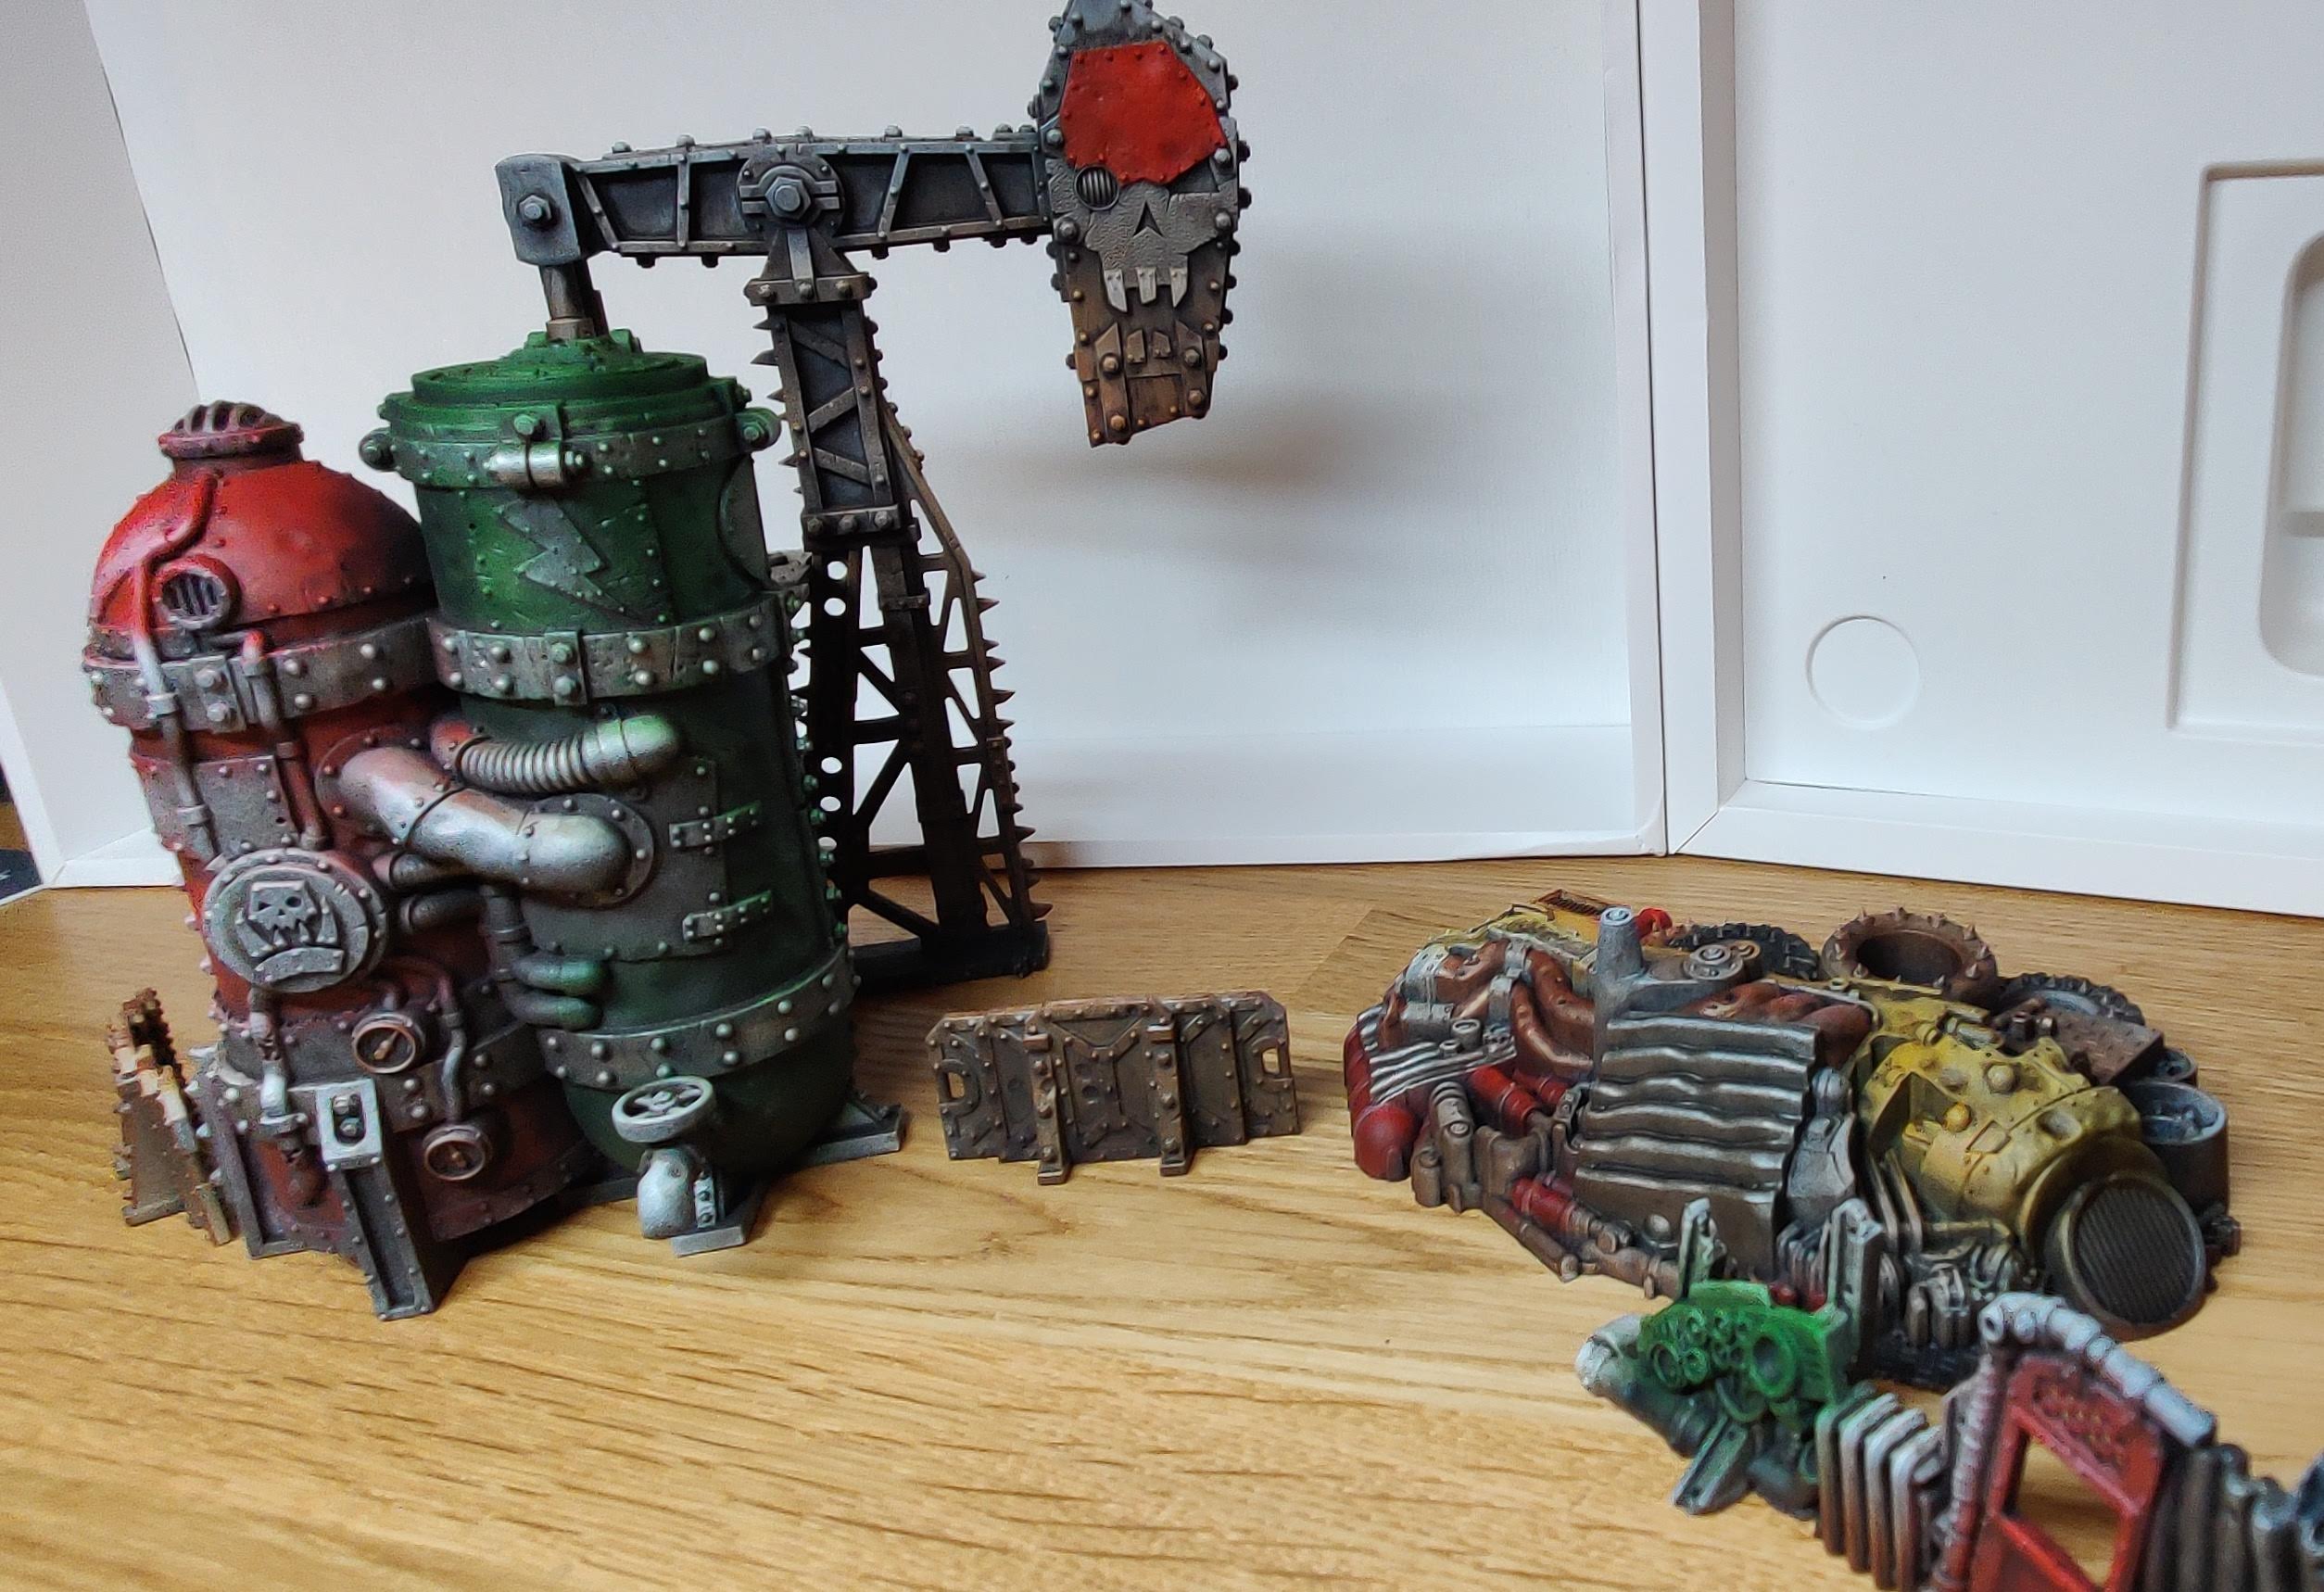
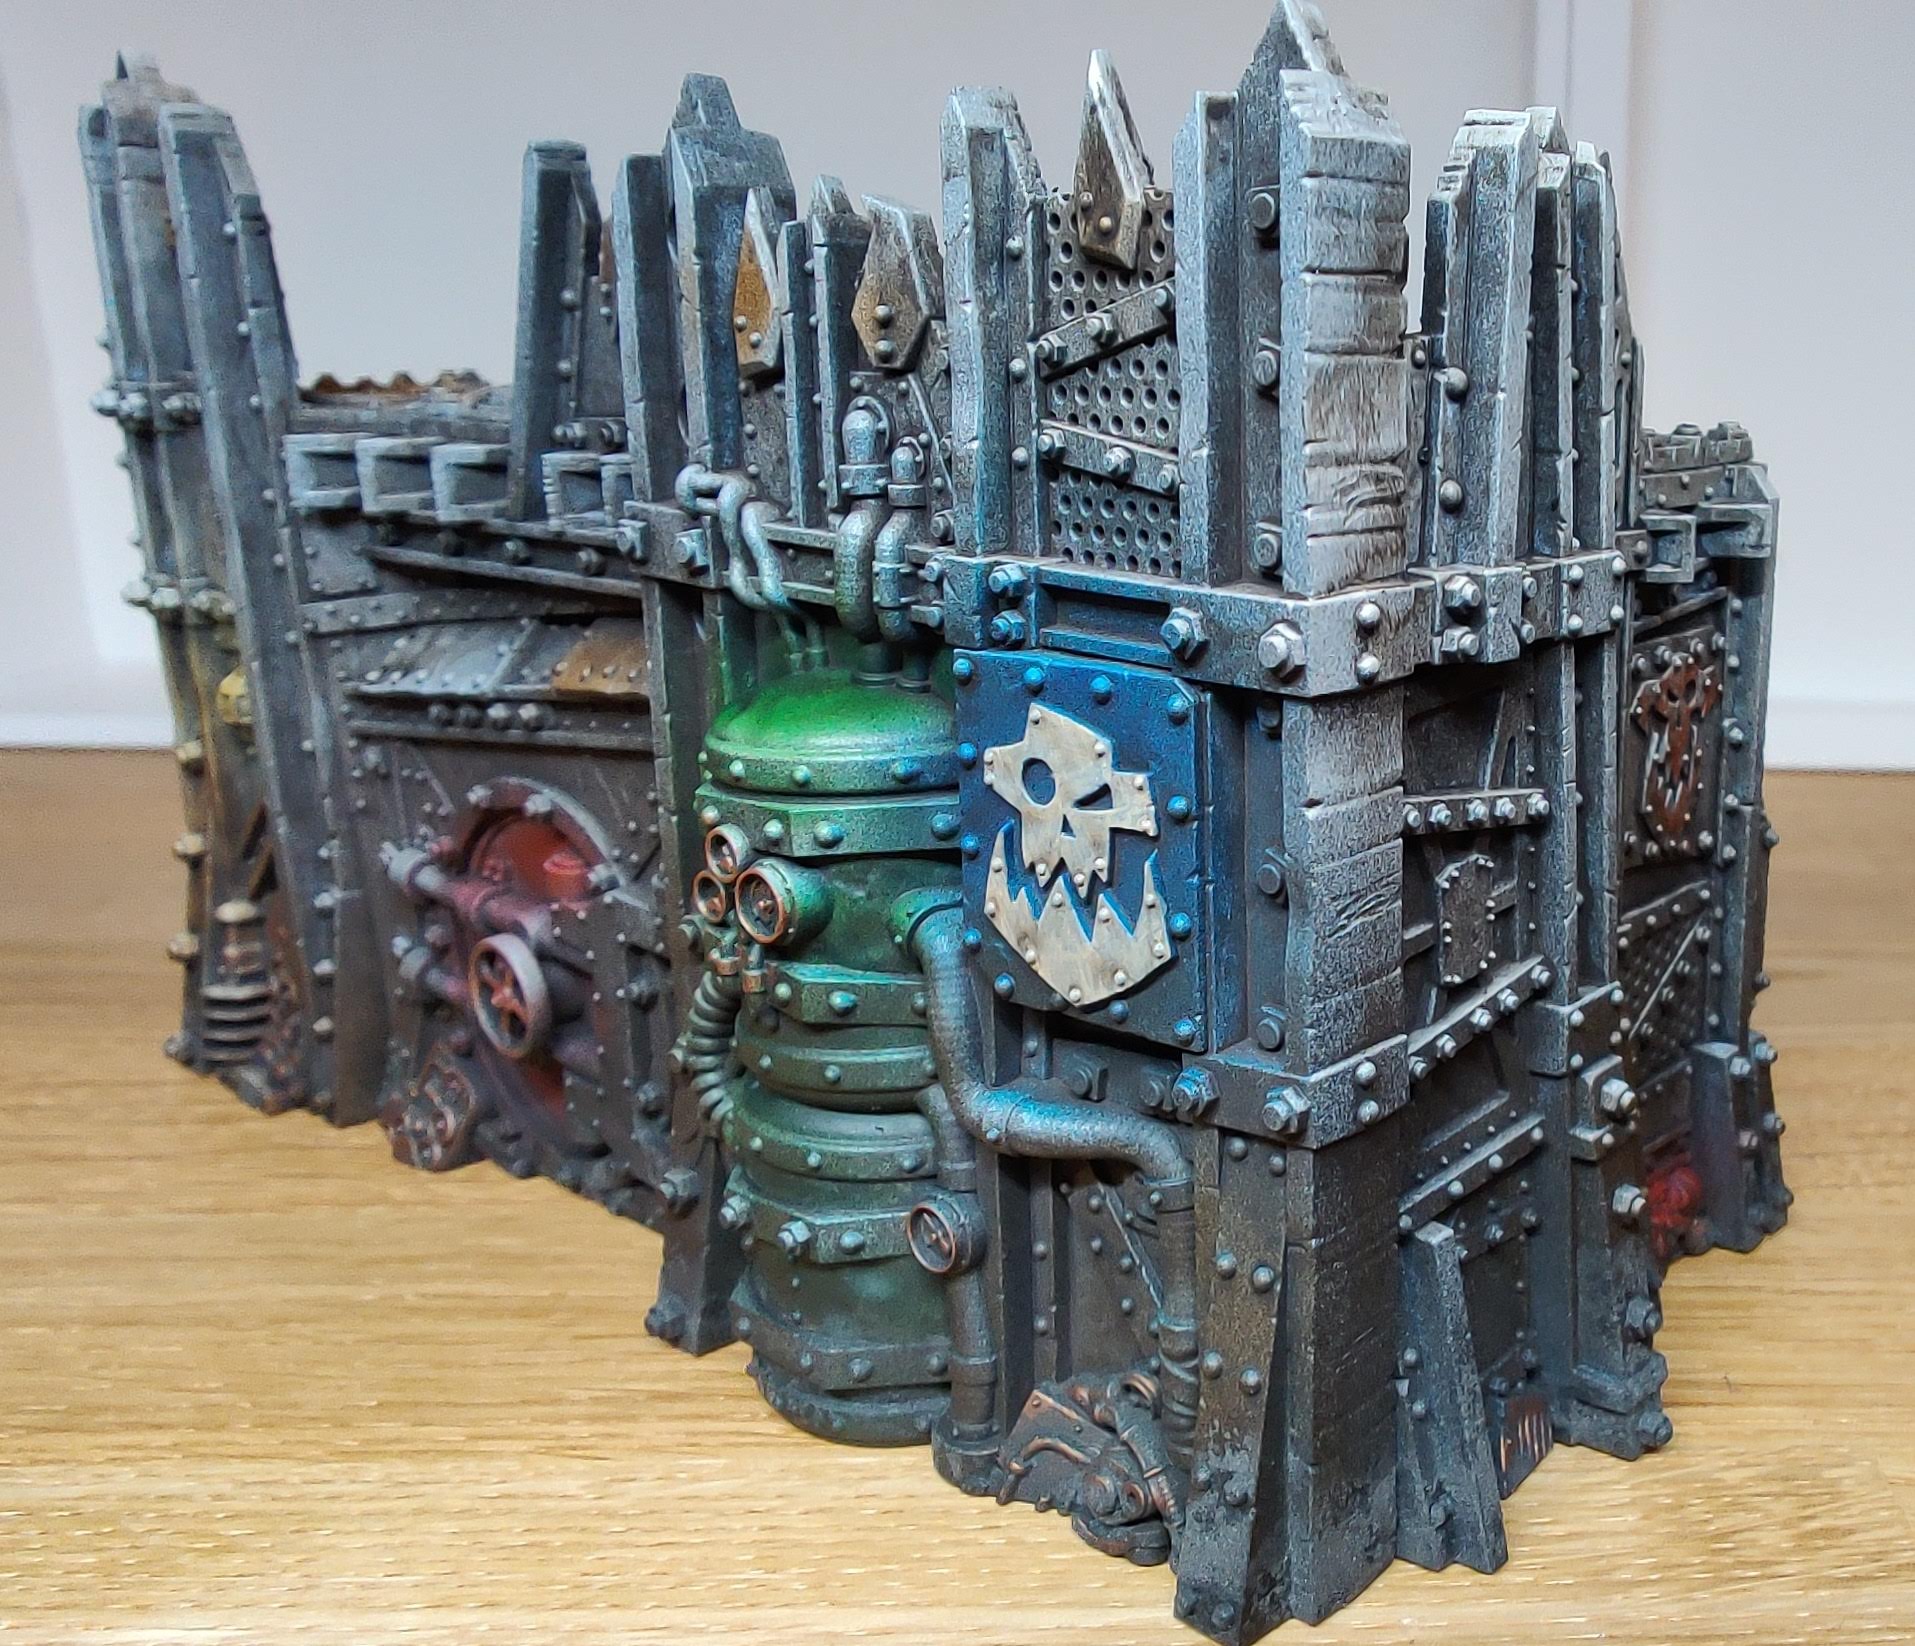
One easy option was to use a few different metallic paints to quickly brush-paint various vents, grilles and grates, and to drybrush broken engines and other assorted junk parts. The tiny metallic flakes in the paint and the way light catches them stands out and reads as a different material. I also decided to try out using inks through my airbrush for the first time. I’d bought a few expensive artist inks a while back, before realising there were cheaper options, but had yet to use them. The sepia ink ended up doing a lot of work but I also used my brick red, yellow and black inks to selectively tint different parts of the terrain. Because inks are very translucent, as well as easily mixed, I was able to get more of a variety of colours onto the terrain with little effort, and enjoyed just placing some paint where I thought it might look cool.
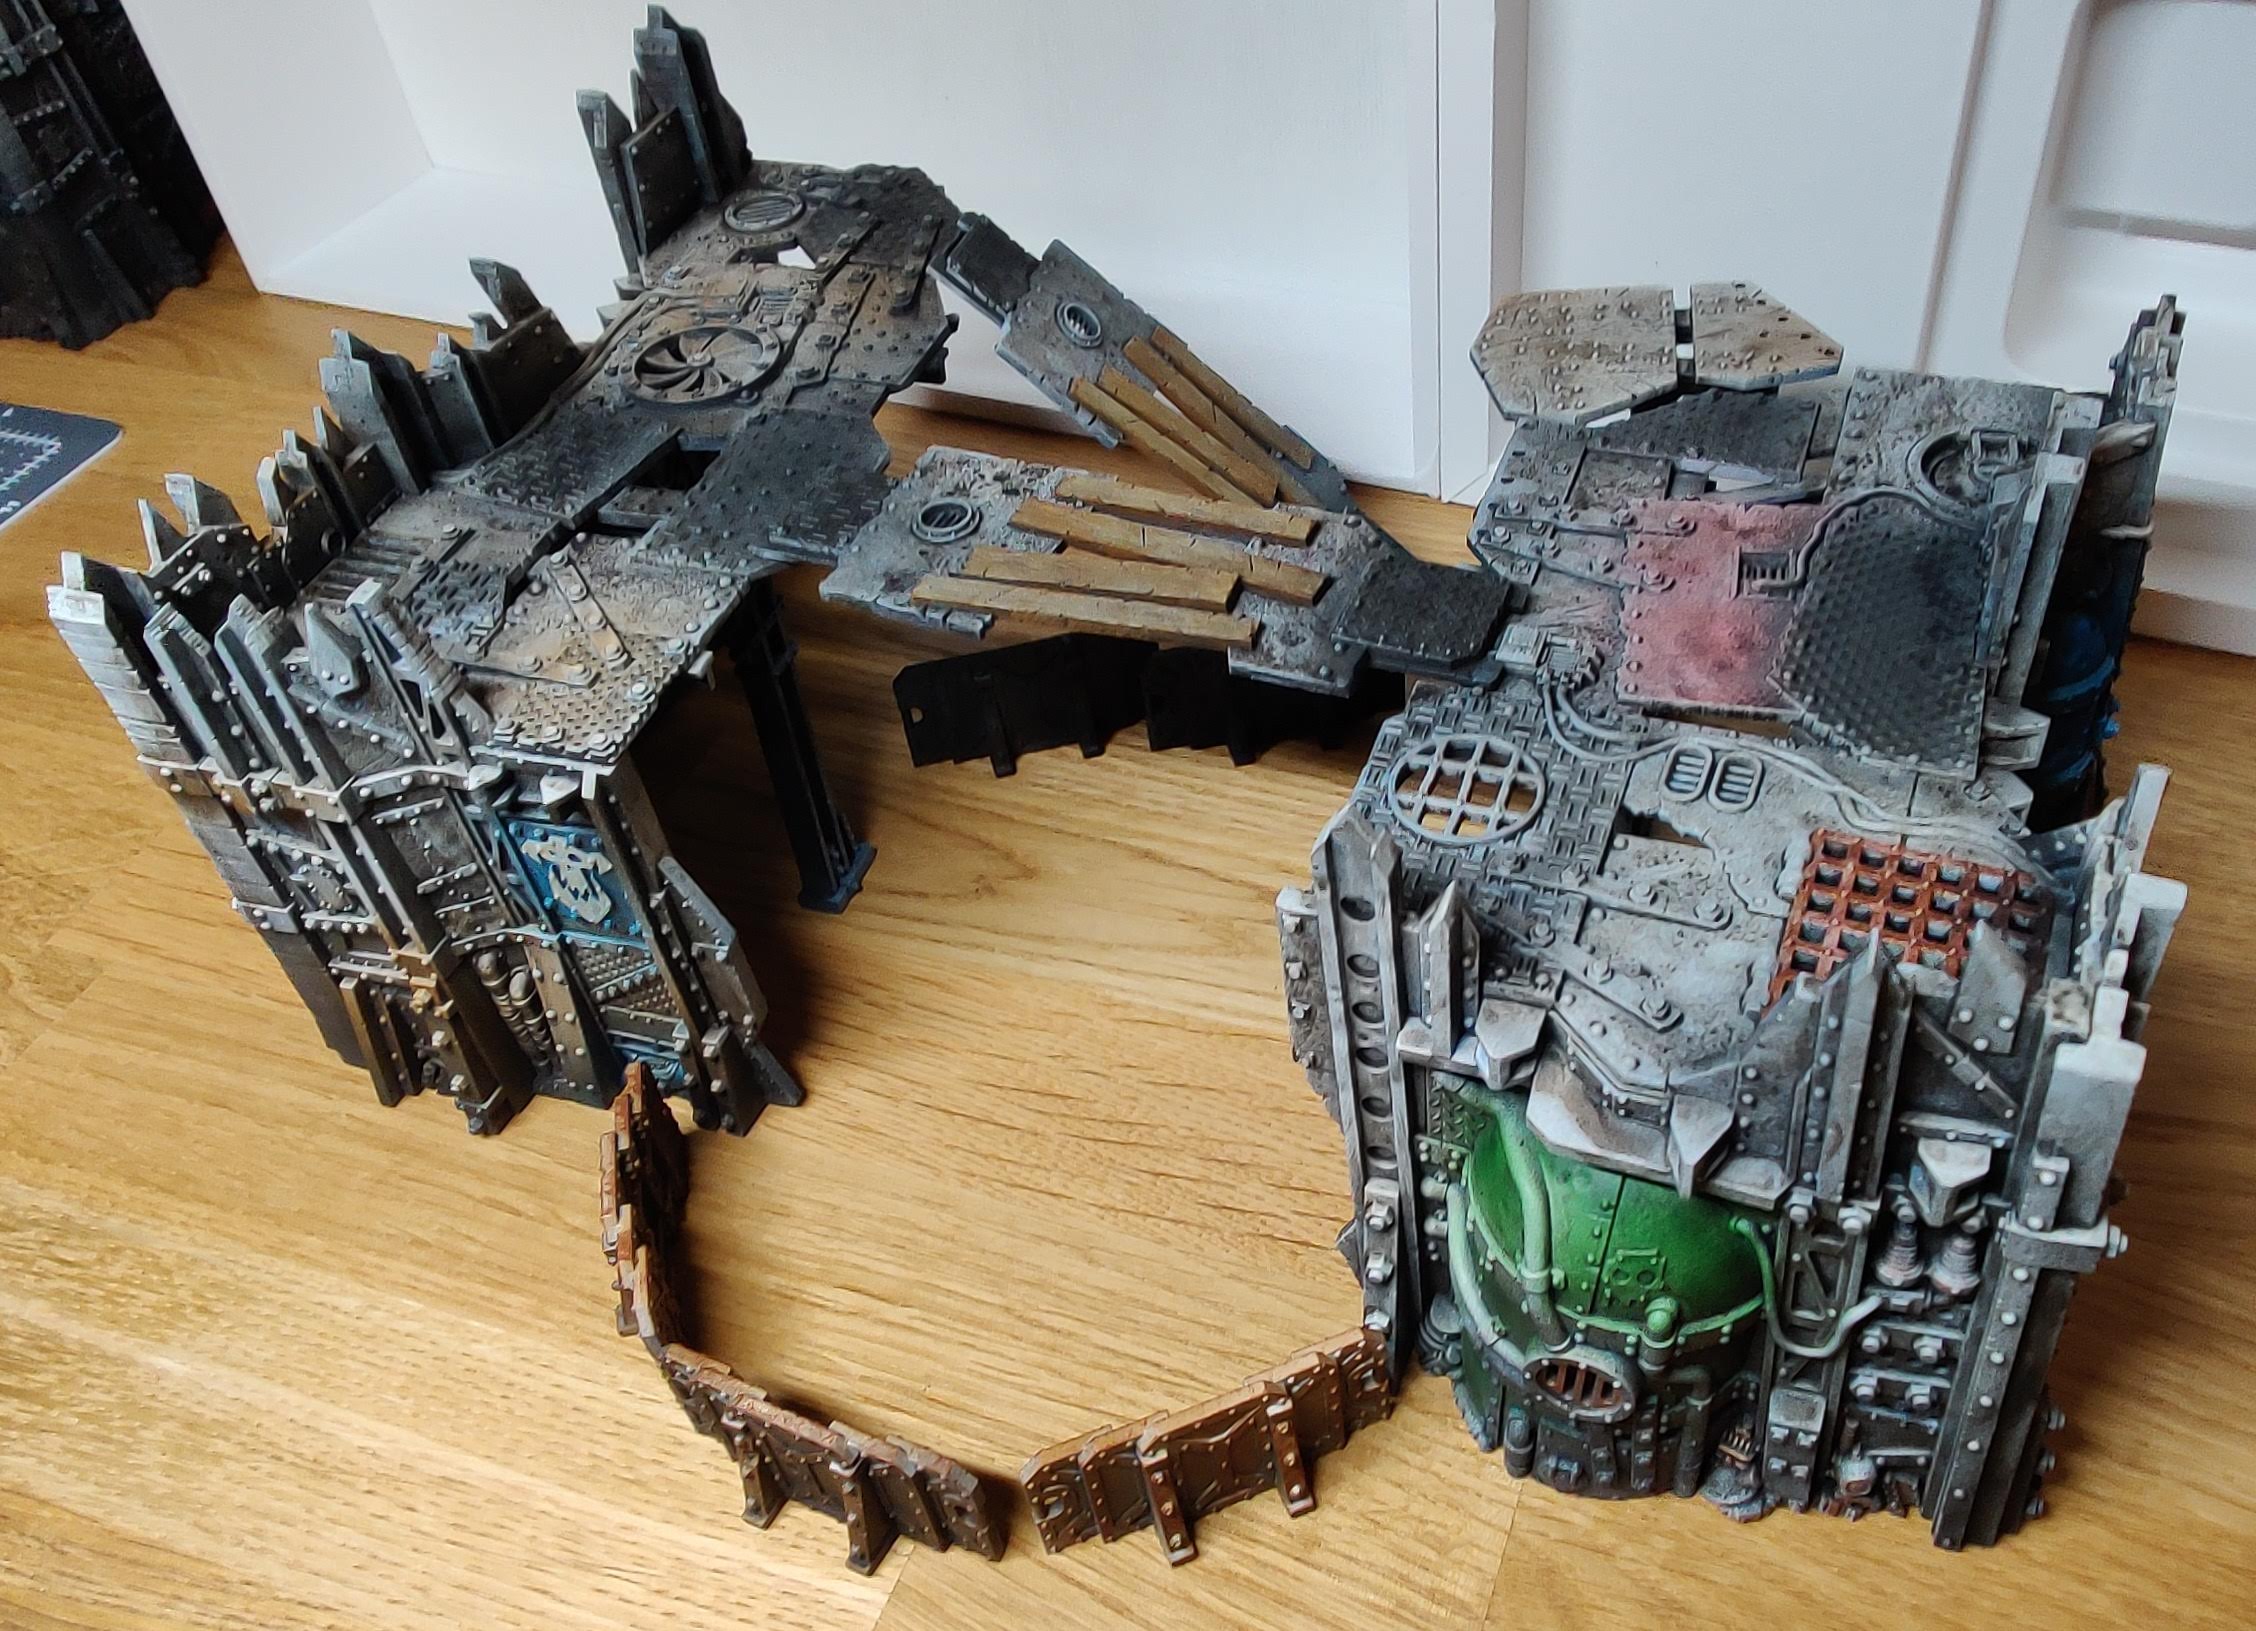
After that, it was time for the oil washes. This took longer than I expected. Part of that was getting the consistency and quantity of the dilute oil paint right, and part of it was getting used to the application and selecting appropriate brushes, but it was also just the awkwardness of working with materials that you don’t want to spill and stain furniture with! My first session was a little frustrating, but in the second I had a lot more fun time slopping oils everywhere. I used make-up sponges with a touch of turpentine on them to remove oil paint from the raised areas and biggest surfaces, trying to be delicate as I removed paint. I’m not an artist and can’t speak with any authority, but I can say that at least with miniature painting, working with oils is a subtractive process. This was quite different to anything I’d done with acrylics.
Once the oils were applied, subtracted, and left to dry and cure for a day or two, I was almost finished. I did a few touch-ups here and there with the brush. On one piece of terrain I dabbled with using some dried pigments – another tool in my tool box that I’ve never really used, and don’t understand well – and this looked great in close-ups but almost undiscernible by the human eye, so I decided not to do the same for every model. I think this was mostly a matter of colour, as the pigments I had were a dark ash grey, which was very close to the base colour of the lowest parts of the terrain – if I had ferrous rust coloured pigments I think that would have looked great. As I didn’t have that, I added a few layers of protective matte varnish with my airbrush, and I was done!
This terrain does exactly what I wanted it to do. It’s not the best-looking and there’s evidence aplenty of sloppy execution, but what it does do well is provide some great terrain for the tabletop, offering a variety of visual interest without stealing attention from the smaller models that ought to be the focus. The different techniques I used did, ultimately, contribute a great deal to the final result, for relatively little time invested. I will absolutely use similar approaches in future terrain projects.