Cut to May 2020, where I pluck from a shelf the neglected Warhammer 40,000 starter set and paints that I’d been gifted a few years before, and sit down to paint a miniature. Our establishing shot runs into a timelapse, showing how I enjoy the process and – over the next several months – paint all of the Death Guard miniatures in that starter set: three Plague Marines and six Poxwalkers.
In a future post I may unpack my history with Warhammer, explore why I have returned to the hobby – and why now – as well as attempt to articulate why I’m finding it such a positive experience.
For now, though, I’ve decided to diarize my painting projects here on this erratically-updated blog. Although I’ve only 15 miniatures under my belt I’ve already learned and progressed noticeably in competence, technique and available equipment. I don’t want to forget the lessons I’ve learned or the experiences that generated them. So without further ado: here are the miniatures!
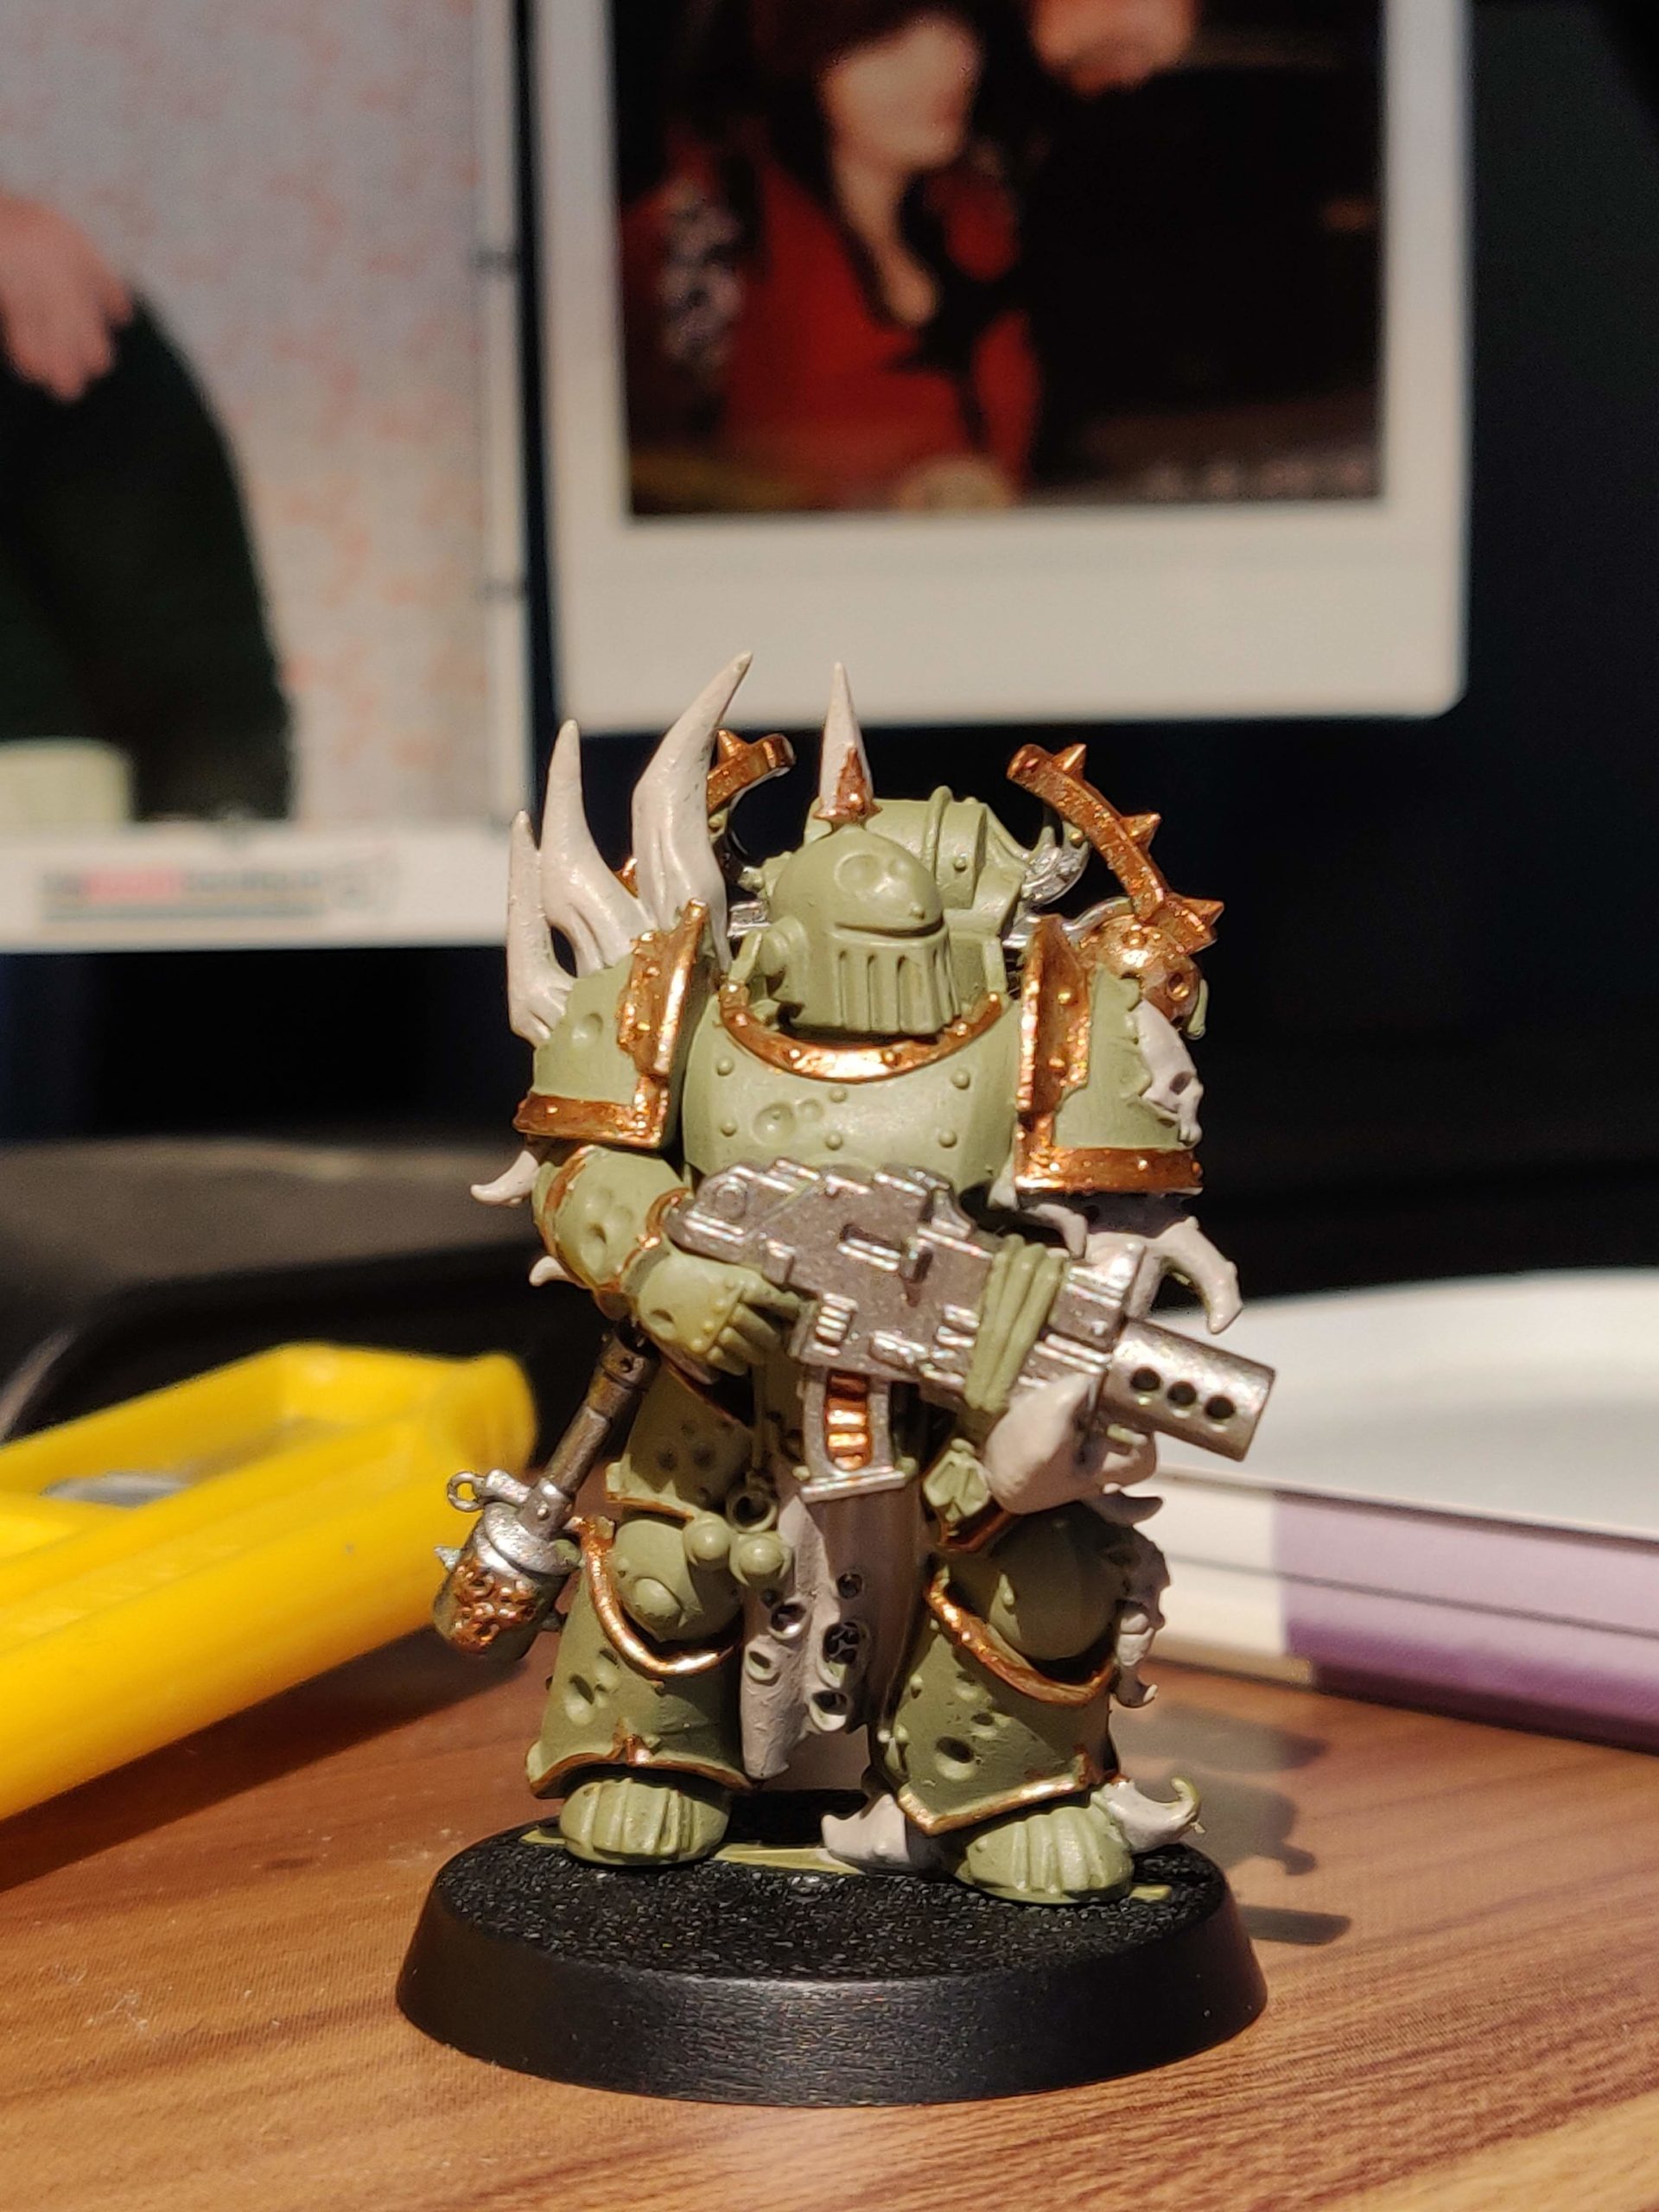
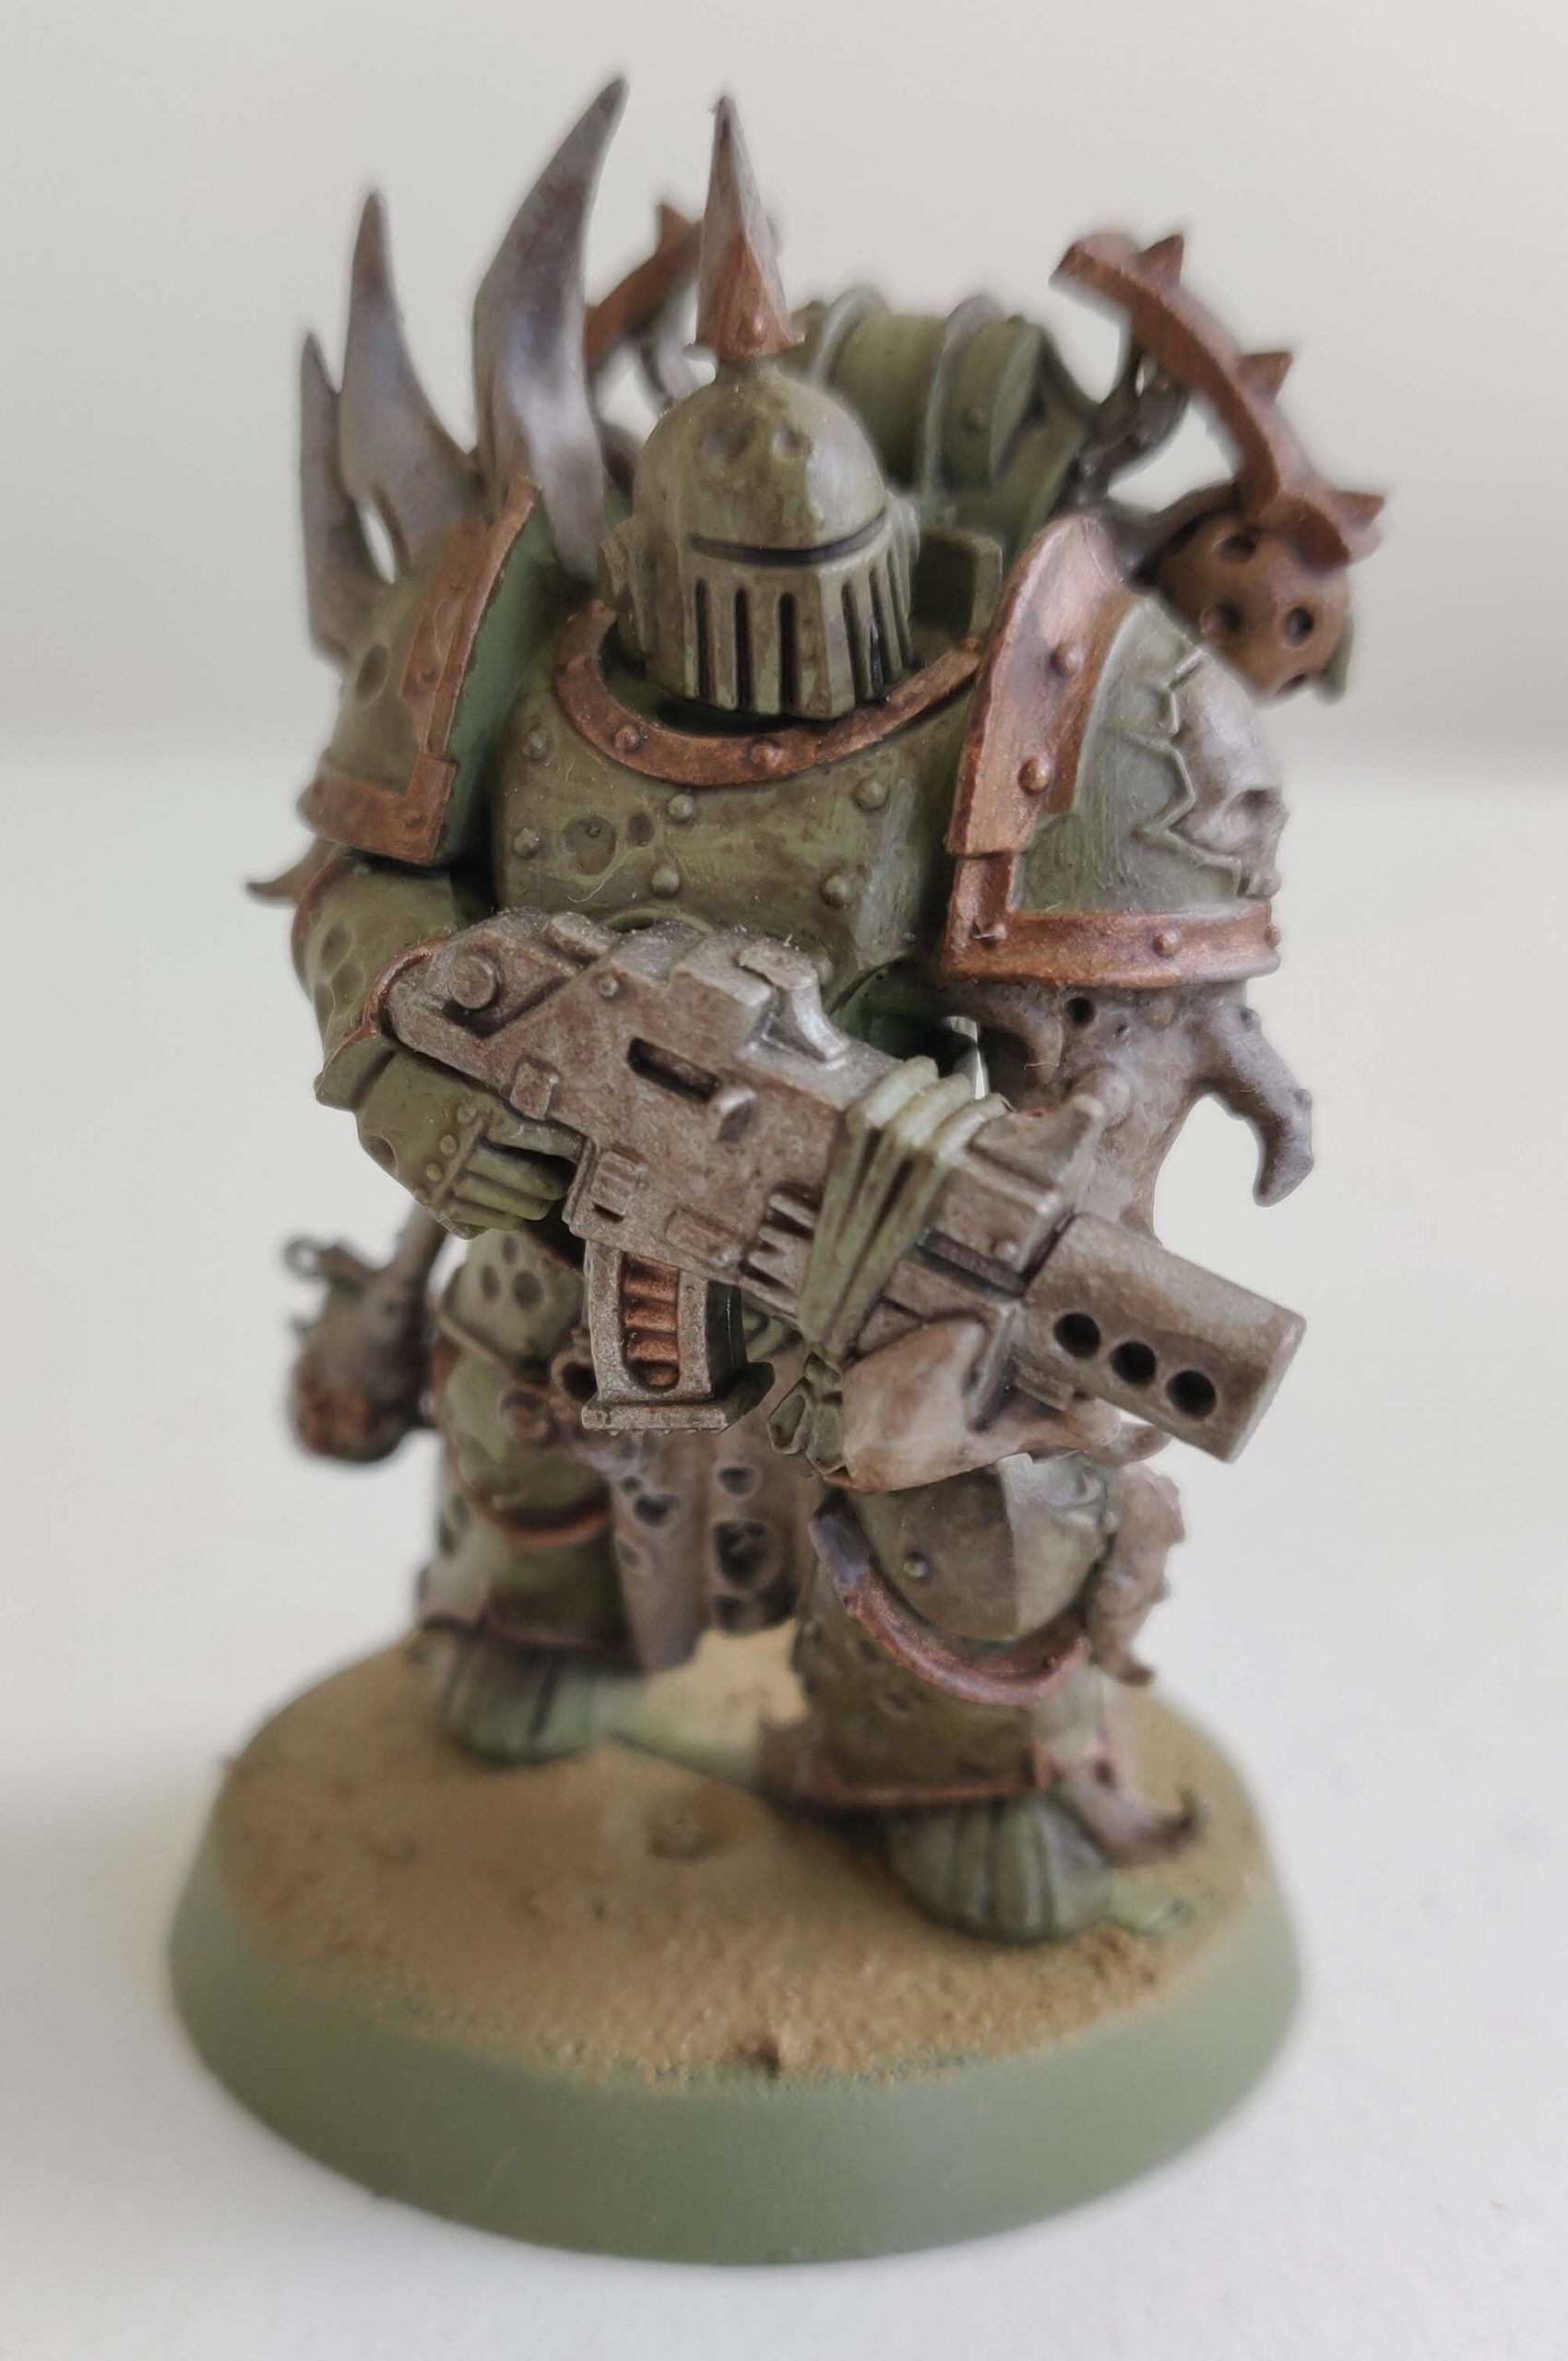
My first Plague Marine, with base coats only and then after washing, drybrushing and basing.

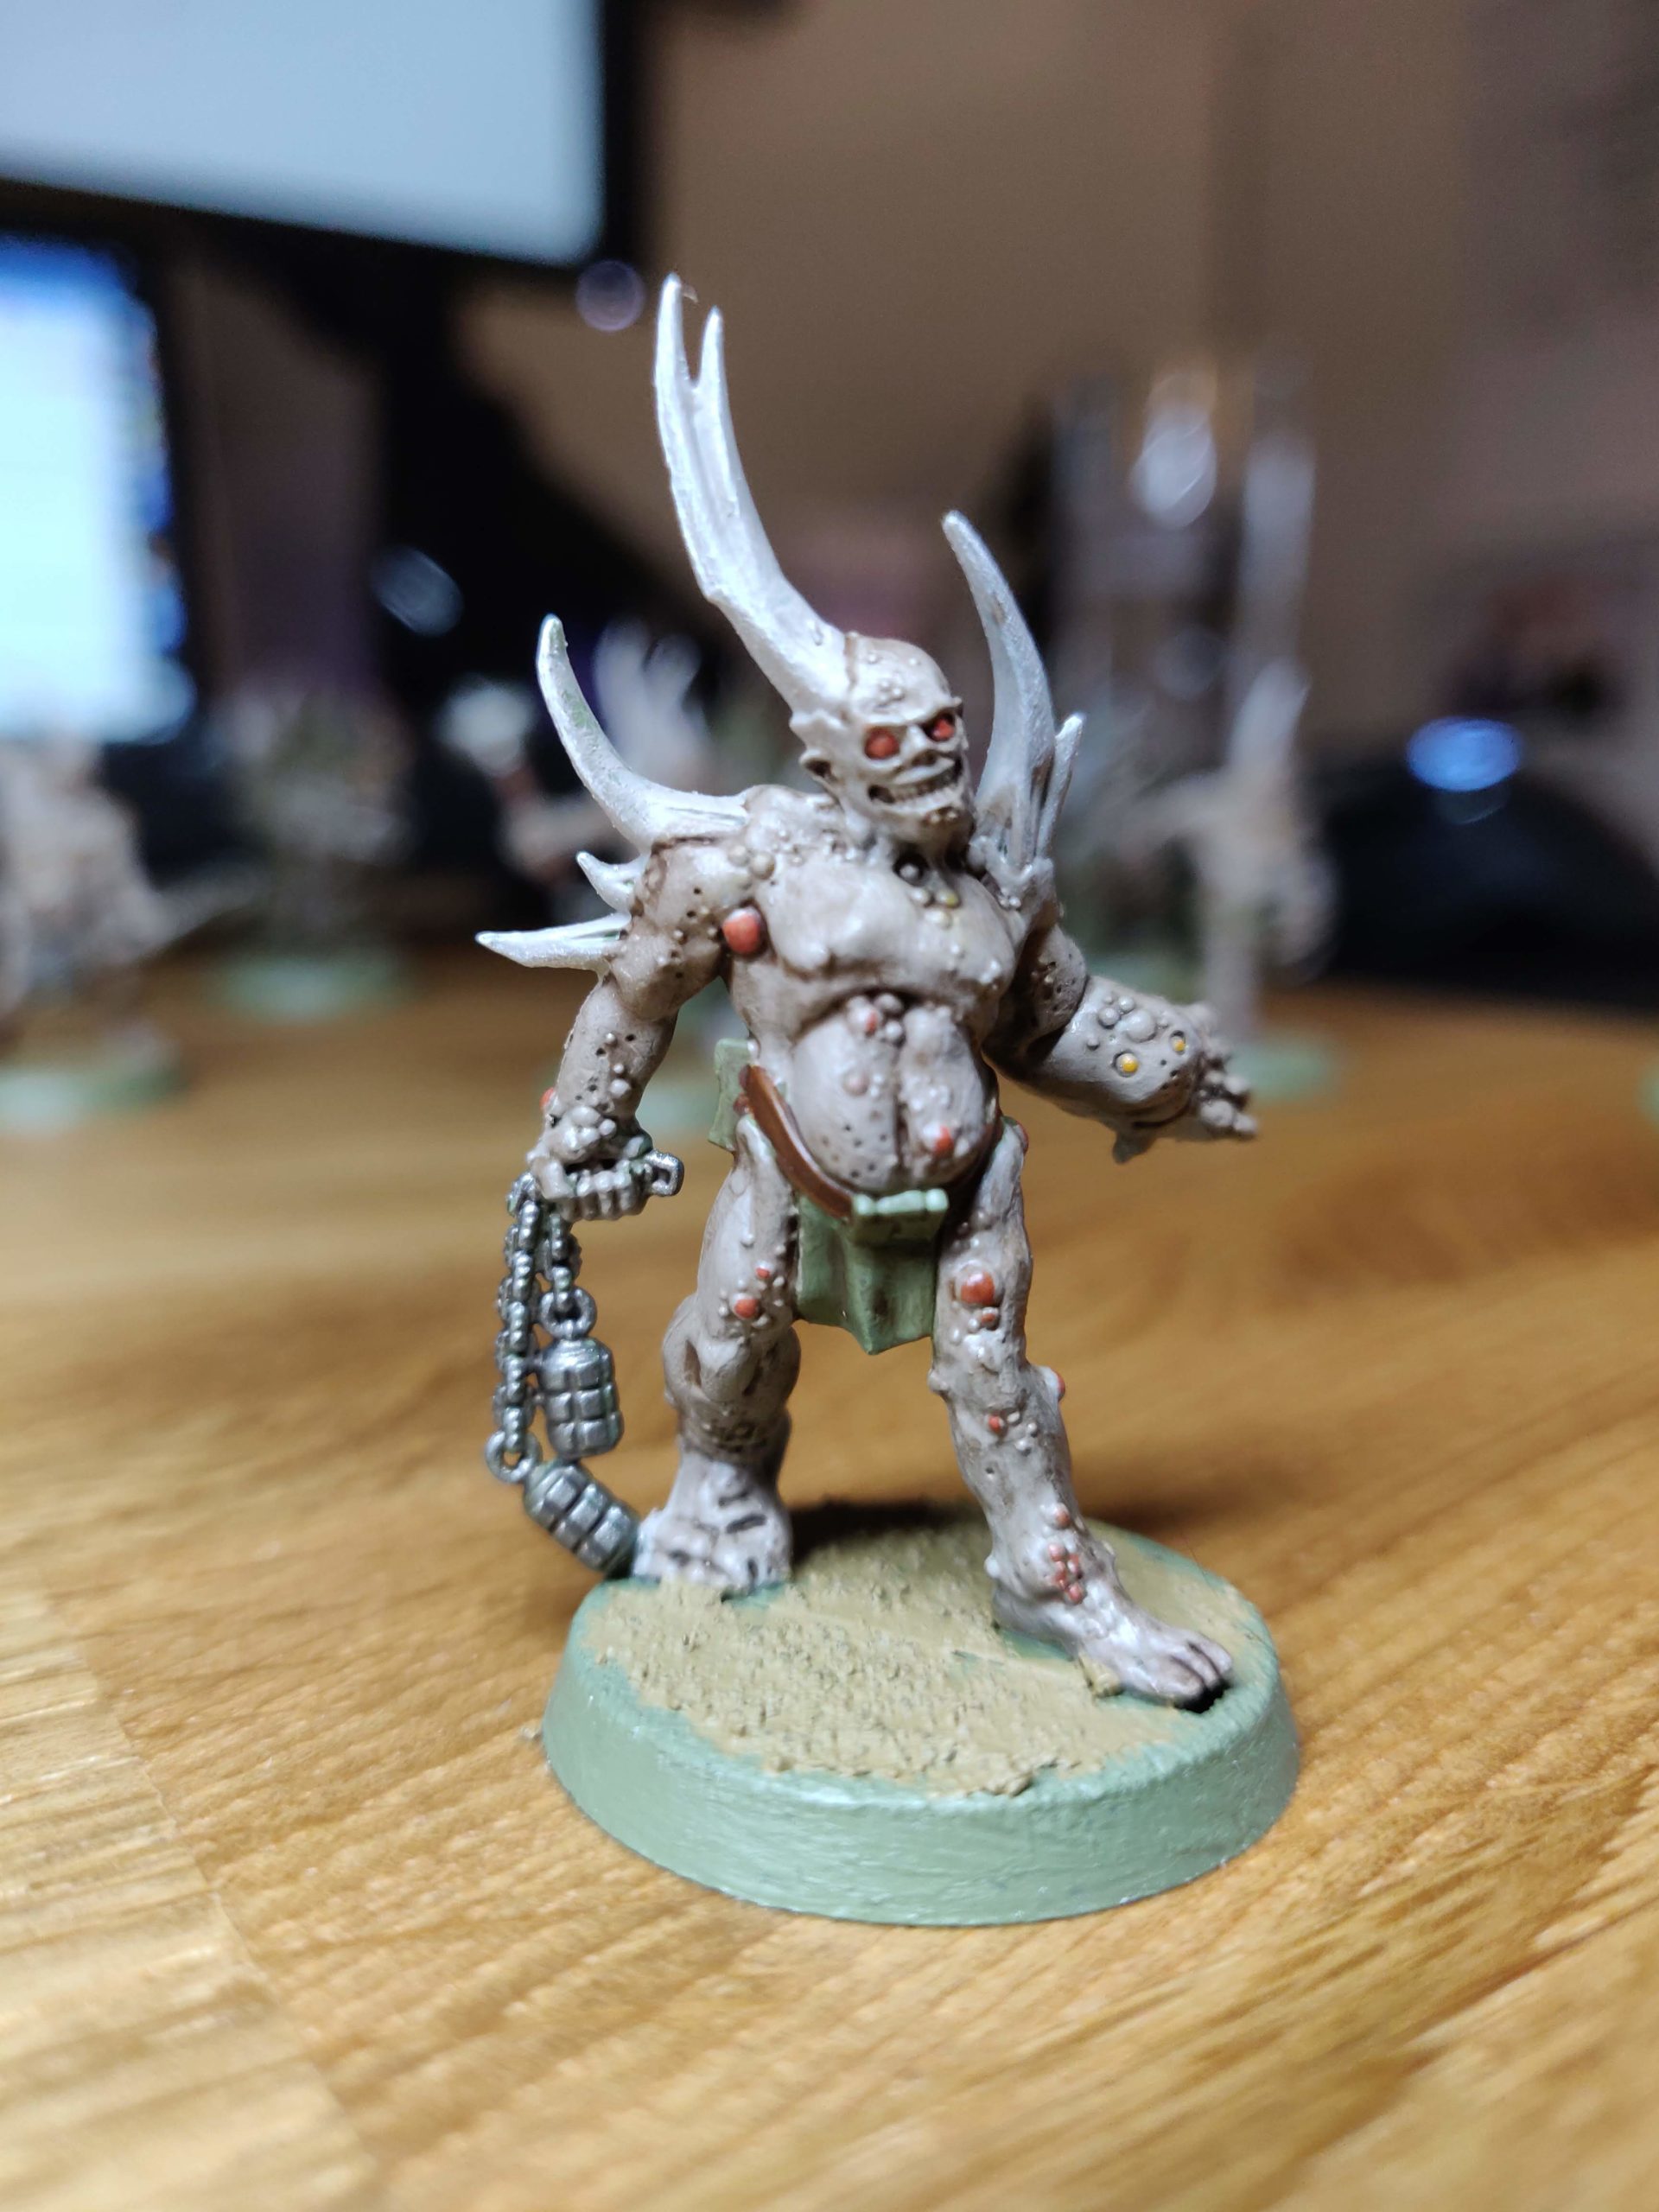

Three of my favourite Poxwalkers. No shots of the whole squad sadly, as my phone camera doesn’t have good enough settings to get them all in focus at once…
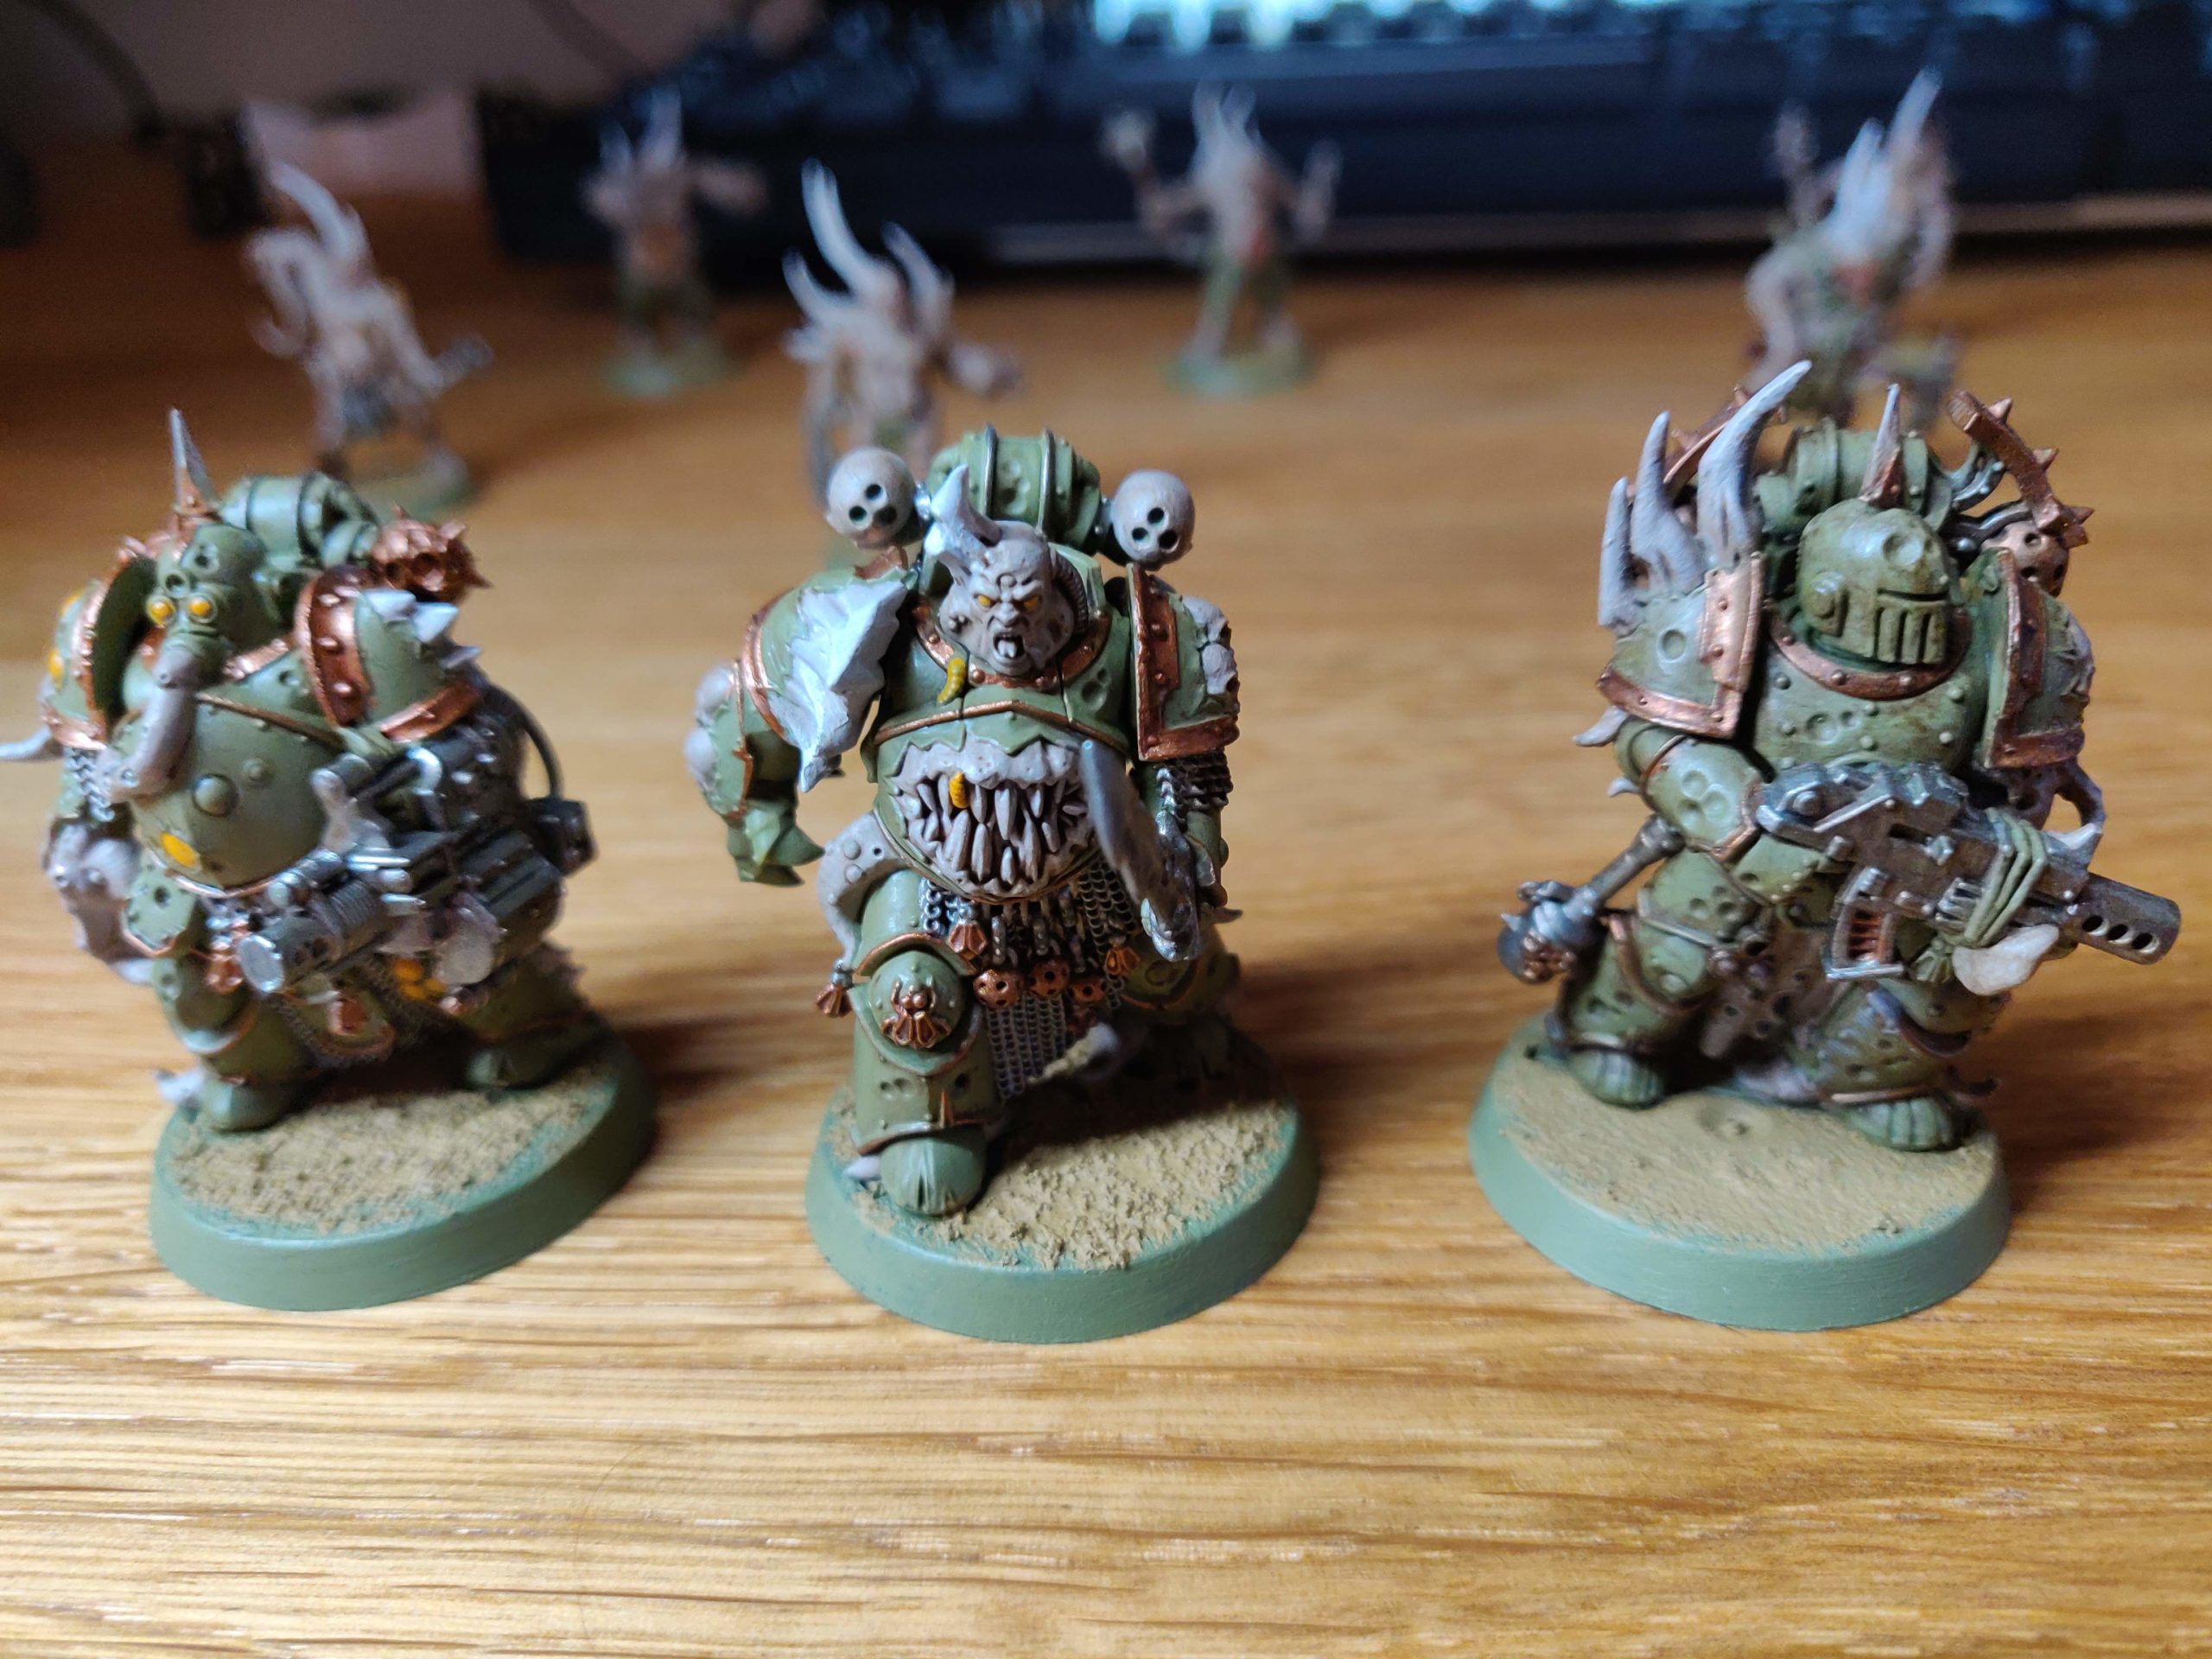
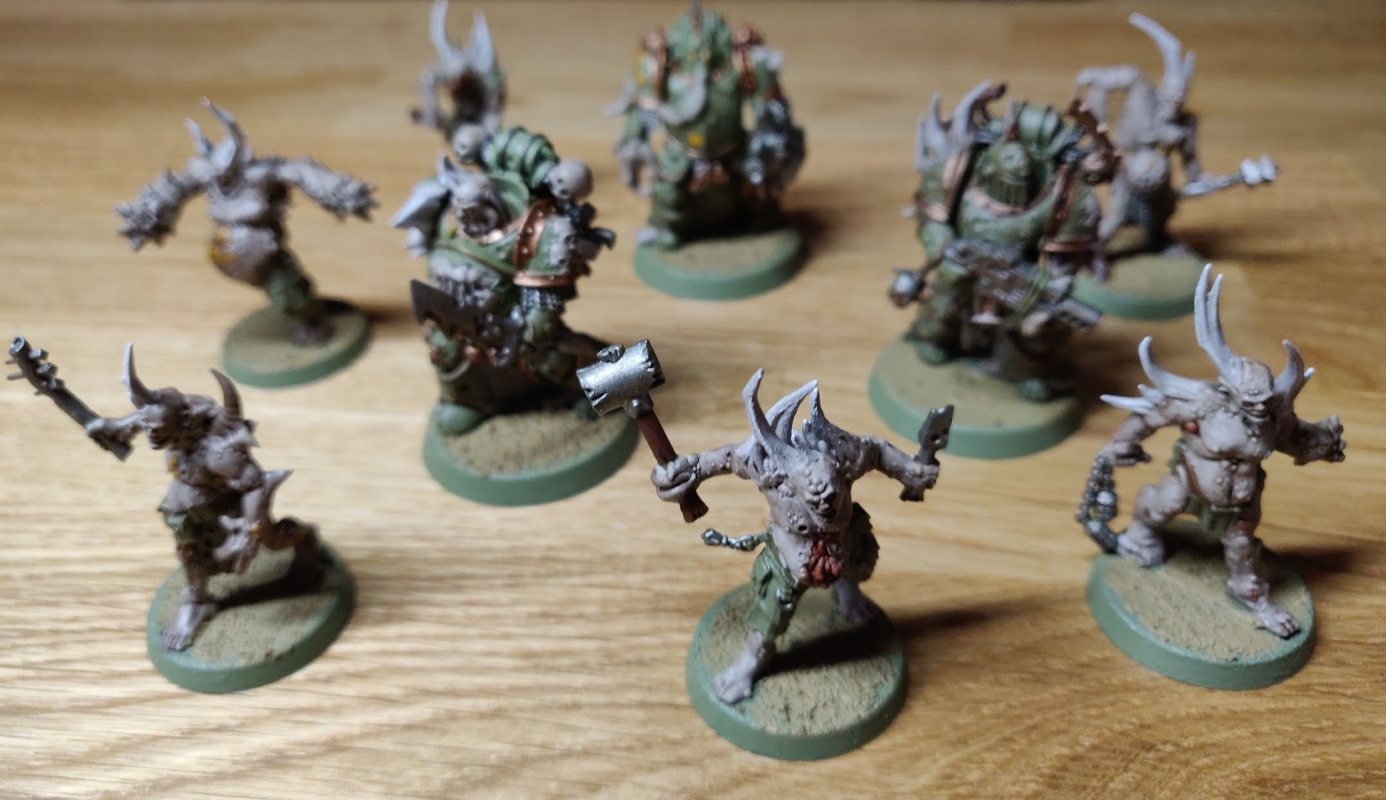
All three Plague Marines together, with the Poxwalkers lurking in the distance…
What am I pleased with?
For these miniatures I used only the 3ml paints in a Citadel starter set, and for most of them only the cheap starter brush from the same set was used. They’re also the first minis I’ve painted in over two decades. Given all of this, I’m very pleased with what I accomplished!
The coherence of the simple colour schemes is a strength, although the credit for that goes to Games Workshop’s “battle ready” painting tutorials in the starter set, which I followed closely. More significantly the use of washes and a little drybrushing stands in start contrast to my efforts as a teenager; the difference these two very simple techniques makes to the depth, contrast and texture of a miniature is amazing.
I enjoyed painting the Poxwalkers more than the Plague Marines. I’m not entirely sure why! Perhaps it’s that those more numerous but smaller miniatures had less detail, and demanded less precision work than the hard-edged armour of the Marines? Or perhaps they just have more character: those grinning, leering faces are great.
What have I learned?
Oh, so much, dear reader.
I should lead off by saying that alongside working on these miniatures I was watching YouTube tutorials from the very healthy online painting community, and the tips garnered in this way were invaluable.
Among such tips was how to construct my own wet palette. I used a small margarine pot, a folded piece of kitchen roll, a trickle of water and some baking paper over the top. This worked well! No water evaporated with the lid back on, and many paints were still usable the next day (some separated, including both metallics). More importantly, they stayed hydrated during my painting sessions, even though I wasn’t watering them down.
I also found a tip on Goobertown Hobbies (the Bob Ross of Warhammer painting) suggesting planting elbows and pressing one’s wrists together when holding miniature and brush. This provided a lot of stability which helped greatly with brush control and detail work. On the latter note: precision work is difficult! However, mistakes are rarely as bad as you think, and you can probably fix it later. I tried hard to keep this in mind, and focus instead on enjoying the process rather than kicking myself about clumsy errors. That said, being nicely caffeinated, and feeling patient and focused, were key. Sometimes I tried to paint when I was in a poor mood or state of ill rest, and it was not a good experience.
Out of ignorance, I gummed up my starter brush on day one by getting paint into the ferrule, and no amount of washing with water would fix this. Fortunately, whilst I was working on my Poxwalkers, I ordered new brushes (so I had a choice of more than one!) and some proper brush soap (another YouTube tip), which did an amazing job of getting that starter brush back into a usable state, without separating bristles.
At a more basic technical level, I noted that I should always consider the angle of my brush. Getting a small amount of paint on eyes, or along a ridged line, is easy to mess up from a bad angle. I’m sure this will come more naturally with experience, but a moment’s thought before putting brush to miniature will always help.
Whilst painting these miniatures I decided I only needed one all-over under/base coat of Death Guard Green. I justified this by the fact I was working quite slowly with a standard sized brush, and because the low humidity in Finland meant the paint dried very quickly – so I could layer over areas with poor coverage as I went. I found the same when basecoating other colours over that Green. I do wonder if some paint will chip off over time – apparently this is a risk with only one layer of paint, and when not priming miniatures.
When it came to shading with washes – Agrax Earthshade to be precise – I noticed they left a ‘film’ on flat or curved surface areas. I thought this actually looks really appropriate for icky Nurgle miniatures, but I don’t think it will look good on, say, the clean and smooth surfaces of a Space Marine. I learned it is fairly easy to tidy this up as you go by wicking the excess wash back onto a paintless brush, but this does make the wash more time consuming to apply. Still, this suggests that taking your time with a wash is worthwhile to get a better result.
Finally, I found that I did not like working with the Armageddon Dust texture paint at all. I found it a lot more fiddly to get into place than the flock I remember from my youth. Rose tinted glasses, perhaps? Anyway, I decided the trick was to not be stingy with it, even though the 3ml pots in my starter set are the definition of stingy… even after trying to use more, none of the bases on these miniatures look good at all.
What will I try in future?
It was immediately evident that one substantial improvement would be to properly clean up future miniatures with the mouldline remover and files I bought recently. These miniatures are great quality with relatively few marks from production, but you can still see where they were removed from the sprues. When I built them I only had the clippers from the painting starter set, an ancient rusty craft knife and some emery boards.
I also thought about adding additional colour and detail without compromising the colour scheme. I thought the guides Games Workshop offer online or in their app would help with this – although of course they suggest you own a good dozen paints for any one miniature, which isn’t economical.
I also decided to experiment with shading and edging techniques to give more definition to the miniatures.
Looking at them again after a bit more time has passed, it’s very clear to me that the bases are terrible – I’ll do better with my next Death Guard miniatures! – and although the very simple colour scheme works, it would be nice to have added more variation and broken up some of the more detailed features like weapons more.
If you’ve read this far, dear reader, it would also be wonderful to hear your thoughts. Particularly on whether you think texture paints are worth giving another shot…