Something that a lot of beginner painters like me dislike is painting flesh. As a friend of mine put it, “I fucking hate painting skin. It’s got so bad I avoid it entirely by having helmets on all my Marines and making my Necromunda dudes look kinda SWAT team-ish with minimal skin exposure.”
It’s no wonder that it can feel like a challenge. If there’s one thing that humans innately know the look of, it’s human skin and flesh. With most surfaces and materials we paint on miniatures there’s great generosity in interpretation and innovation, but it’s all too easy for skin to just look wrong.
But, continuing the quote from my friend, “I really should just practice on some of my random left overs.” That’s all we can do: practice, learn, get better.
“Ever tried. Ever failed. No matter. Try again. Fail again. Fail better.”
Samuel Beckett, famous miniature painter
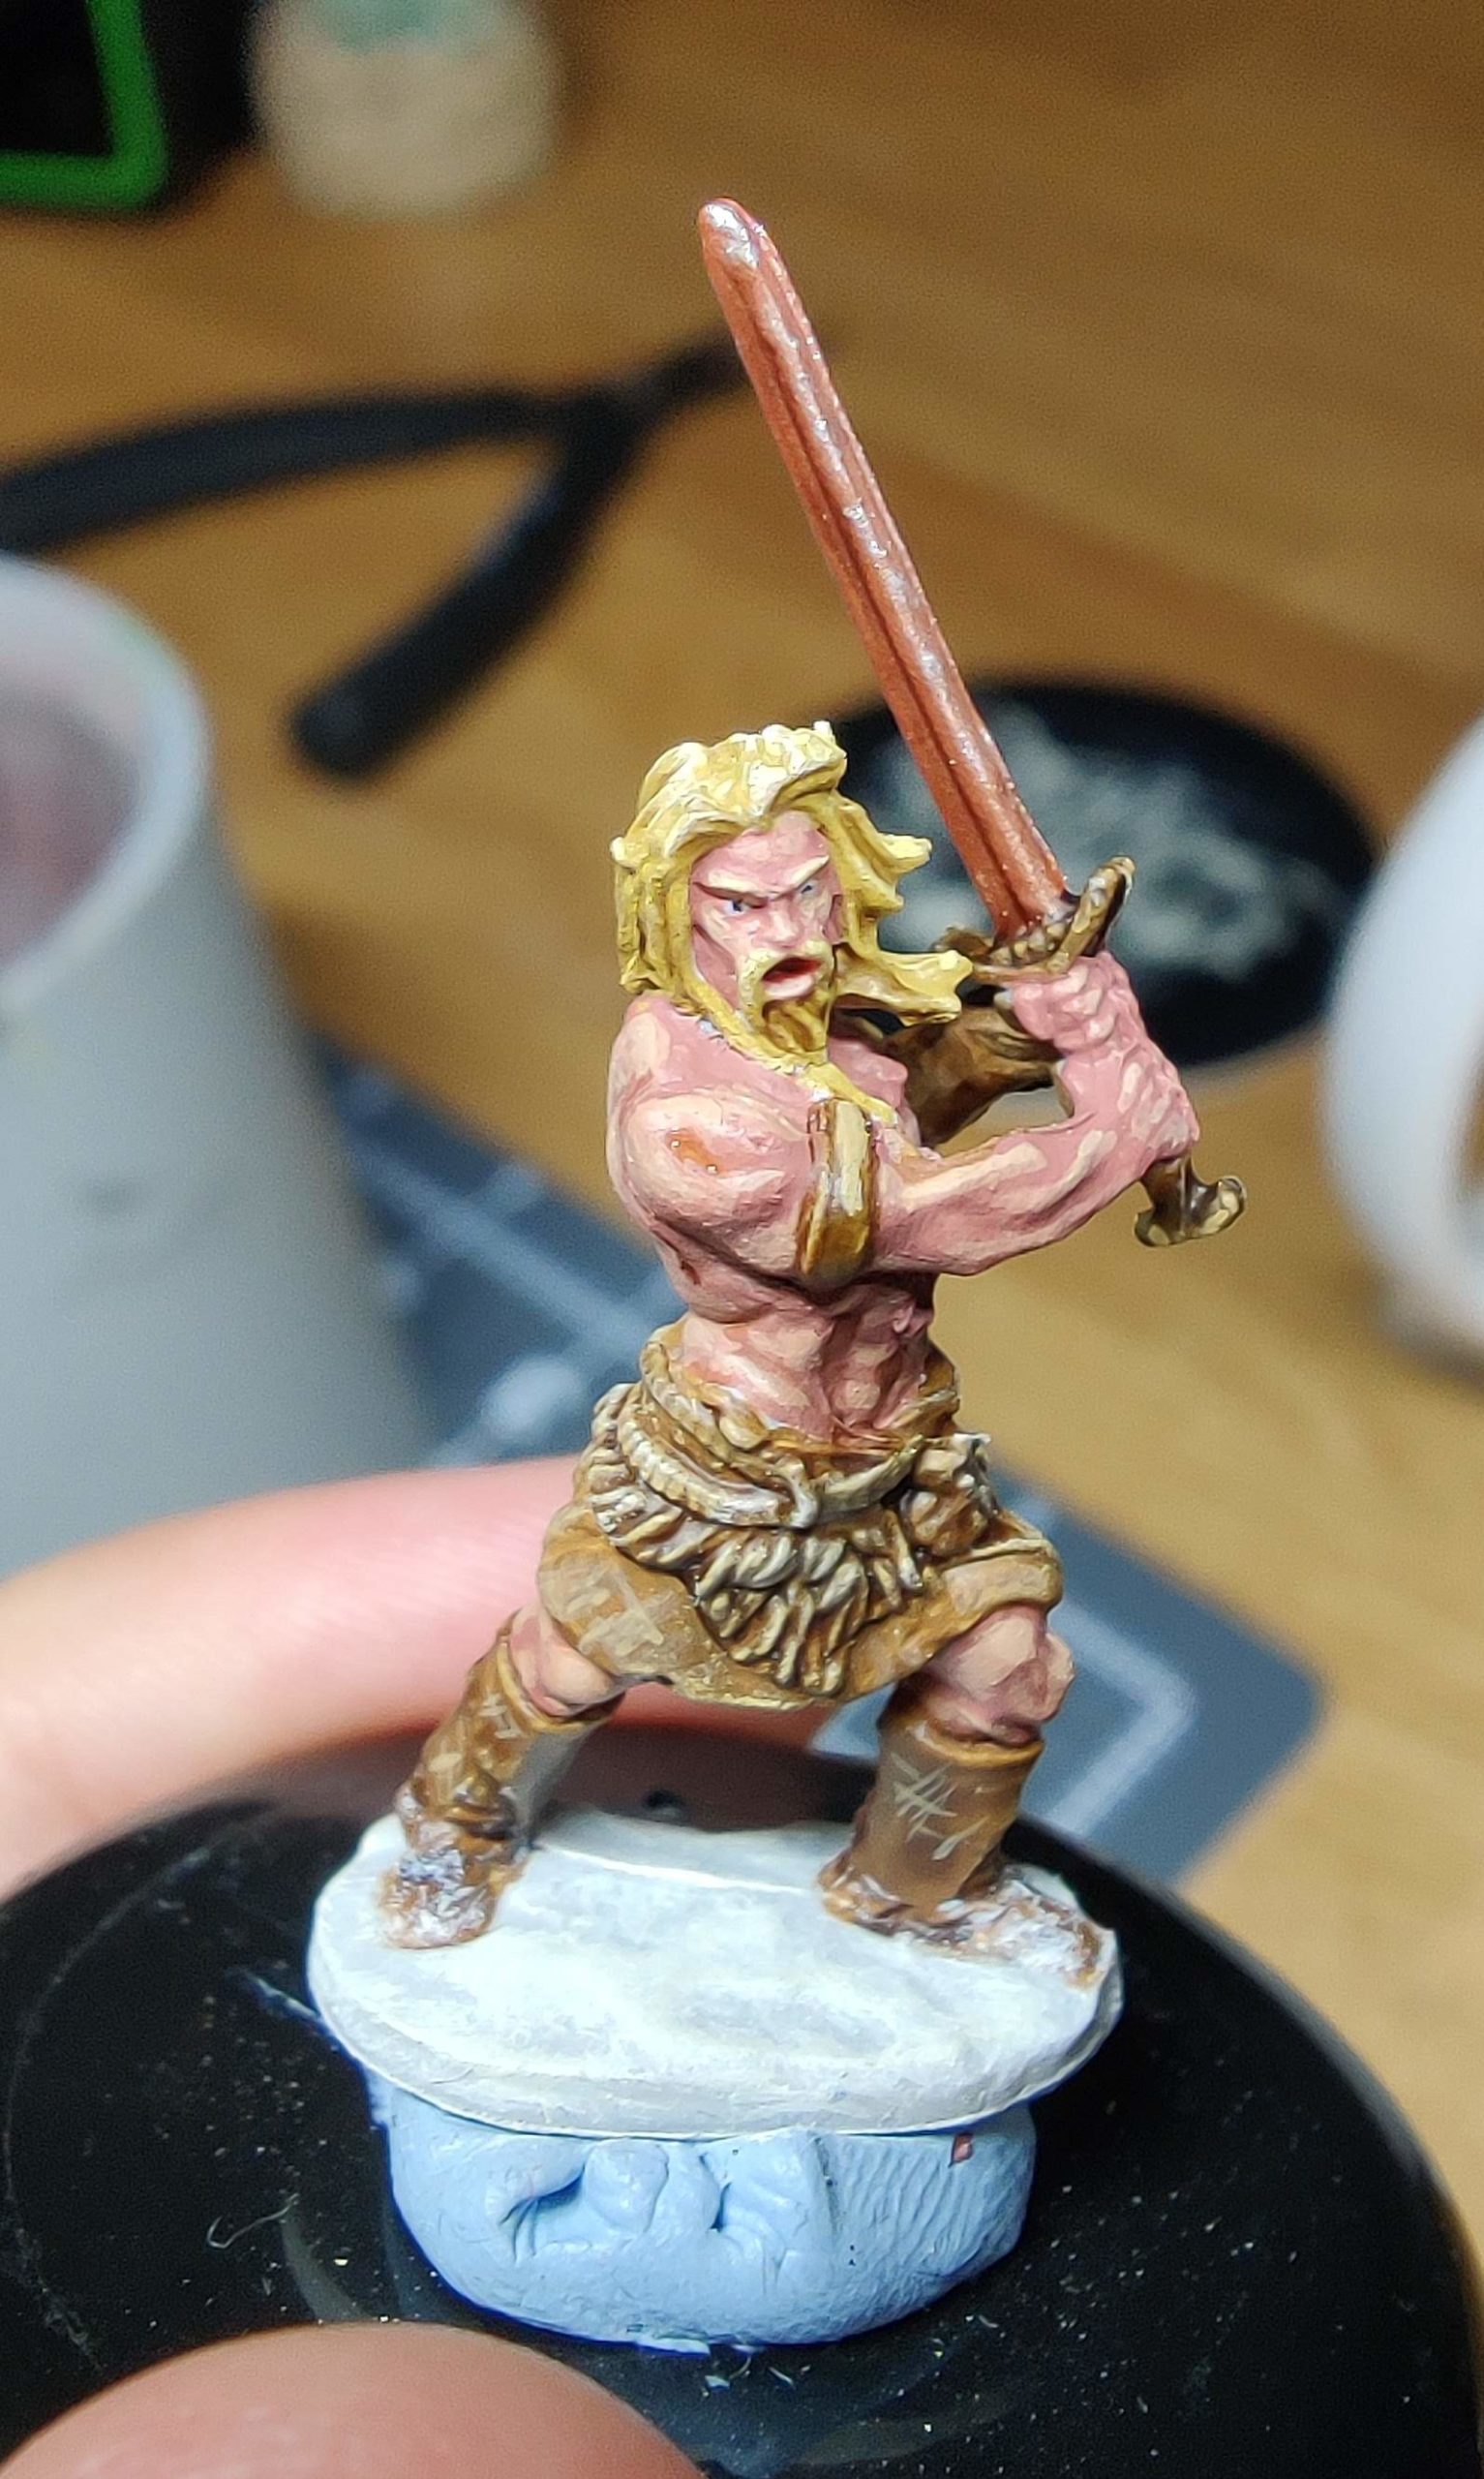
So, this Barbarian miniature is a Wizkids model. You can’t find cheaper than Wizkids, at least in my experience, and that makes their models perfect for practicing on. The downside is that the plastic can be warped and sometimes parts of the cast are just completely fucked up, like this guy’s front torso, and you just have to work with them as best you can. I got two barbarians in a pack for Eur6 specifically for practicing skin, and this guy was my first attempt.
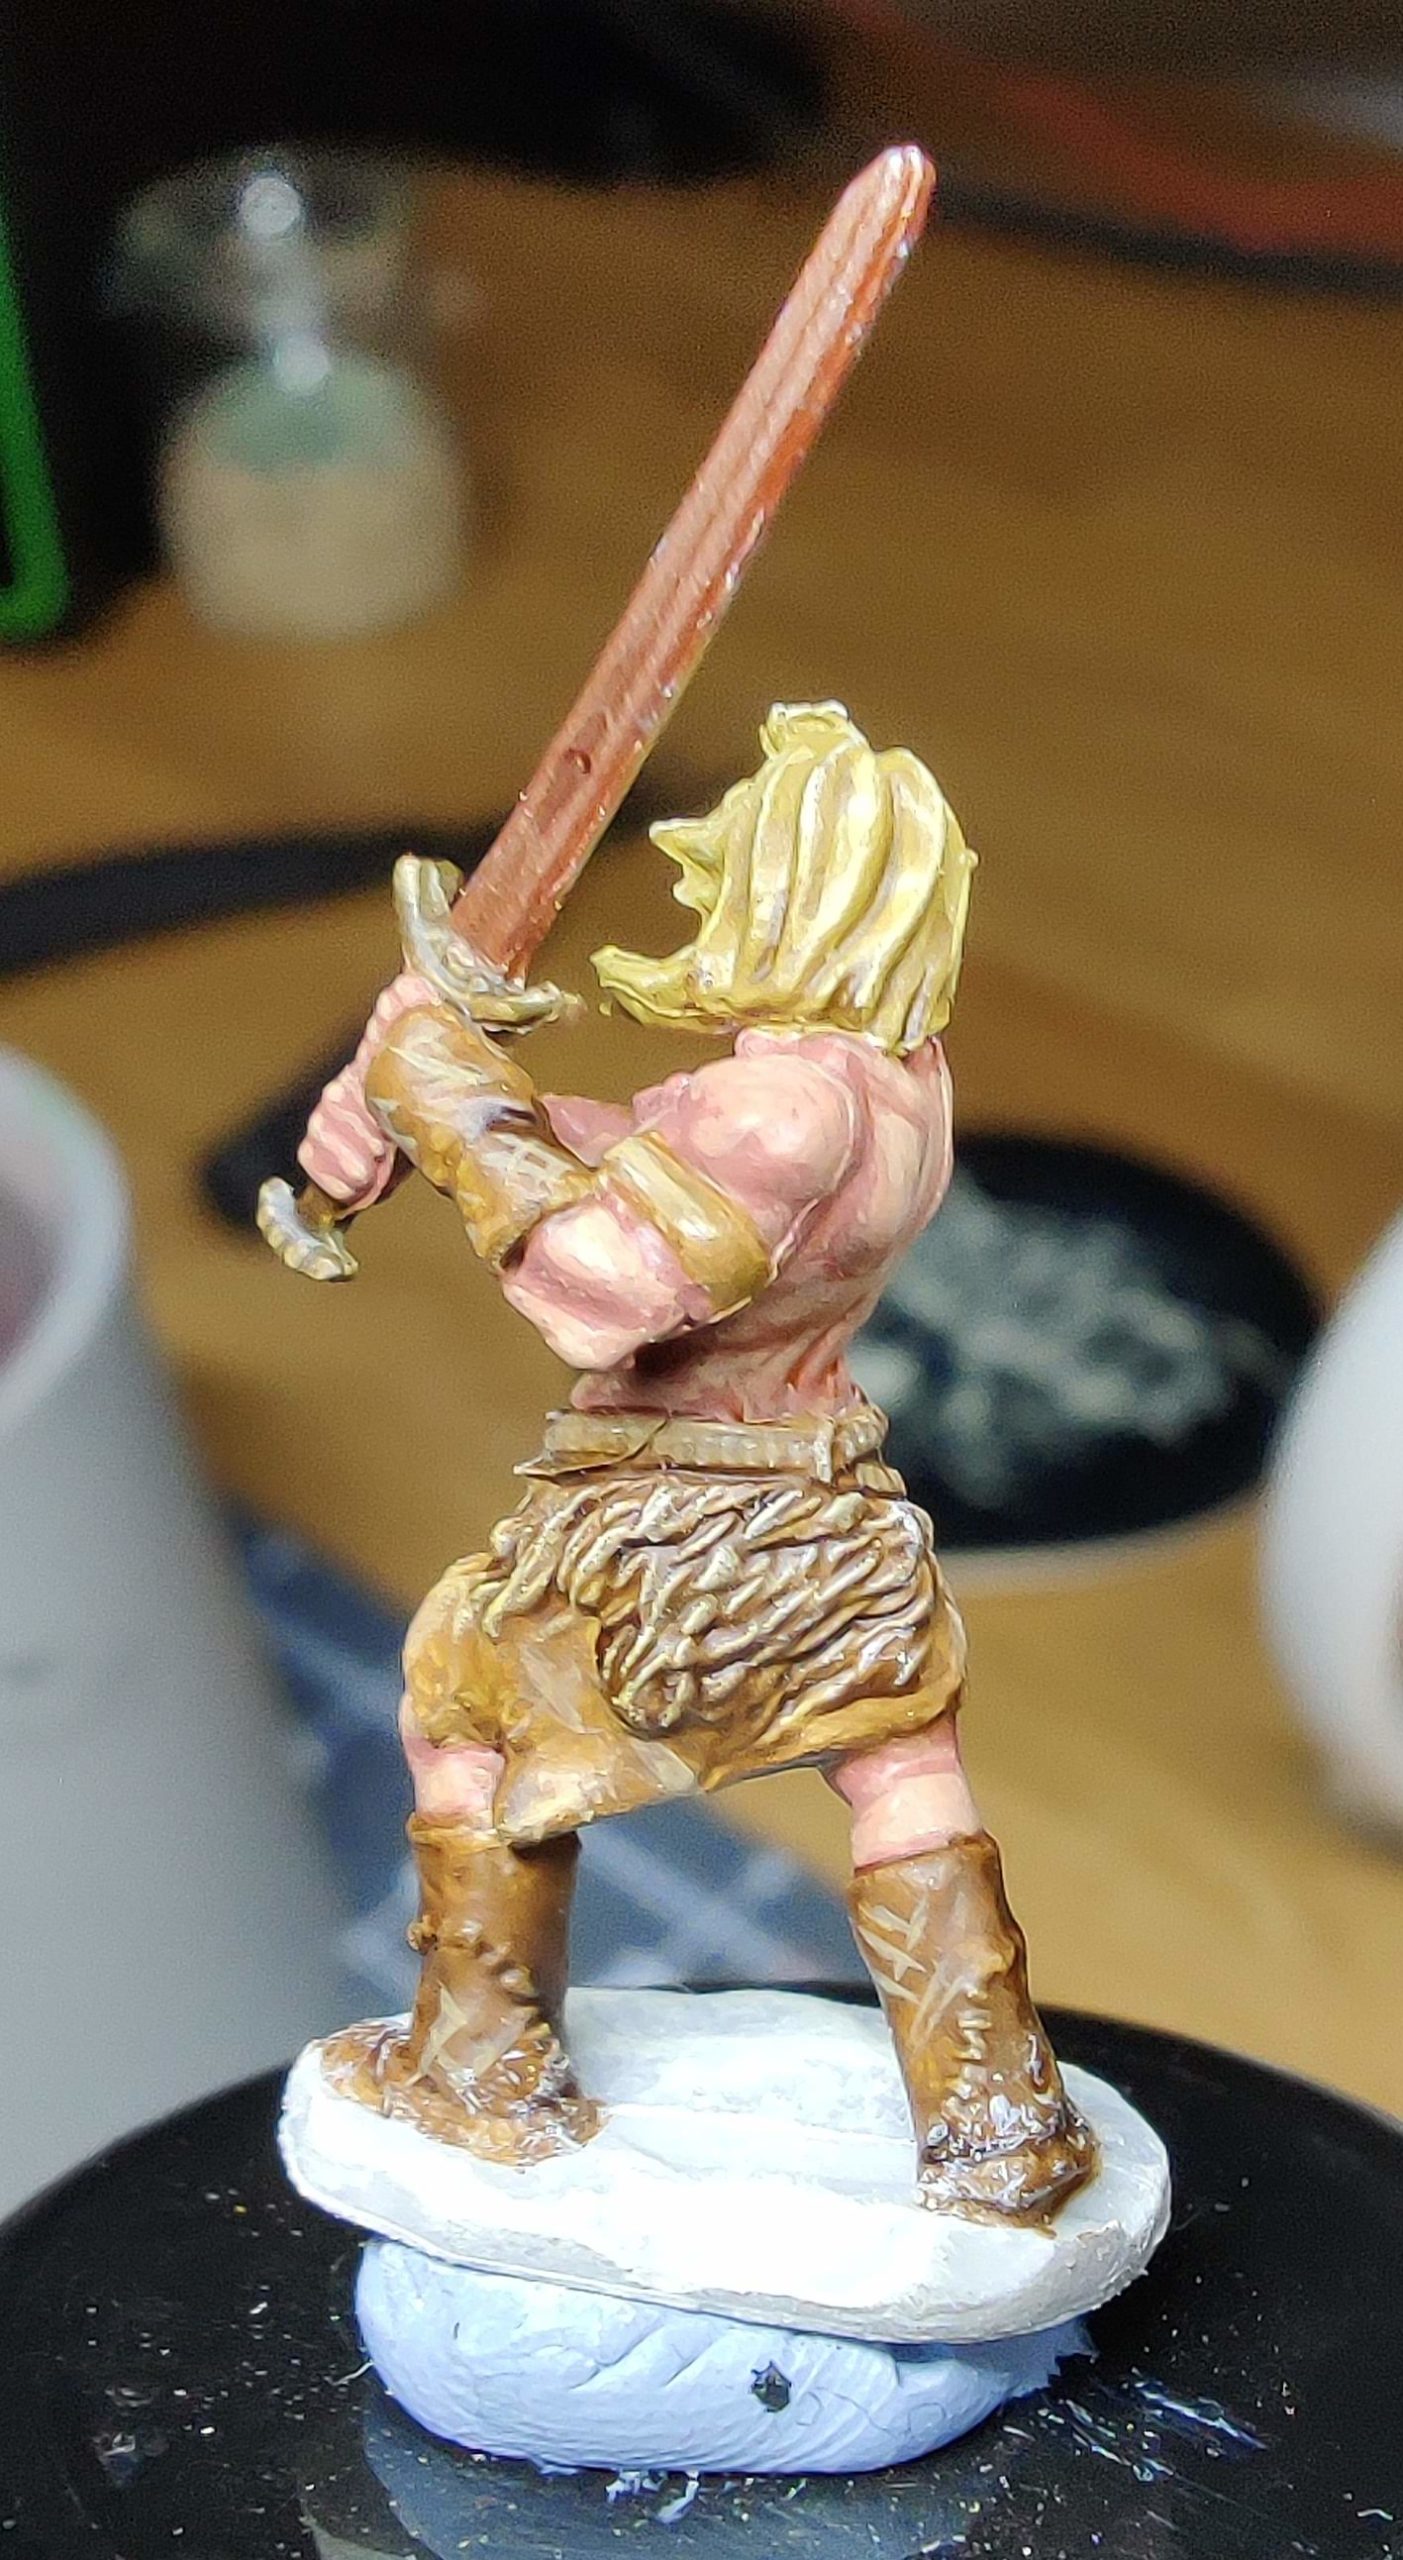
I started out painting just specific parts of the model. First I did his back, as it had a lot of uncovered musculature. I was using the ‘classic’ Games Workshop layer formula here: Bugman’s Glow for a base, then Cadian Fleshtone as a highlight, then Kislev Flesh for a final highlight. This didn’t look great, but I think that was mostly because of the glossy Reikland Flesh Shade I then used, which is really dark and really glossy. I didn’t have any of the non-gloss paint but I shouldn’t have used this instead. Also… I increasingly just don’t like washes.
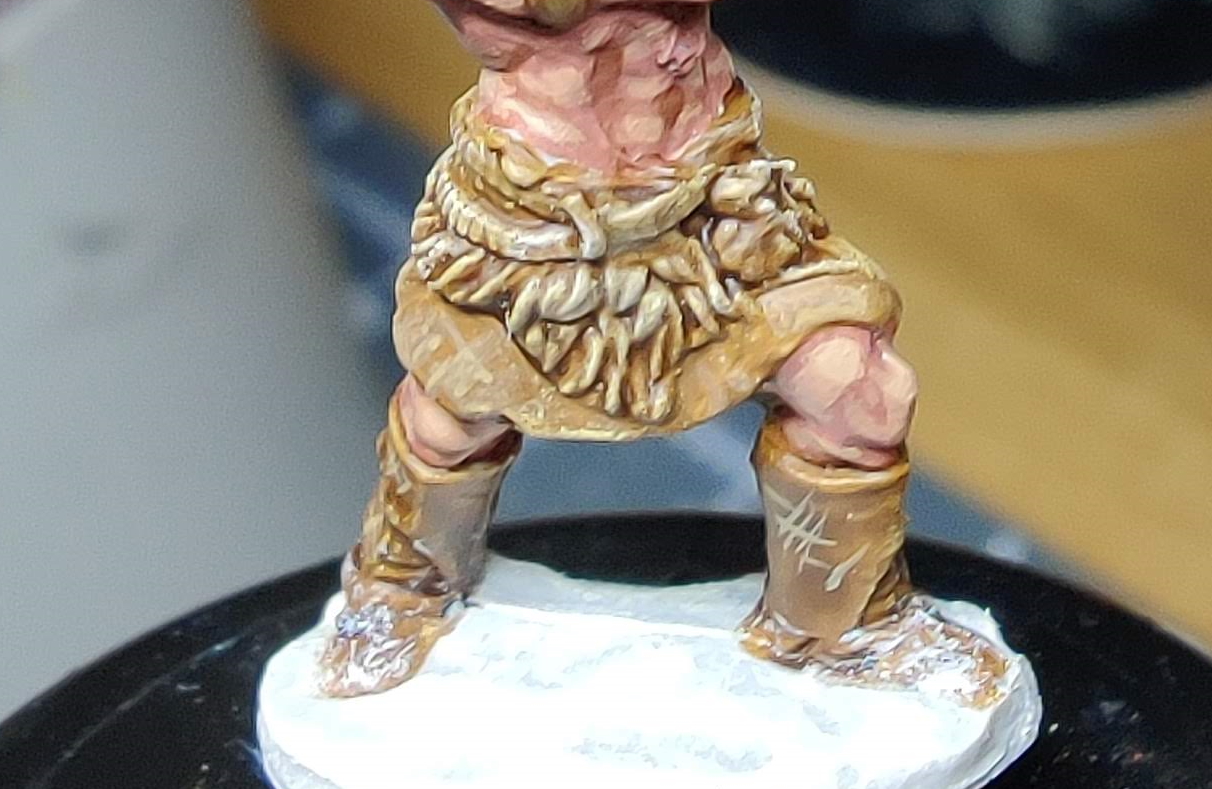
Subsequently I ran through the same approach of painting flesh on the barbarian legs and knees, but this time without the wash/shade paint. This has resulted in a less deep colour in the recesses, but I think overall it does look better. After that I quickly blocked out the other parts of the model with fairly traditional colour choices, though I opted for a ‘copper’ sword as I felt it fit the other colours better than ‘iron’ would.
I also tried a few other new tricks: adding a few fine and delicate brush strokes on the leather to give the appearance of texture, and attempting a crude snow effect with a combination of overbrushing, drybrushing and stippling. I still feel both of these work quite well, considering that each trick took mere minutes.
The eyes are, as is traditional, kinda wonky. In my defence this miniature doesn’t have eyeballs, just sockets. Unsurprisingly, eyes are the other thing that beginner painters don’t like much!
Looking back, I know this model doesn’t look great, and these close-ups of a 2.5cm tall miniature aren’t terribly flattering – but I’m still pleased with the results.
In retrospect this would have benefited from more contrast, not just midtones and brighter with a little wash here and there. One tip I was given was to glaze in a little purple as a good flesh shadow and contrast colour; another was to try muting a glossy paint by adding a bit of matt medium into it. I also need to improve on paint consistency and brushstrokes to get the kind of smoother, more delicate results I’d like to – but that will be a longer journey, for which much more practice will be needed.