It’s time for a rematch! Following their narrow defeat, the Veteran Guardsmen of the Death Korps of Krieg are hungry for vengeance… or at least as hungry as a permanently gas-masked human raised to wage war from birth on a gasping deathworld can be. The Ork Kommandos, of course, are always up for a scrap, even if they’re gonna be kunnin’ and sneaky about it.
The Guard once again opt to take four reinforcements, declining the alternative options of air or artillery strikes.

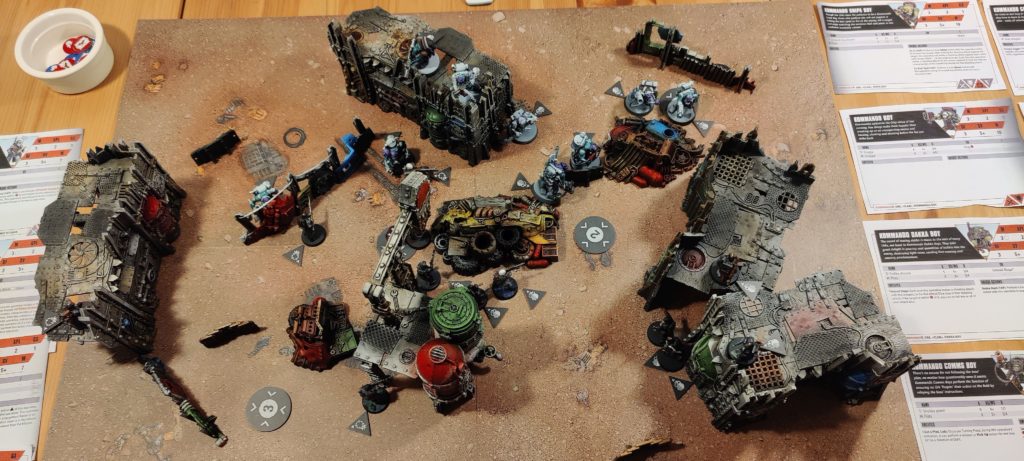
In the first turn the Orks begin with a full set of Conceal orders: anticipating a lot of shooting from the Guard, they’re aiming to limit their opponent’s options as far as possible. The Guard have a 50/50 mix of Engage and Conceal orders, and once again use the “Into the Breach” stratagem to make a dash move before the game begins. The Orks opt not to use their equivalent stratagem, but do use “Skulk About”, further bolstering their survivability against enemy shots… though of course, the fact this stratagem was used is immediately forgotten and never comes up again. Both players have the experience of one game under our belts, but we’re absolutely still beginners!
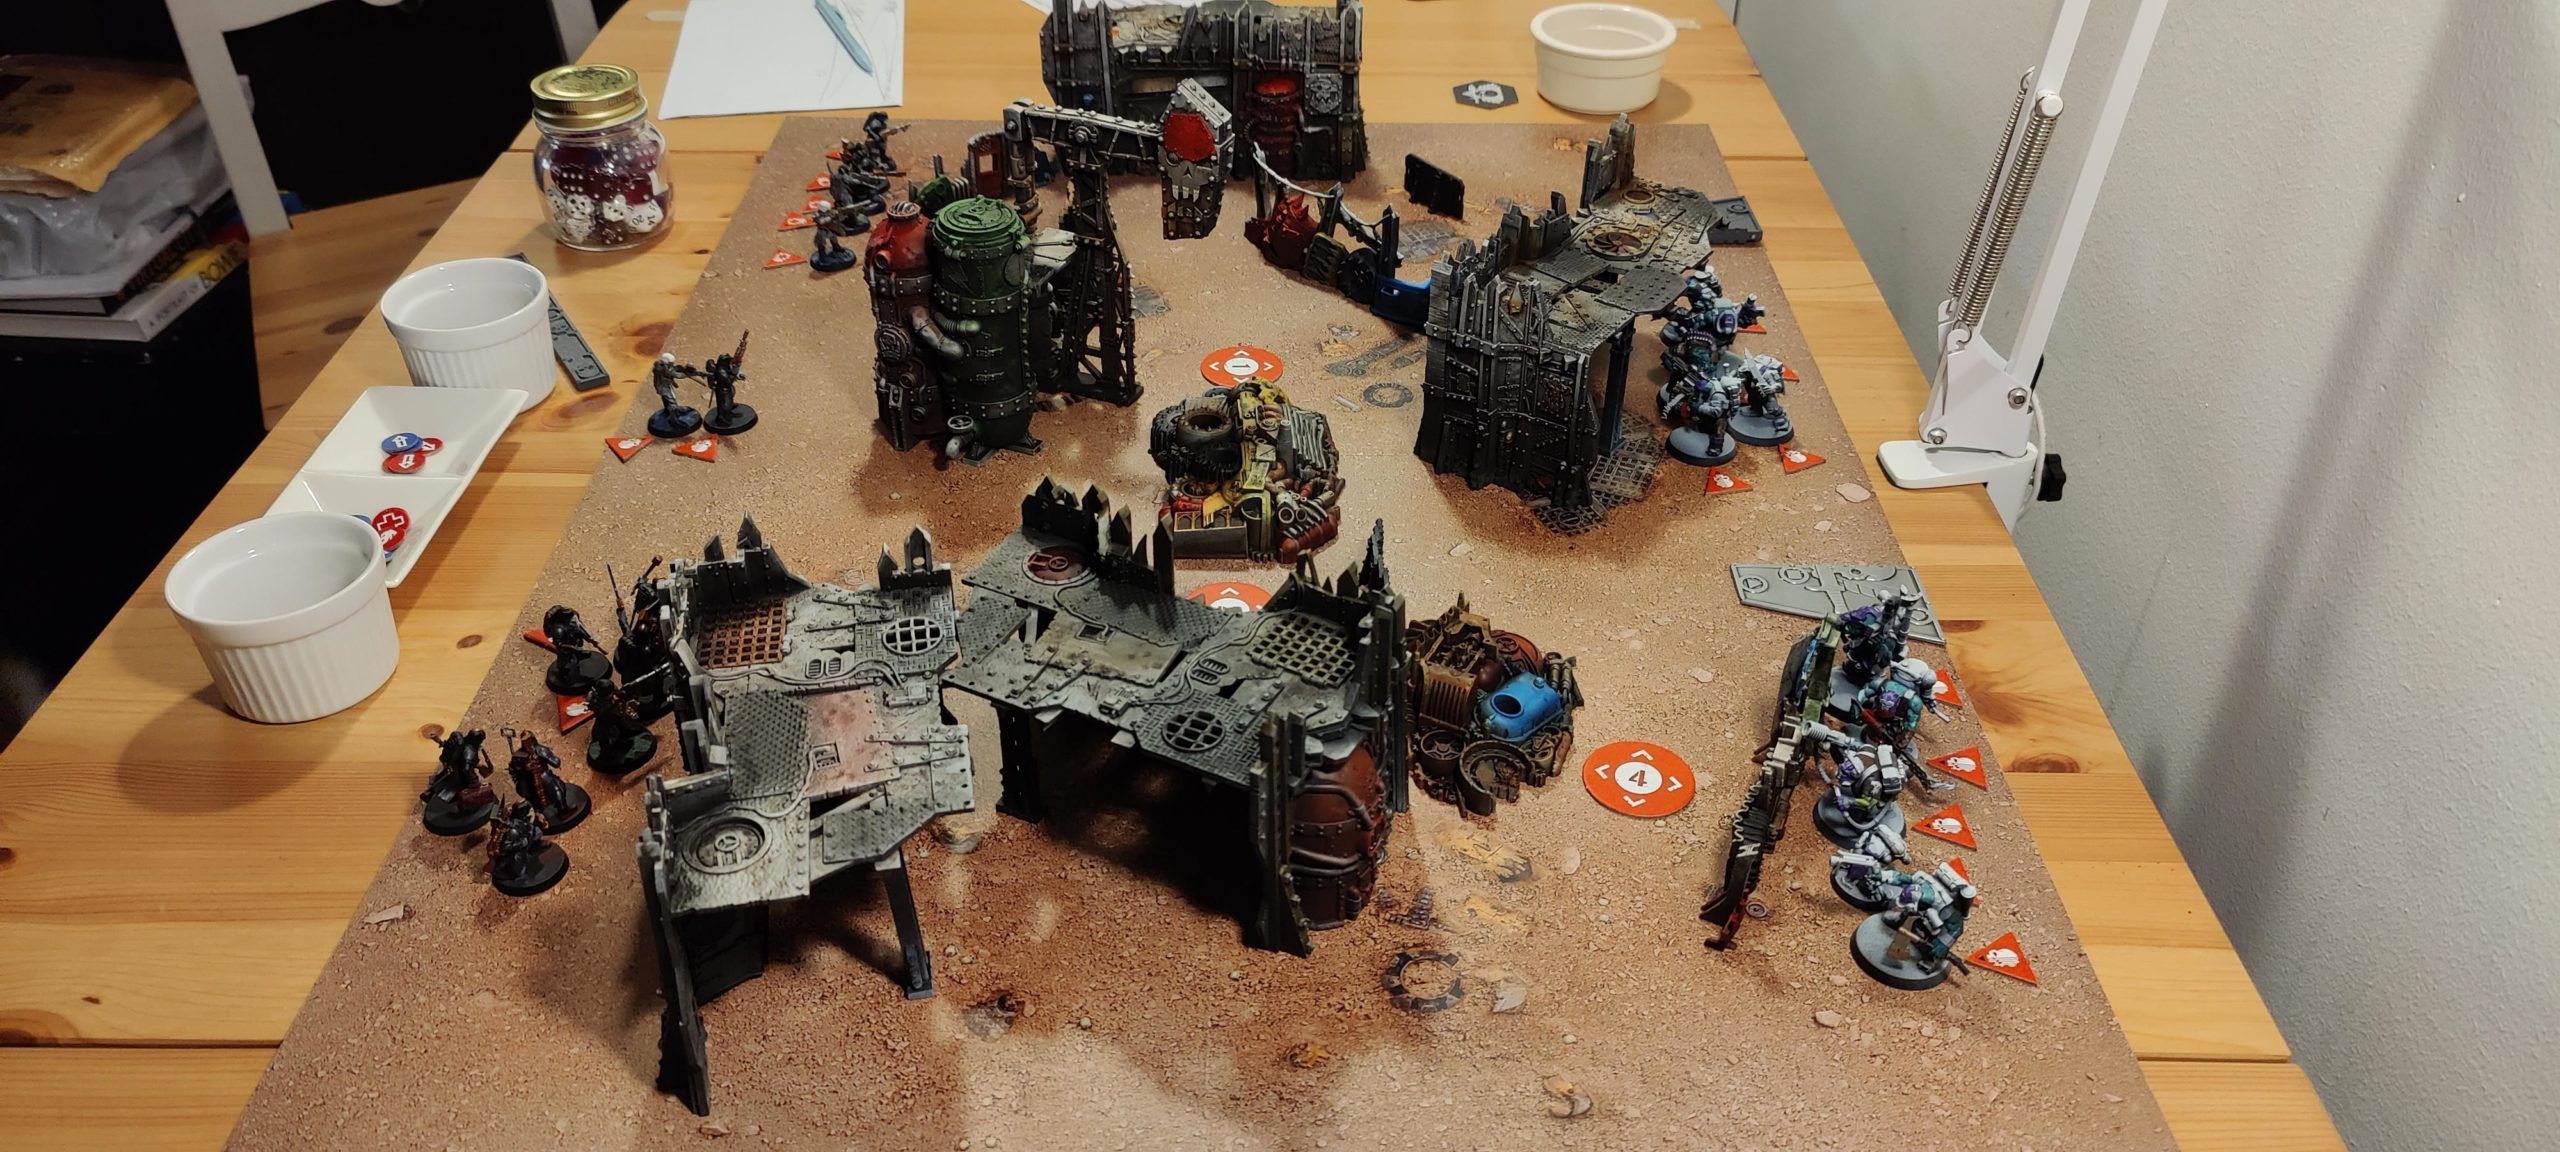
The Guard dual-activate and make an admirably aggressive opening play, seizing both centre objectives. They clearly plan to take an objective lead early and attempt to deny their opponents the opportunity to catch up. An aggressive play and the Orks love it! They show their appreciation by using their early activations to move and dash their shooty Boys into cover in vantage points. The Guard secure their home objective and move more troops up toward the centre, also moving their Demolitions expert into a vantage point. The Orks secure their home objective, giving a turn 1 score of 3 to 1 for the Death Korps. The board has four objectives, so no more can be secured this turn. The first blood is then shed as the Kommando Nob charges and fights the first objective-securer in the midfield, killing him.
(At this point I need to interject and say that, in retrospect, I think I misinterpreted the Kommandos “Throat Slittaz” special rule as meaning I could charge and fight despite being concealed, assuming that Conceal orders only prevented Shooting and Charging. If you’re already in melee, you can hardly remain concealed and not fight, right? But in fact, I think “Throat Slittaz” is more about setting up awkward plays that your opponent needs to respond to, than it is about keeping your units protected until they’re able to get into melee. This is the kind of mistake or misinterpretation we as beginners are going to make.)
The Guard dual-activate once more, pushing further into Ork lines – there’s still no one they can shoot at – and their Bruiser charges the Nob. In our previous game the Bruiser performed admirably against the Nob in melee; not so this time, taking 5W for none delivered. The nearby Burna Boy counters by charging and finishing off the Bruiser in melee. The Death Korps advance becomes a little more cautious: the Sergeant moves up but stays safely in cover, as does the Ork Comms Boy. The remainder of the turn is dominated by similar plays, with a few more wounds delivered by the Orks, a few missed shots taken, and the Kommando Grot grappling over to the far corner of the map. He’s moved deep into the Death Korps lines, intending to sneakily secure their home objective in a future turn, though as the smallest and weakest model on the board he moves safely under cover on arrival.
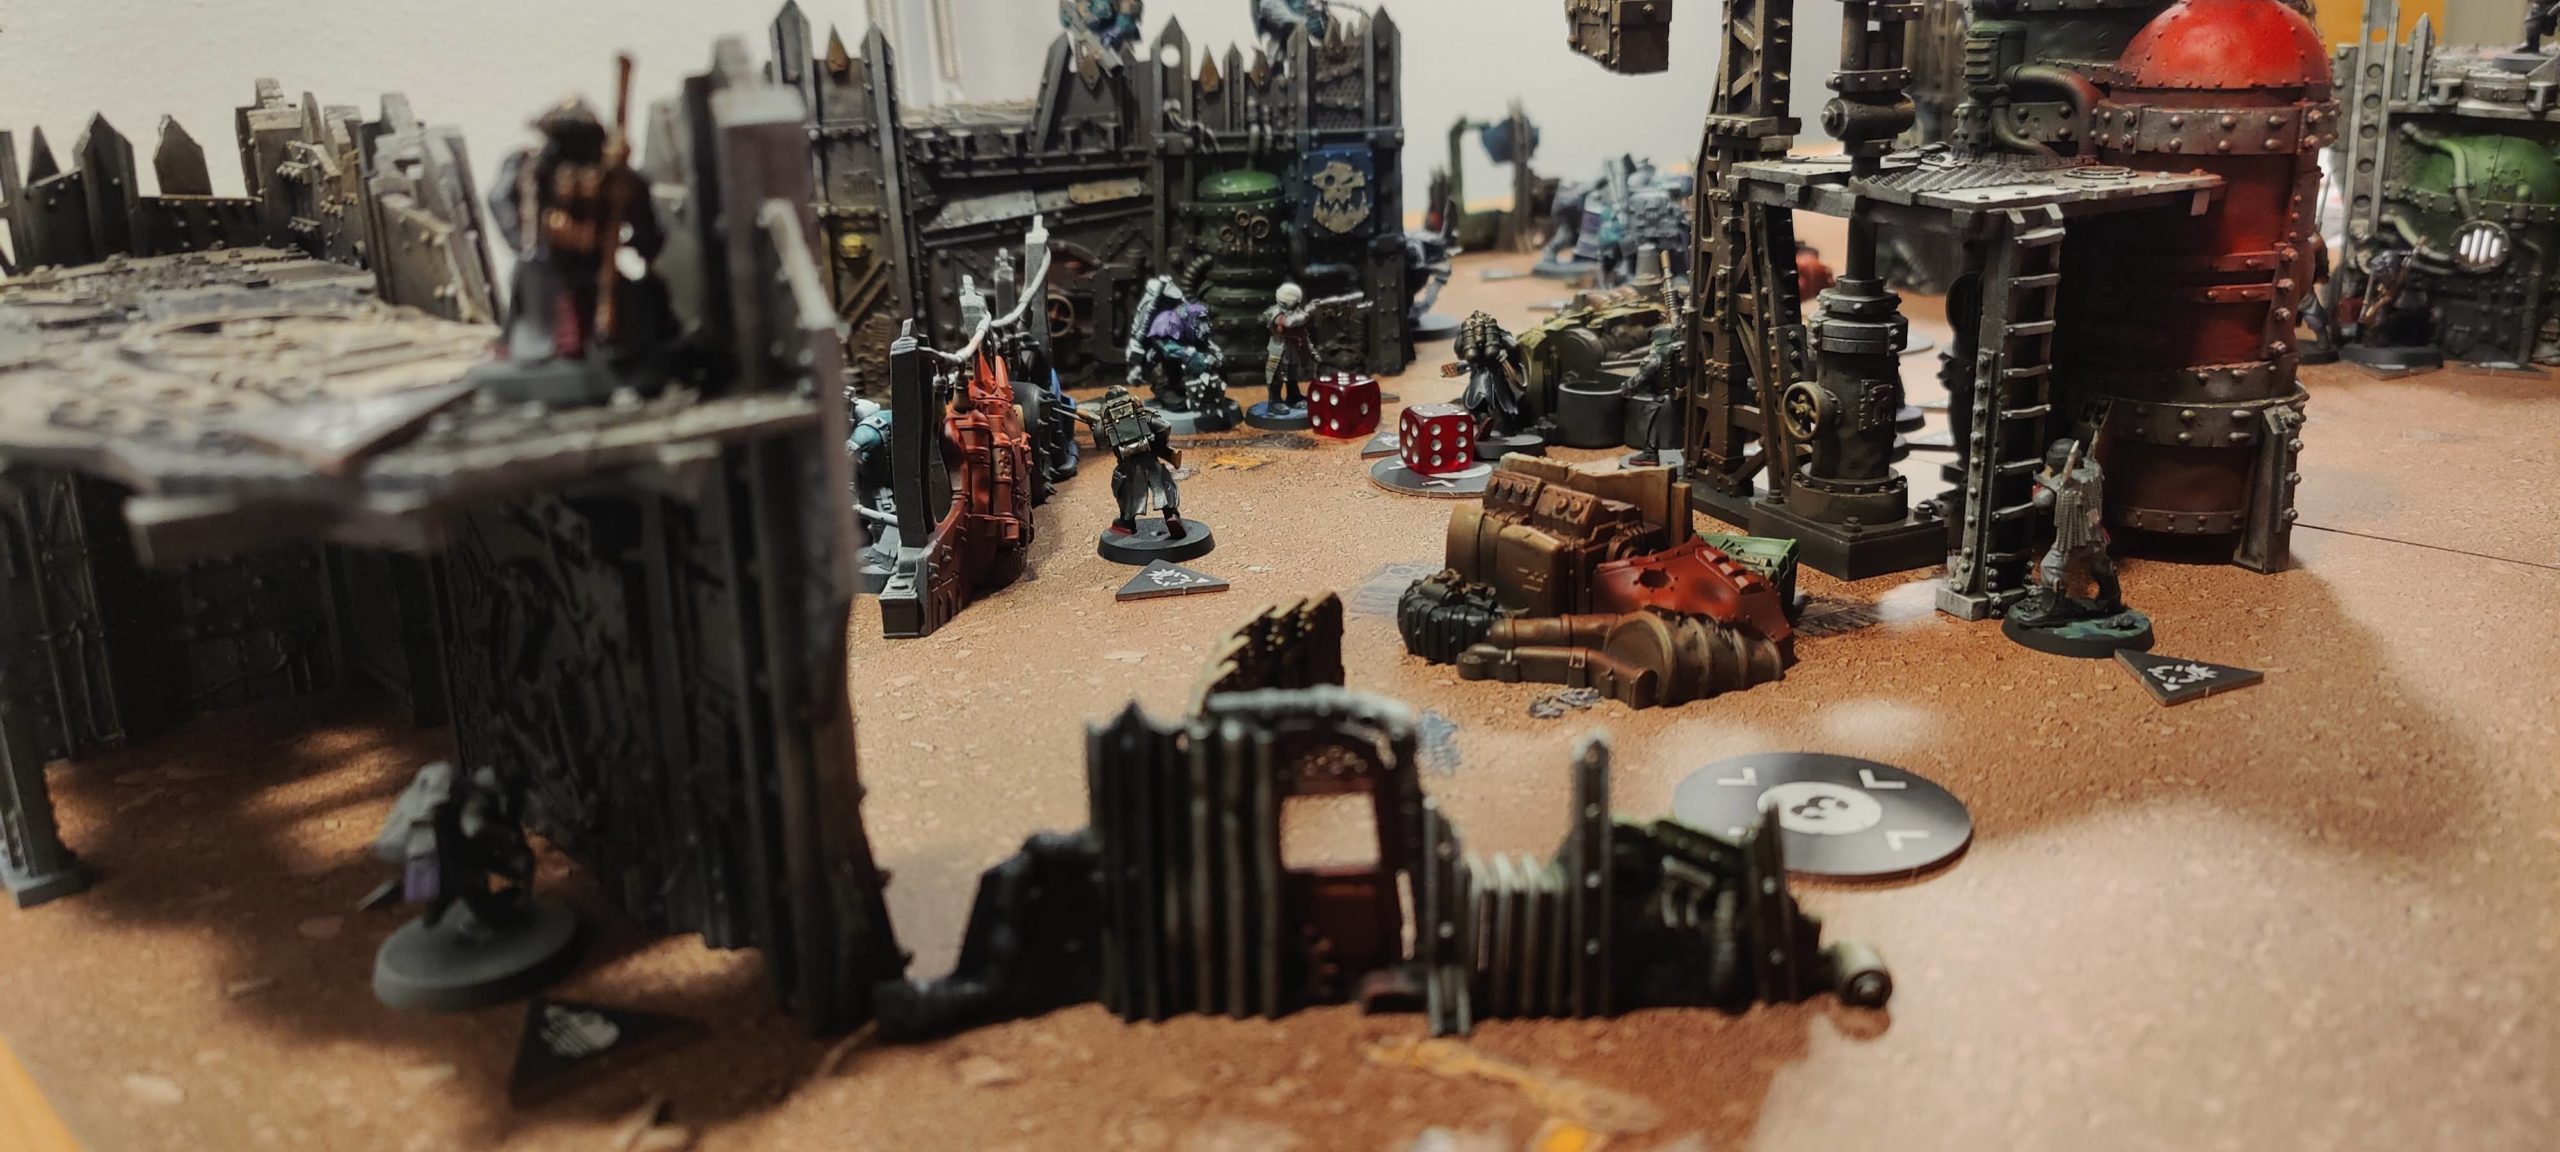
As turn two opens the Death Korps issue the “Take Aim” order once more, again relaying it through the Comms Specialist. The Orks use the “Waaaaaagh!” stratagem for a boost to their melee attacks. Emphasising the importance of melee combat, the Snipa Boy takes the first activation and uses his “‘Ave It!” ability to unleash a hail of lead on the various Guardsmen clustered around the centre of the board. He kills the Confident Veteran and Flamer Gunner, and also does 2W to the Zealot. It’s an absolutely devastating attack, punishing the clustering of models, and it’s perfectly apt that the Death Korps Spotter responds by dropping a mortar barrage on a similar cluster of Orks, delivering 2W to the Dakka Boy, a meaty 7W to the Nob, 3W to the Slasha and 6W to the Burna Boy.
Further wounds are traded as the Burna Boy advances and fires on a Guard reinforcement. The reinforcement fires back and wounds the Burna, then moves laterally toward the friendly Medic unit. The dual-activated Zealot moves and secures one of the centre objectives. More wounds are traded before the Guard dual-activate a reinforcement to secure the home objective and the Sergeant, who burns the wounded Nob to a crisp with his plasma pistol. (That pistol is savage!) The Orks see their leader fall but are not disheartened; the Comms Boy scrambles over a pile of scrap, activates the remaining midfield objective with his special rule, then shoots and kills the wounded reinforcement right in front of the Medic.
Another Guard reinforcement wounds the Breacha in melee, but is killed as the two models trade blows. Meanwhile the Comms Specialist moves closer to the Spotter, both safely high up in a vantage point. The Breacha then charges and kills the Zealot in the midfield; he subsequently takes fire from the Demolitions specialist but takes no wounds, and another regular Veteran Guardsman comes off the worst in melee, injuring but then being incapacitated by an Ork Boy.
The rest of the turn is largely uneventful. The Dakka Boy injures the Medic, who then heals all the wounds taken (physician, heal thyself). There are more shots and moves, but the only activation of note is an Ork Boy securing the home objective, for a turn 2 score of 5 to 3 favouring the Death Korps.
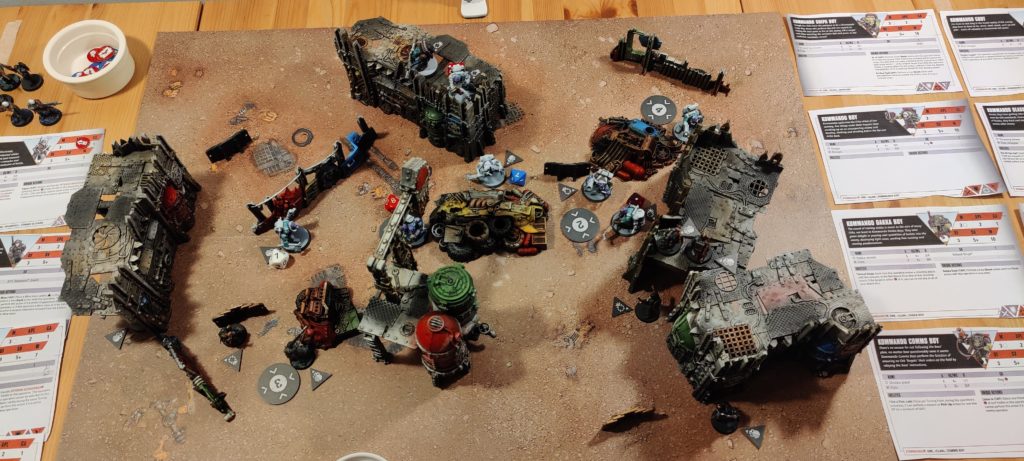
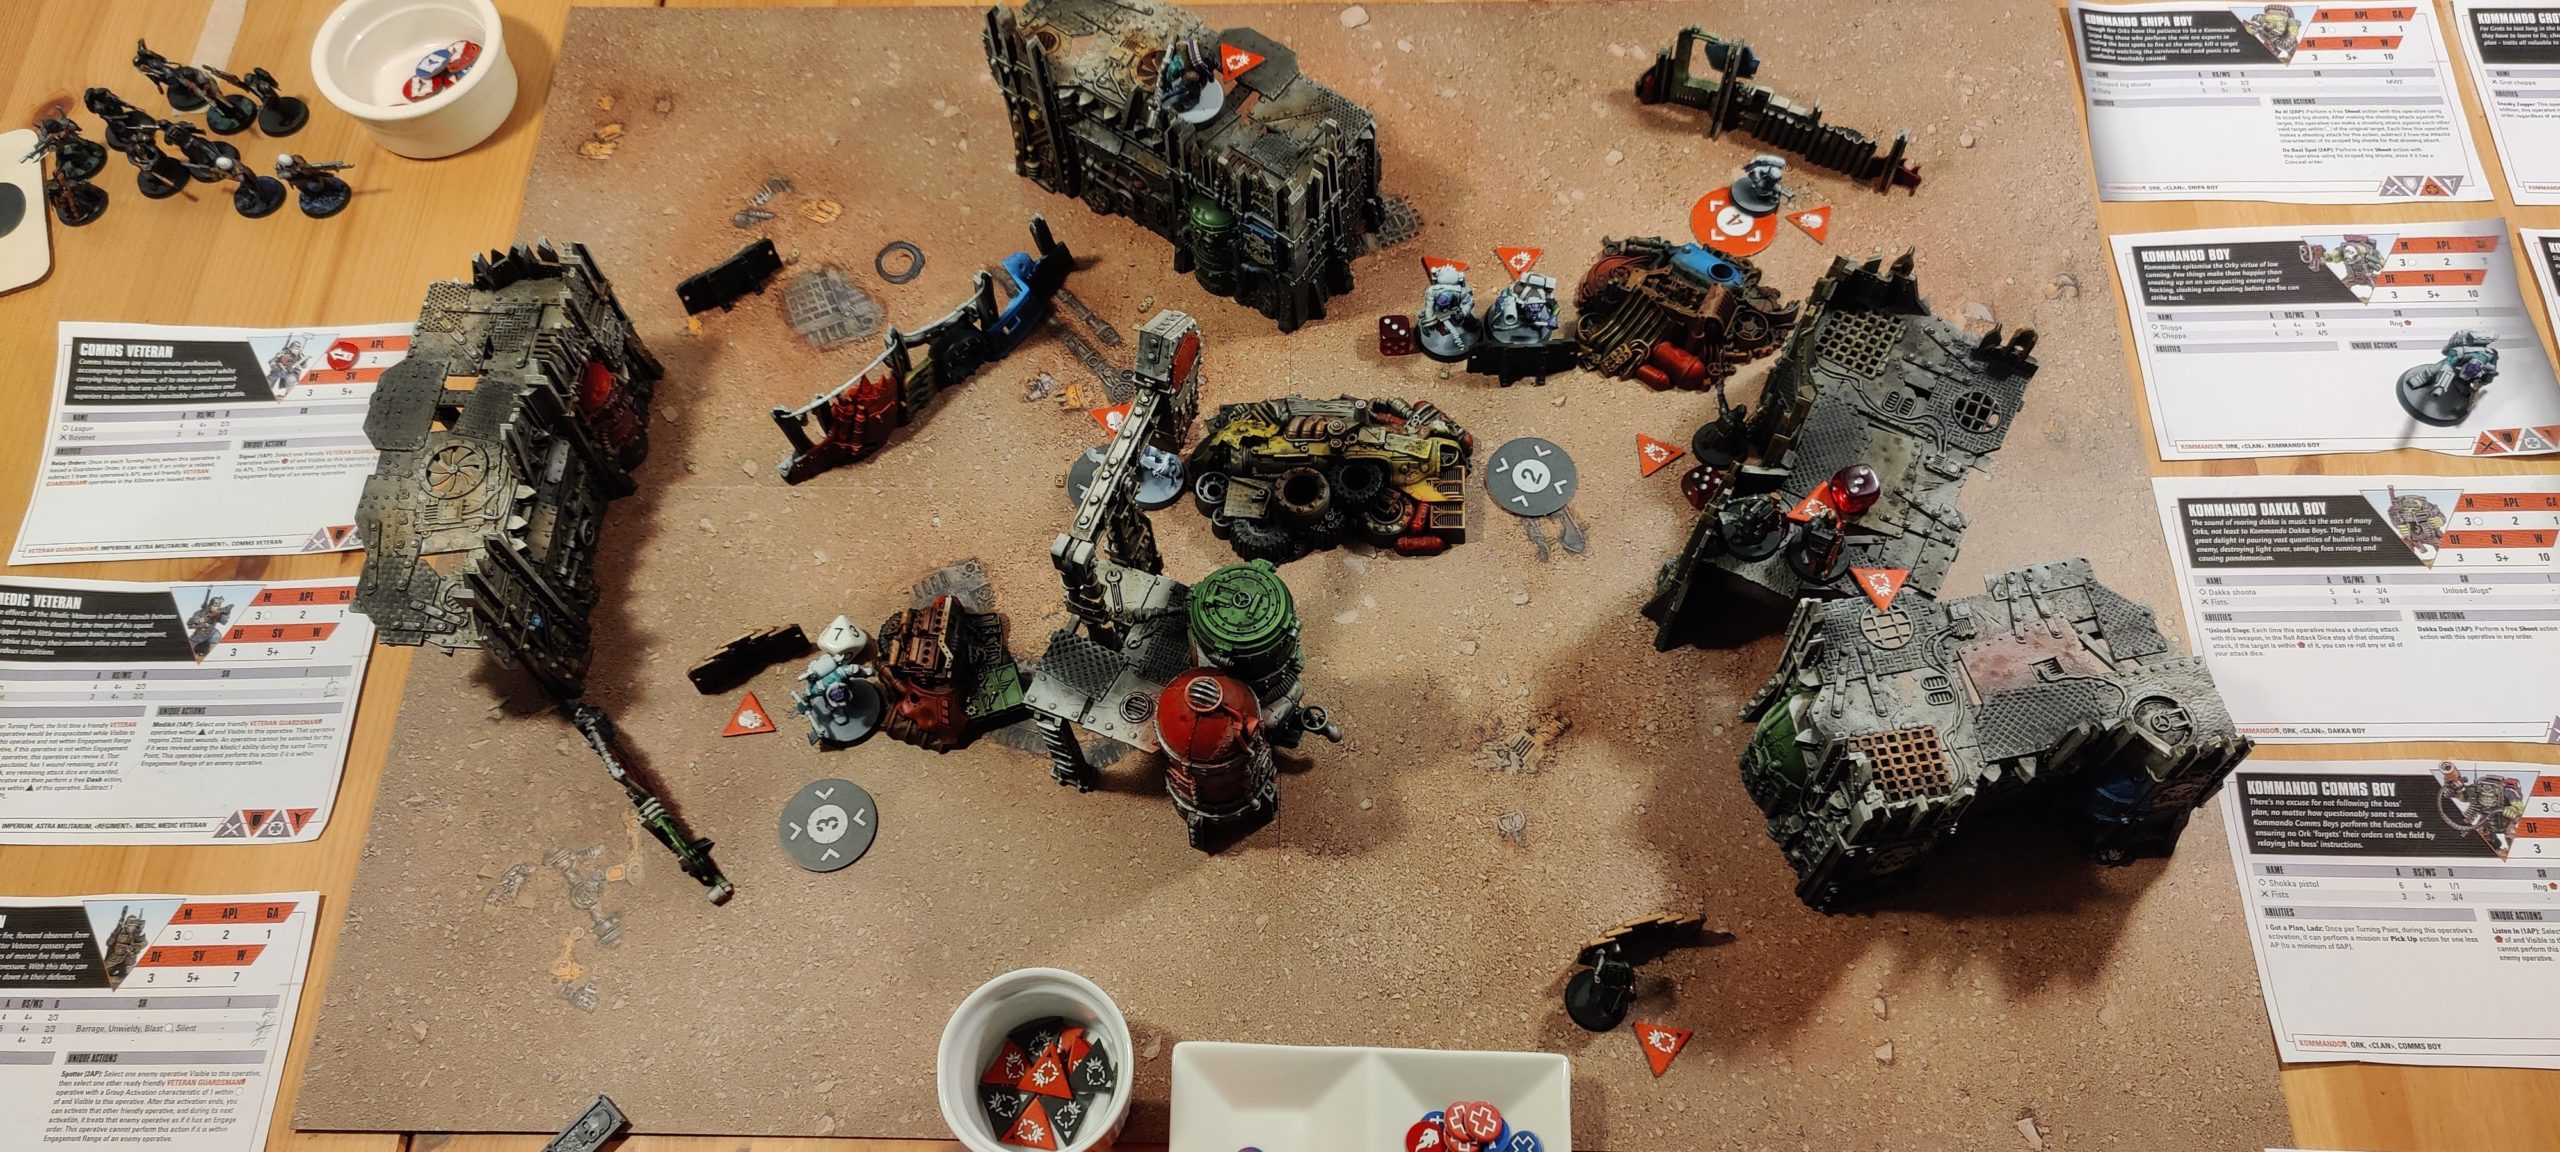
Turn 3’s opening stratagems mirror turn 2, with Guard adding the “Clear the Line” stratagem to the mix to bolster their melee. With both kill teams thinned out, there’s still plenty to play for. The Guard take the initiative and open with – you guessed it – a dual activation. Their home objective is secured and the reinforcement camping on it also shoots and kills the Breacha Boy in the midfield. The Spotter calls in another artillery strike, dealing 5W to the Dakka Ork and 4W to the Slasha but failing to wound the Snipa or to kill any of its targets. In response the Slasha Boy moves up and secures a midfield objective. With only two turns remaining it’s now critical for the Orks to secure more objectives than their opponents and turn around the early Guard lead!
The Death Korps are well aware of their advantage, and aim to thin the Ork numbers as they so successfully did in the first game. The Medic guns down the wounded Burna Boy, but the Guard are unable to prevent the Comms Boy from securing the midfield objective, then shooting and wounding his Guard Comms counterpart. The Demolitions expert plants a landmine near the other midfield objective before backing off, but is killed by the Snipa Boy who – with another use of “‘Ave It” – also wounds a nearby reinforcement. The Sergeant advances and supercharges his plasma pistol into the Boy on the Kommando home objective; he takes 3 mortal wounds as the pistol overloads, but successfully incinerates his target. The Dakka Boy opens fire in vengeance but, in a suitably Orkish display of ballistic prowess, achieves nothing.
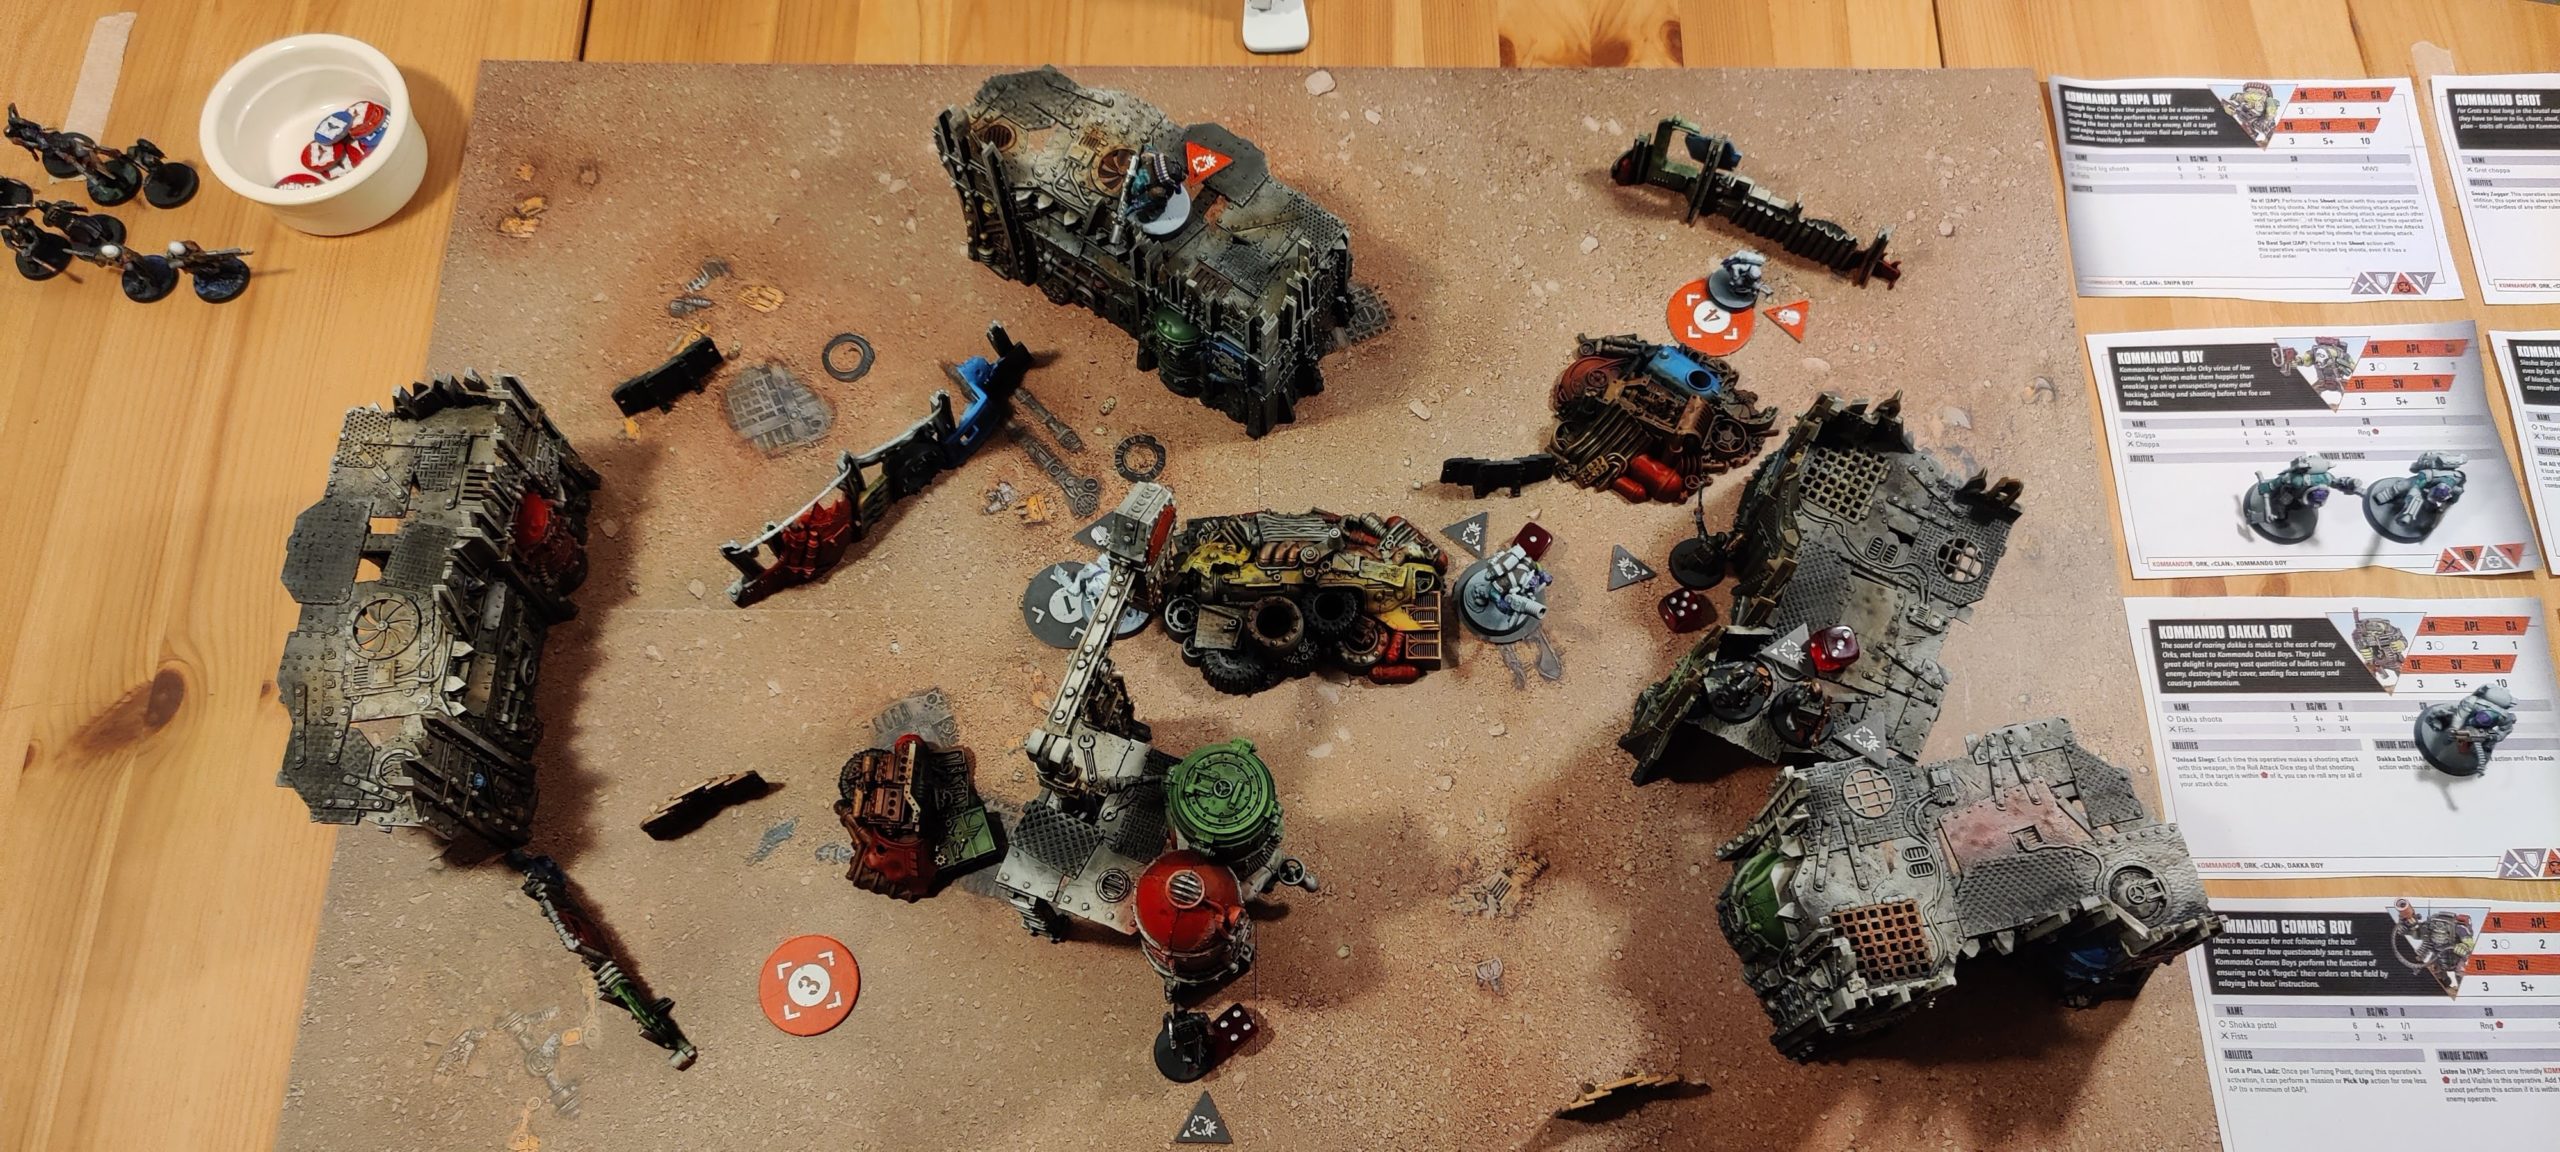
The Guard have run out of models to activate and so shift to taking potshots from overwatch with previously-activated models; the Sergeant snaps a shot back at the Dakka Boy but misses, and the Medic is similarly unsuccessful in a later activation. Meanwhile an Ork Boy charges and kills the wounded trooper on the Guard home objective and the Grot, no longer needed to grab the Guard home objective, grapples back to the far corner where he takes cover amidst the ashen remnants of a former comrade. The scores at the end of turn 3 are 6 to 6…

In the final turn the Orks use the “Dakka Dakka Dakka” stratagem to improve their shooting, whilst the Death Korps use “Overcharge Lasguns” and, as usual, issue and relay the “Take Aim” order. Alas, all the reinforcements and regular Guardsmen are now dead, so no more dual activations! Instead their opening gambit is for the Spotter to drop more mortar fire, killing the Dakka Boy and putting 6W on the Comms Boy.
The Slasha secures the midfield objective most distant from the remaining Death Korps models, and more shooting is exchanged in the midfield. Amongst this exchange are some shots from the Comms Boy into the Sergeant, who manages to stun the unactivated unit with some critical hits. This reduces the Sergeant’s available actions by two, in one stroke destroying the Guard’s plans to secure the remaining objectives and obtain a hard-fought draw. Instead, the Medic activates, shoots and kills an Ork Boy, and then the Death Korps concede the game and withdraw. The final score is 7 to 6, with a calculated final score (based on remaining activations and possible actions) of 8 to 6.
This was as closely fought a game as the first, and felt an even battle all the way through – despite some stunning turning points, like the Snipa Boy taking out two and a half models in one activation, the Sergeant’s terrifying gunslinging plasma prowess, and the consistent effectiveness of the Guard’s mortar attacks that can be fired from concealment. Alas, the Guard were unable to hold on to their early lead, and the Orks win the day once more… this time.