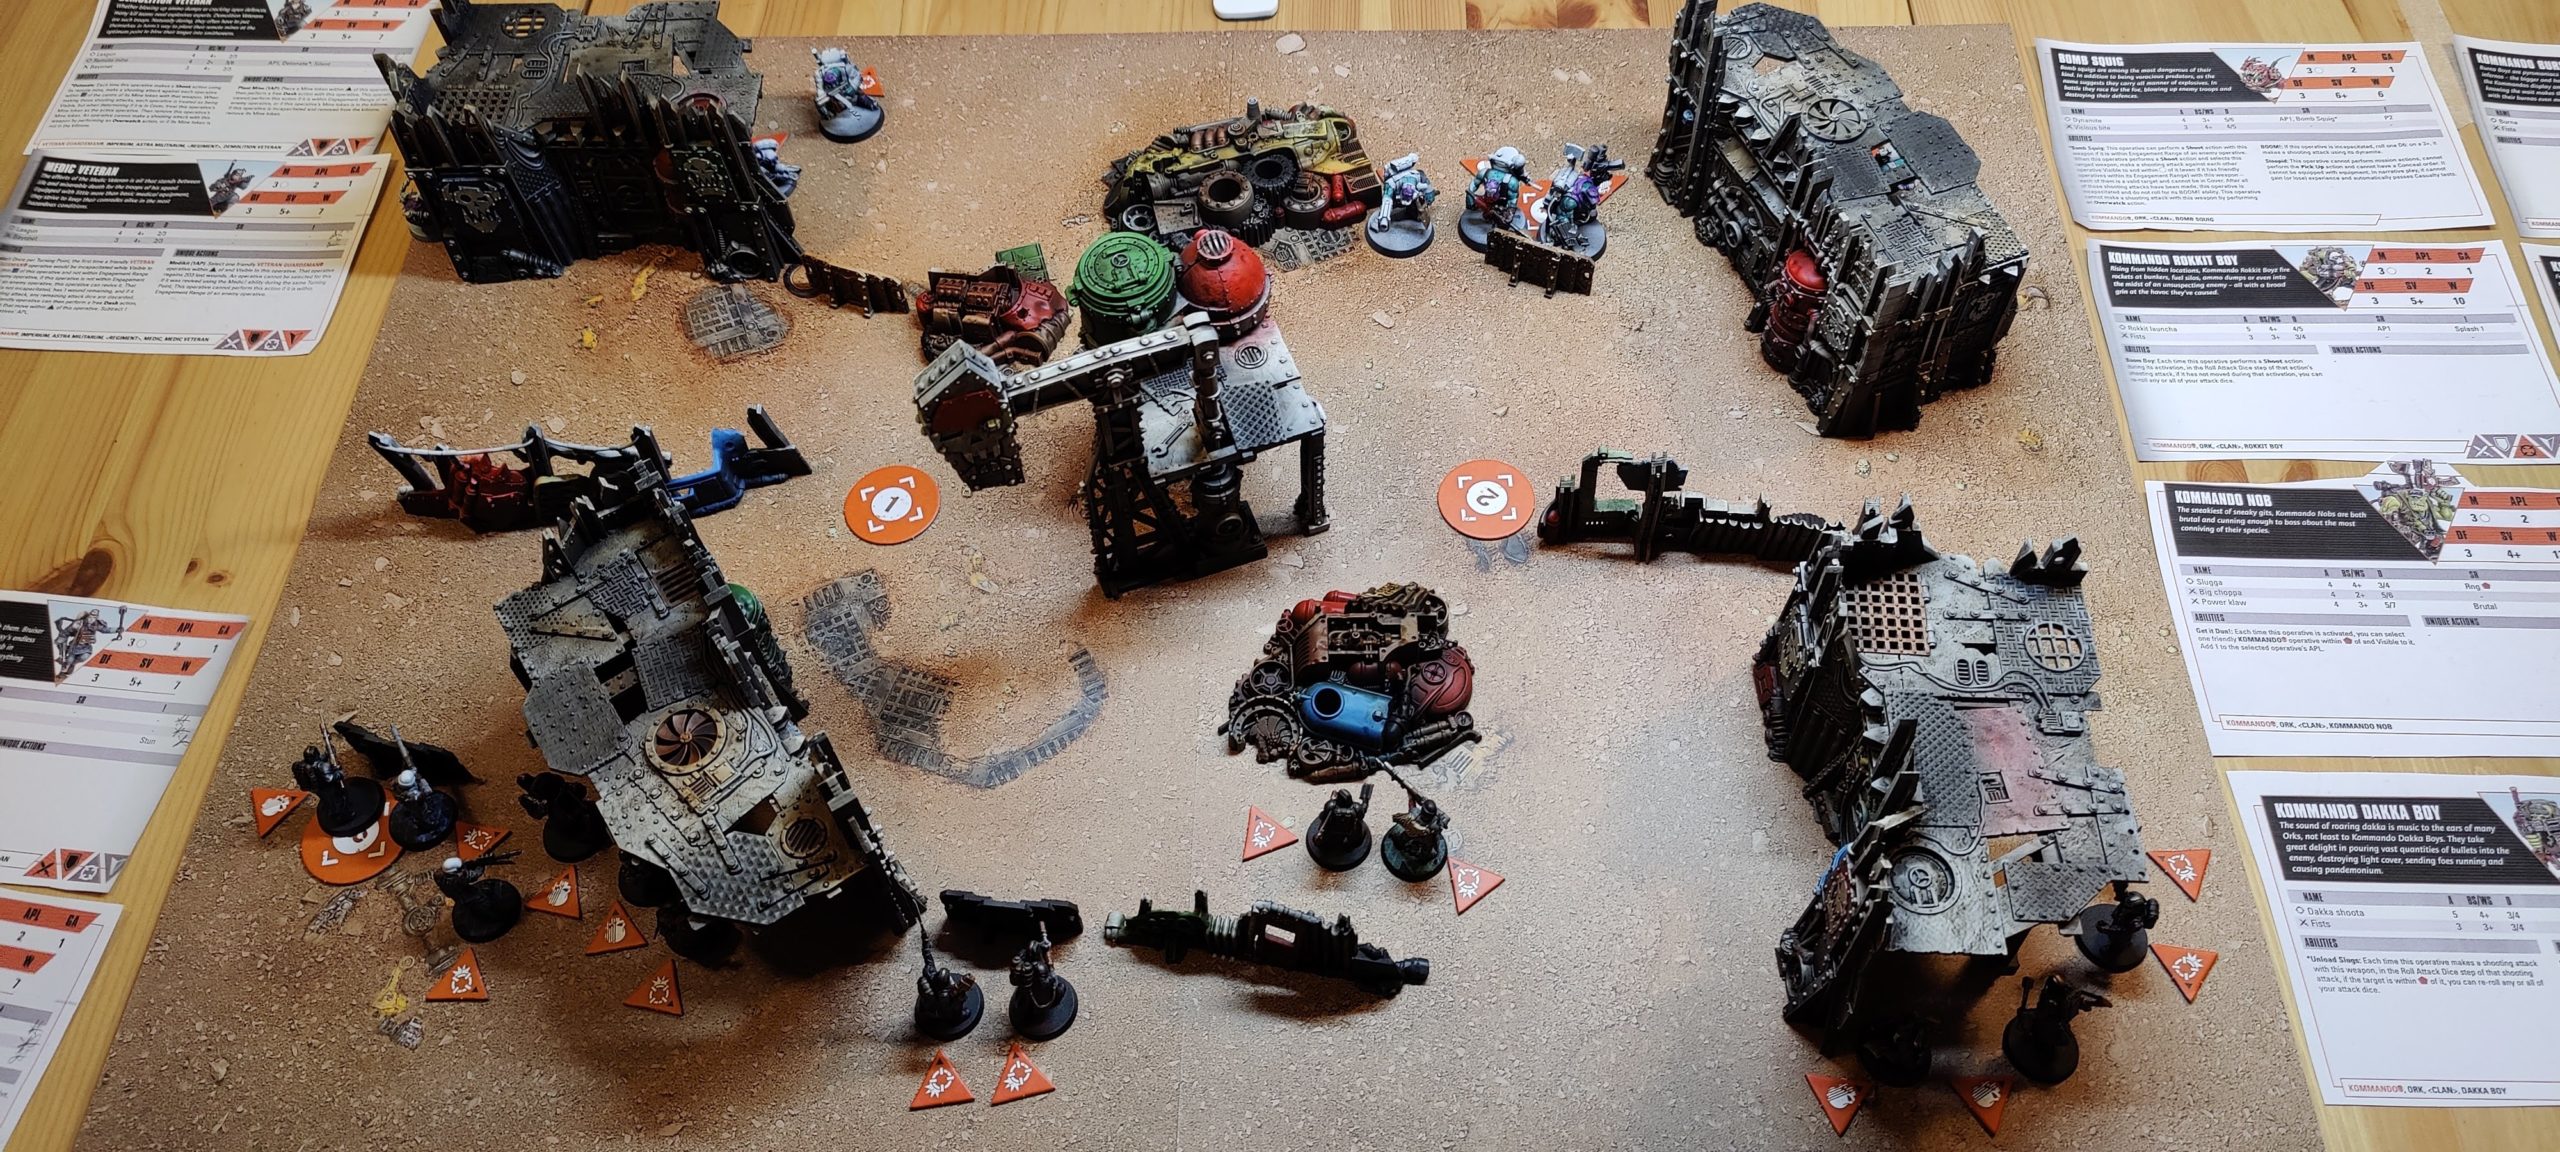
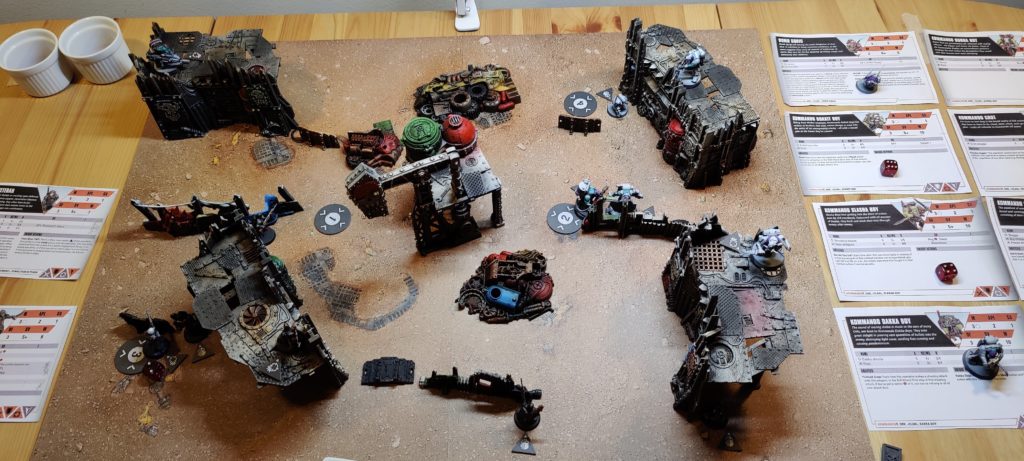
Welcome to our first game battle report! I’m playing the Ork Kommandos, whilst my partner has taken on the Death Korps of Krieg. The Death Korps have opted to bring along four ‘reinforcements’, meaning they have 14 models on the board to the Orks’ 10.
Before Turn 1 both Kill Teams use stratagems that allow them to execute a free 4″ ‘dash’ move. The Death Korps aggressively advance towards the midline; the Kommandos are a little more cautious, moving up but remaining in cover wherever possible. Both teams have a mix of Engage and Conceal orders, a mechanic that we do not yet fully understand.
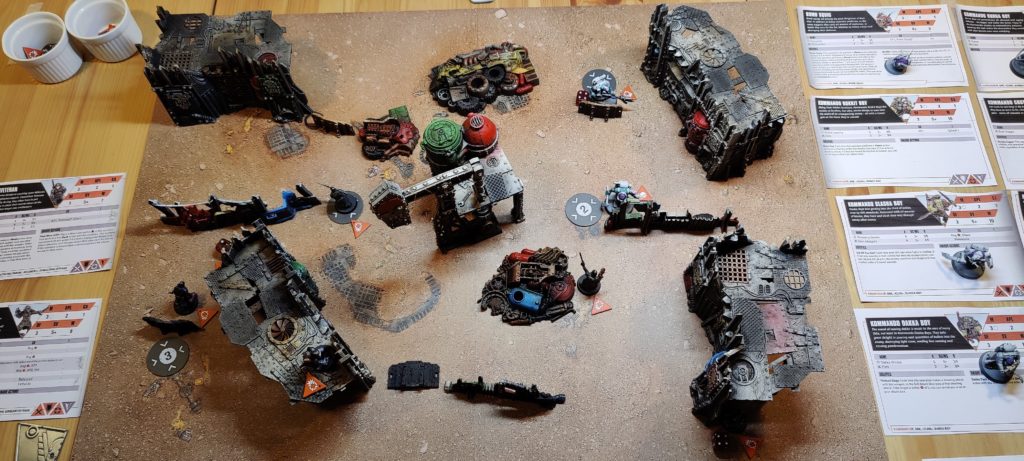
The Death Korps gain the initiative and activate first. They have a ‘double activation’ ability with their basic Guardsman model, and there are six such models on the board thanks to the reinforcements! They quickly secure their first objective with an aggressive push to the middle of the table. The Orks counter in their next activation with a charge on the over-extended objective-seizer; the attacking Ork takes 3 wounds – just under a third of the damage it can absorb – but slaughters its opponent.
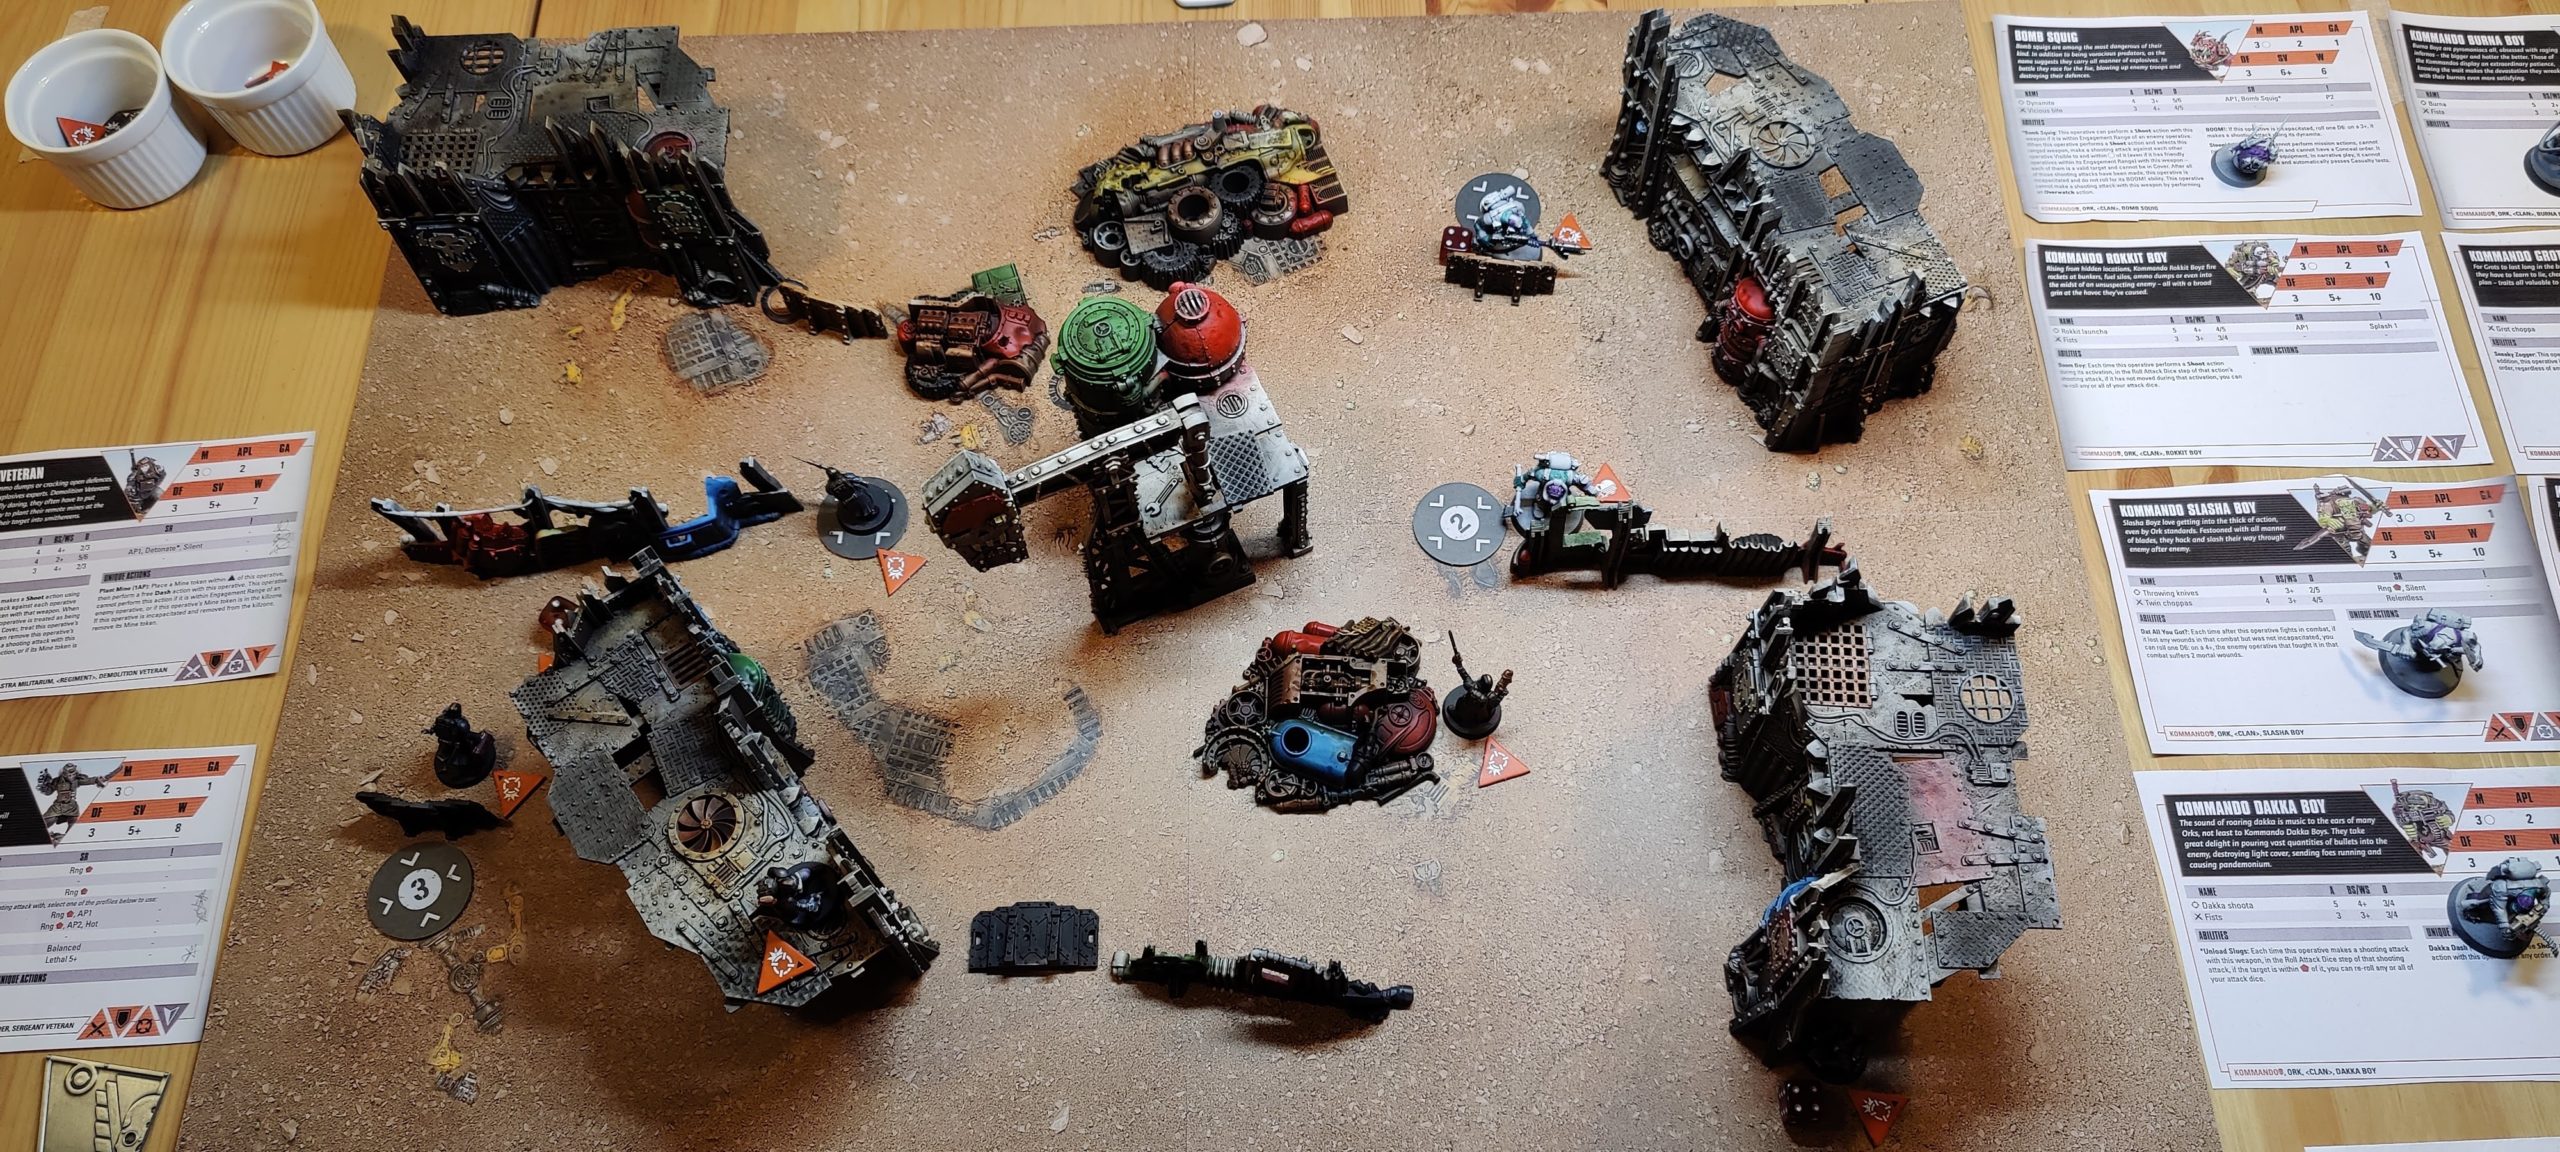
In response the Death Korps seize another objective and take pot shots at the Bomb Squig that has crept around one side of the table. The Squig is wounded and, with the Kommandos unwilling to see its payload detonate far from the enemy, is activated next. It charges into melee, just making it far enough. It is killed in the subsequent fighting but successfully explodes, dealing some wounds to the Guardsmen in range.
Other highlights of the first turn include a clever trick where the Death Korps commander issues a ‘Take Aim’ order to a Comms Trooper, who then relays it to every Guardsman on the field – providing a team-wide buff to accuracy – and the Kommando Dakka and Rokkit Boyz fighting against the stereotype of Ork shooting by pulverising their targets at range. At the end of the turn the Orks have taken a lot of distributed wounds, but only the Bomb Squig has been removed from the table. In contrast the Death Korps are down their Zealot and Gunner units as well as two of their reinforcements.
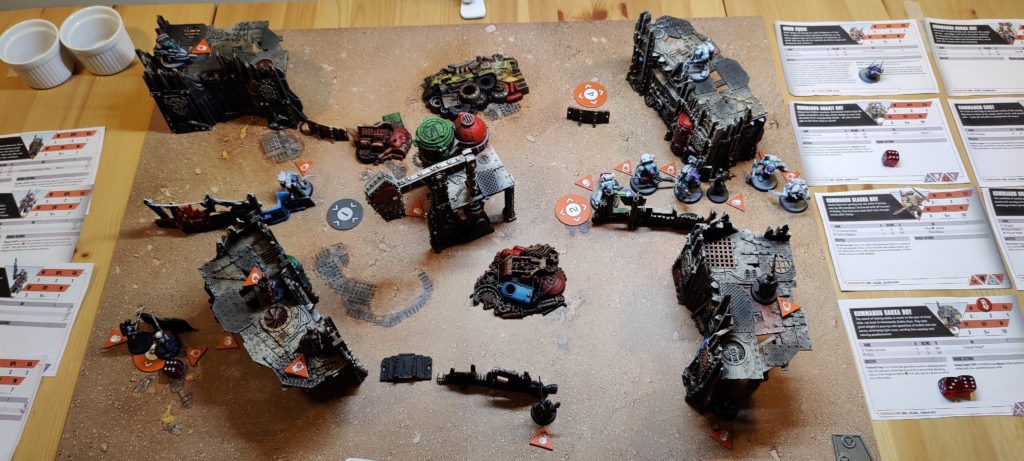
Turn 2 begins with the Orks seizing the initiative. The Dakka Boy secures an objective and guns down a third Guard reinforcement. All this effective Ork shooting must seem very strange to experienced 40K players. The Death Korps dual activate with their remaining reinforcement, who doesn’t achieve much but the Spotter who follows drops mortar fire onto three hulking Orks, killing a wounded Kommando and further wounding their injured leader.
The middle of the table descends into further melee. A knife-wielding Slasha Boy wounds a Hardened Veteran. Another Guardsman charges and kills the Dakka Boy, dual-activating the Hardened Veteran who fights back against the Slasha, inflicting wounds but dying in the struggle. The Ork Snipa Boy, who missed every shot on his first turn activation, manages to take out the Spotter to prevent further mortar attacks. The Guard’s Demolitions expert manages to gun down the wounded Ork leader in response.
Both teams are running low on troops at this point, and the third and fourth turns don’t take long to complete. As the third turn opens the Kommando Grot uses his grappling hook to move across the board, snagging an exposed objective. A Guardsman manages a heroic shot, picking off the Snipa Boy despite his elevated, covered position. The Orks grab more objectives but the Death Korps are turning the tide: their Sergeant vaporises the Burna Boy with a devastating shot from his plasma pistol, whilst the surviving reinforcement picks off the vulnerable Grot. The Orks fight back with a charge from their Slasha Boy, who wounds the Death Korps Comms Trooper, but astonishingly the trooper then fights back and manages to kill the melee expert.
In the final turn the Guard win initiative, and they dual activate: a regular Veteran Guardsman guns down the Rokkit Boy whilst the Sergeant takes out the last Ork Boy. With that, the Orks are removed from the table, and the Guard take their final moves, securing one more objective. Alas, it is not enough, and the Orks win in absentia with a score of 7 to 6!
It was a wonderfully close and exciting game, and amusingly is the second time my partner has tabled me – removed all my models from the board – in a Warhammer 40,000-set game! We got a lot of rules wrong while we played, for example using the same actions twice within a model’s activation or misunderstanding how cover works, but these mistakes were equitably made and just part of the learning experience.
Check back soon for our rematch battle report!